OP
OP
Nymor
3 of a Kind
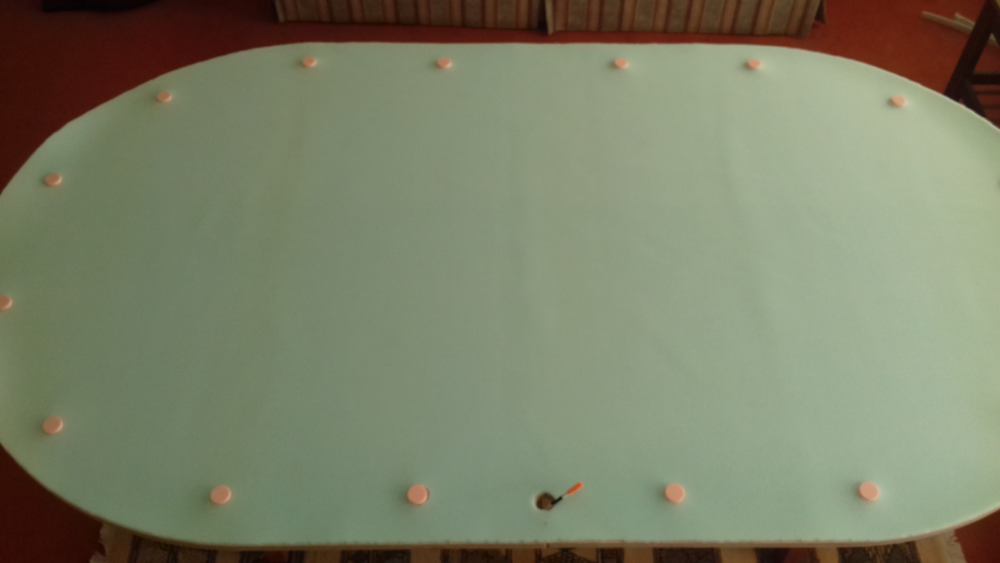
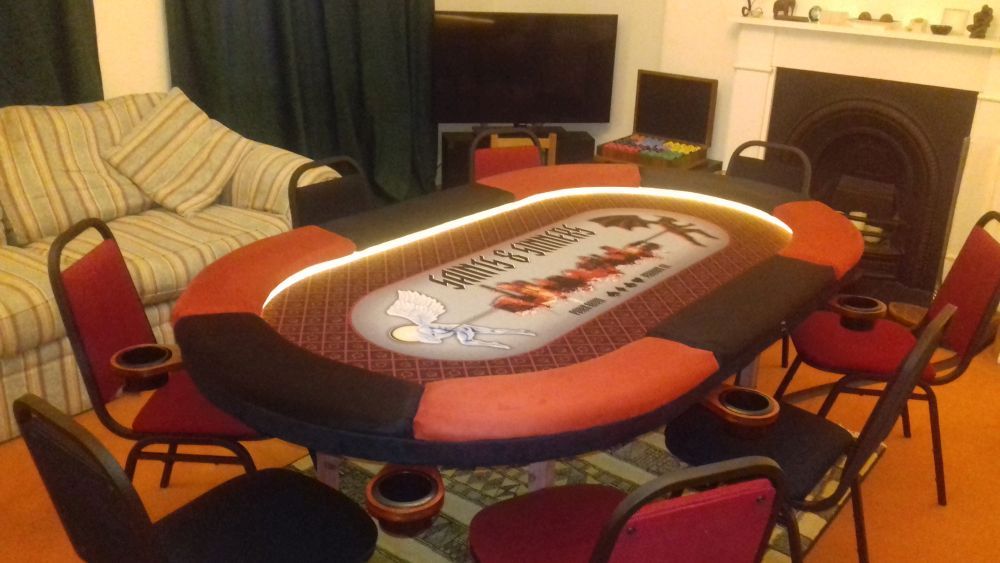
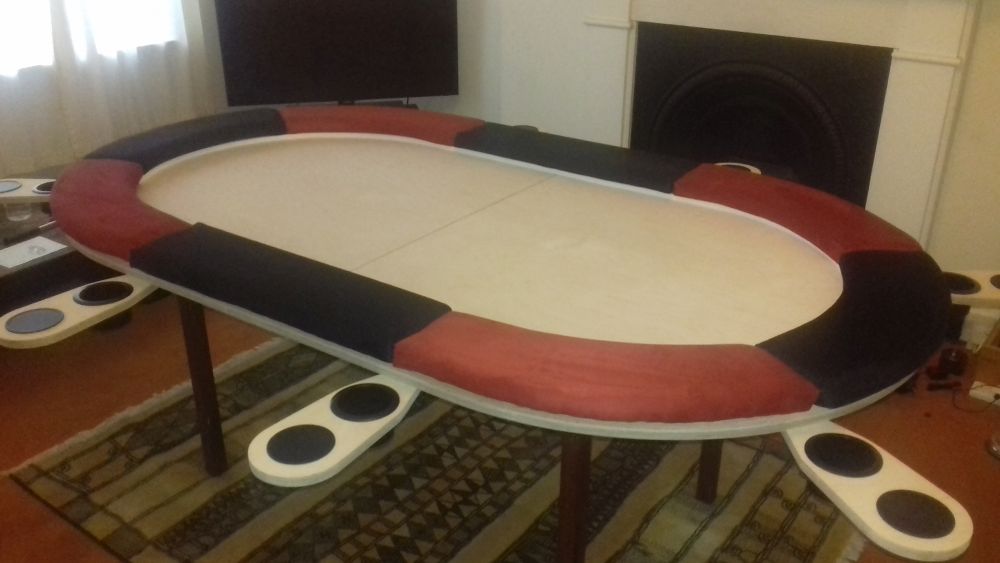
Picking my wood up Monday coming so for now it's all about the supporting cast.
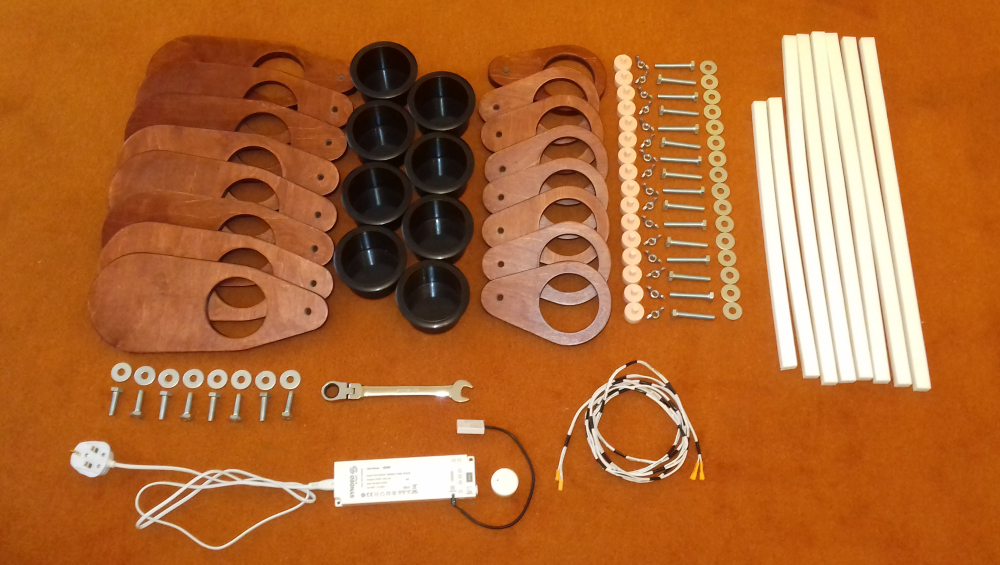
Metal work now joined by some 3M 77, some clamps and a spanner")

I have a sproket set but it only goes up to 13mm and the bolts are 17mm so decided just to get a simple spanner.
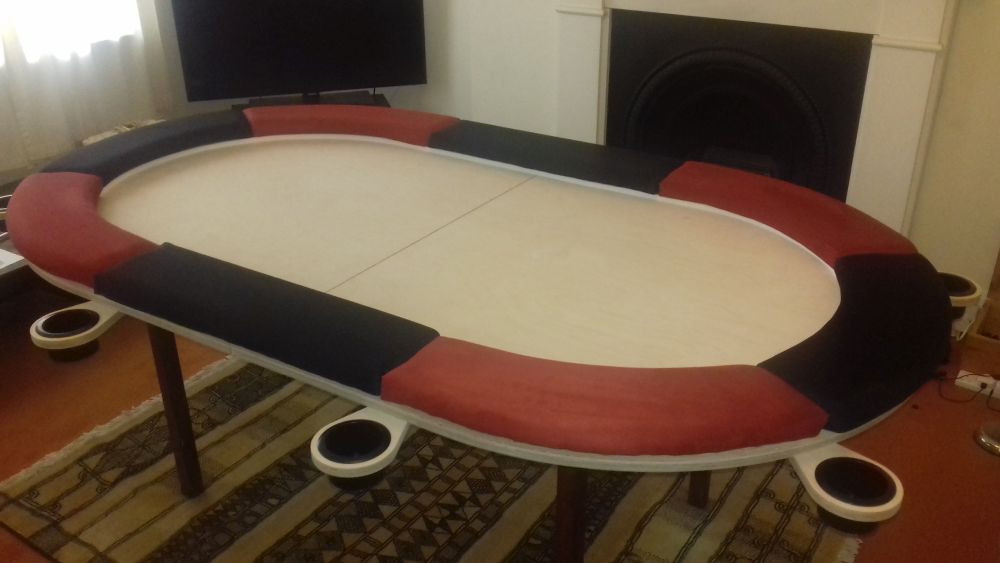
The clamps are really strong so I'm going to have no problem keeping the tension in the cloth while adding the rail. No need for eyelets or velcro so it's going to be really easy doing that part.
Not yet decided if/when adhesive will be used on the playing surface but will certainly be needed for the rail foam.
And talking of foam - it's a regular old foam party here...
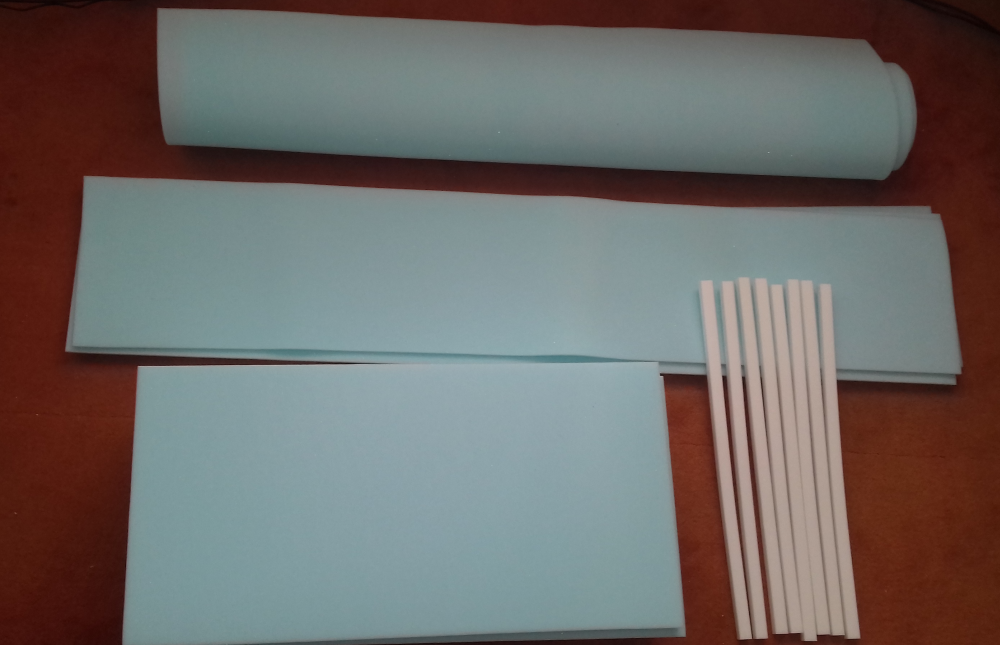
(top to bottom)
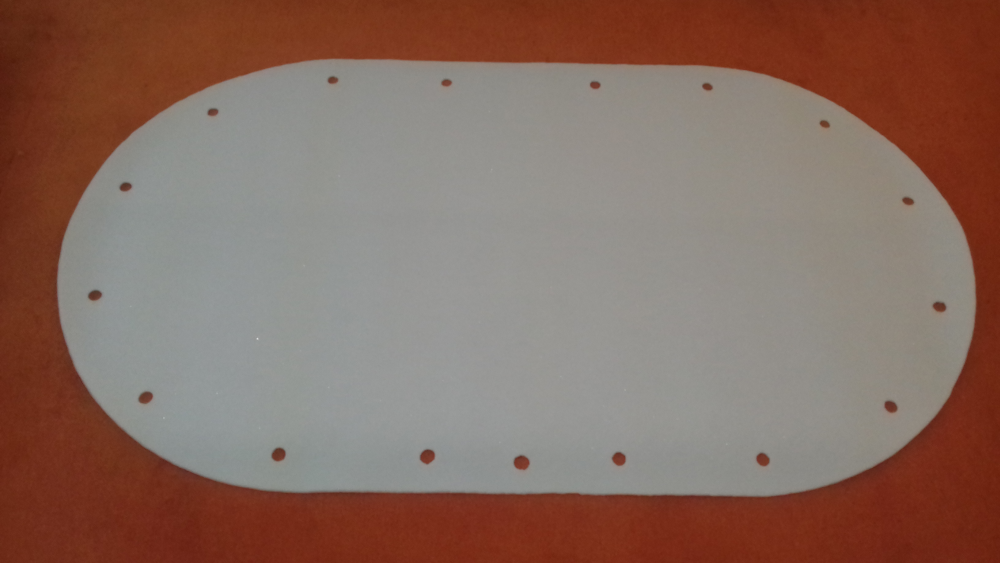
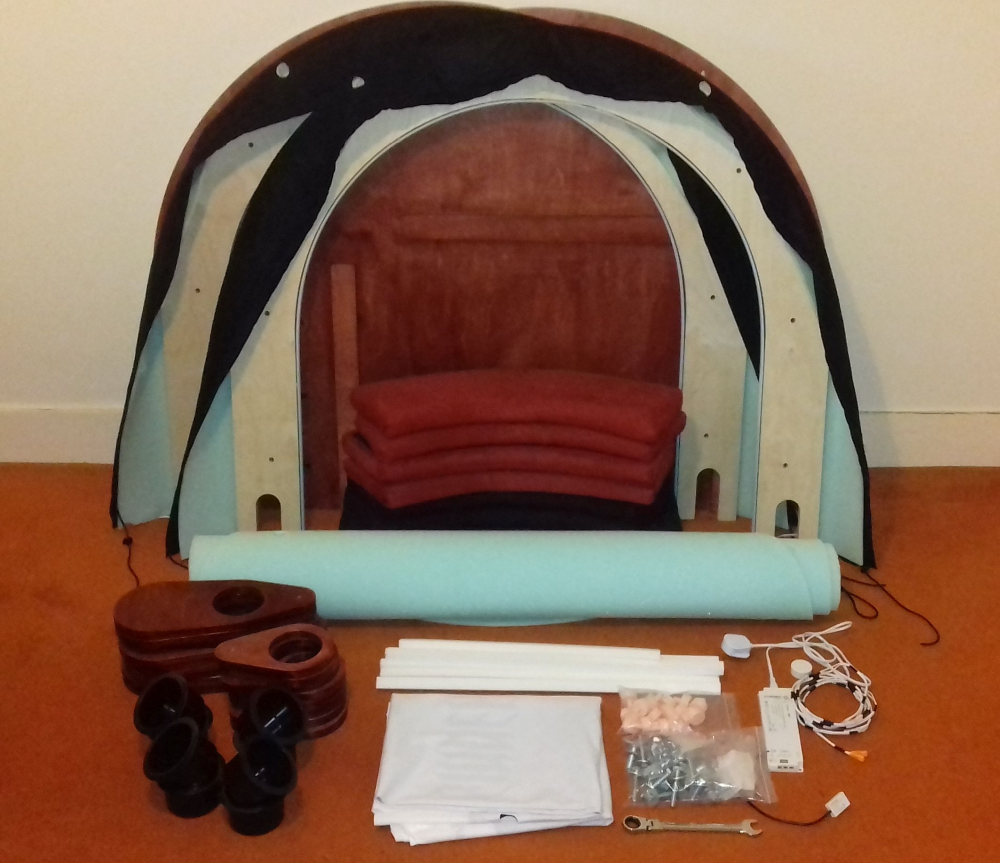
Single piece of 6mm HD foam for the playing surface. Might get split in 2 if I do glue it down but 1 piece in case I go the roll-it-up route.
4 pieces of 6mm HD for the "skirt" - see below.
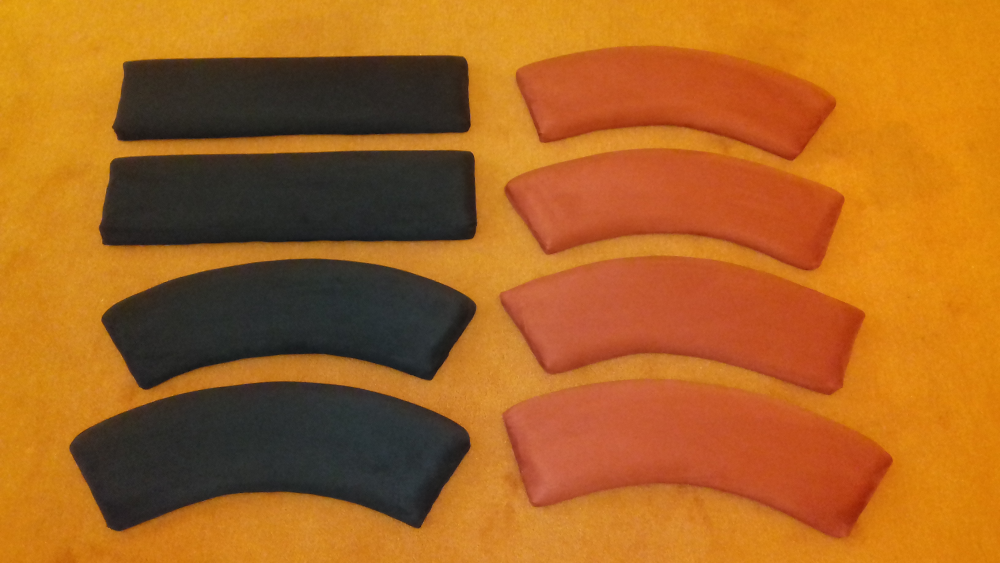
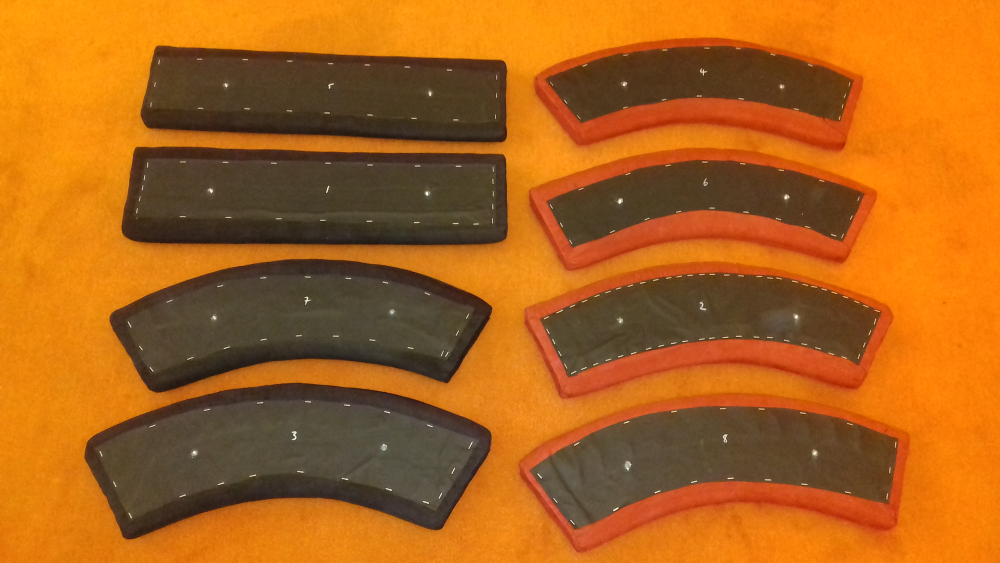
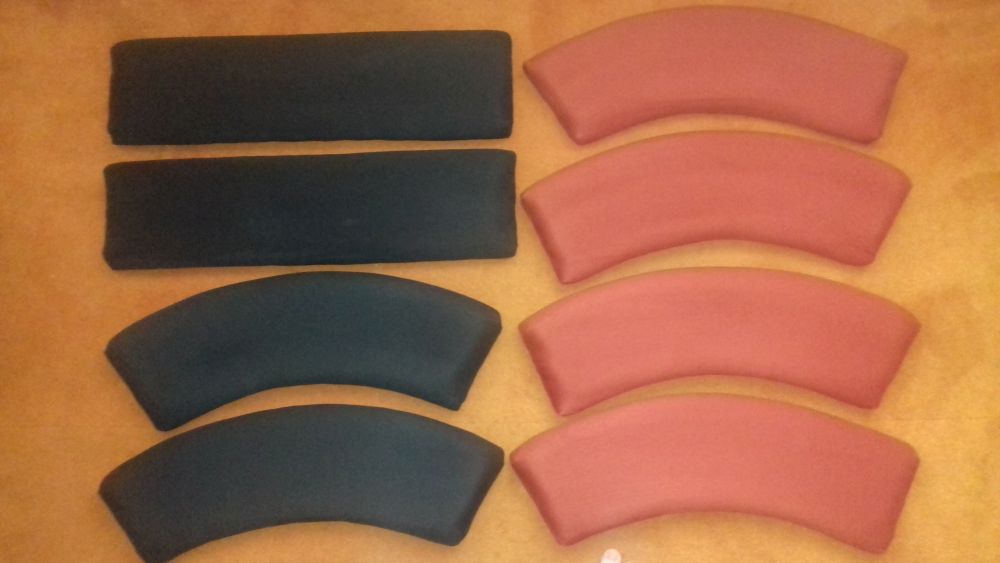
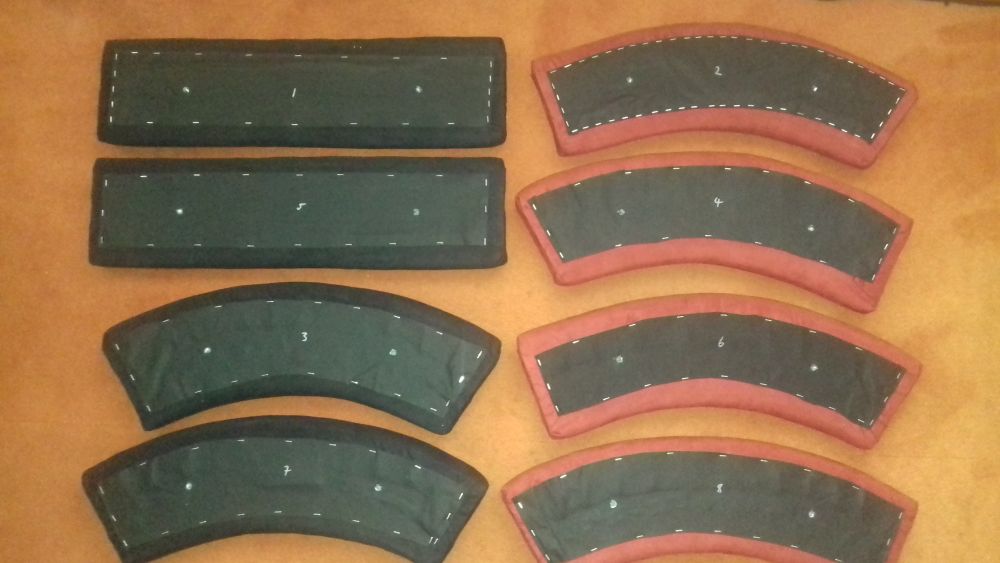
8 pieces of 1" HD for the rail sections. (These are a bit bigger than they need to be but better that than too small and thinking about now I should have just got a big sheet but whatever)
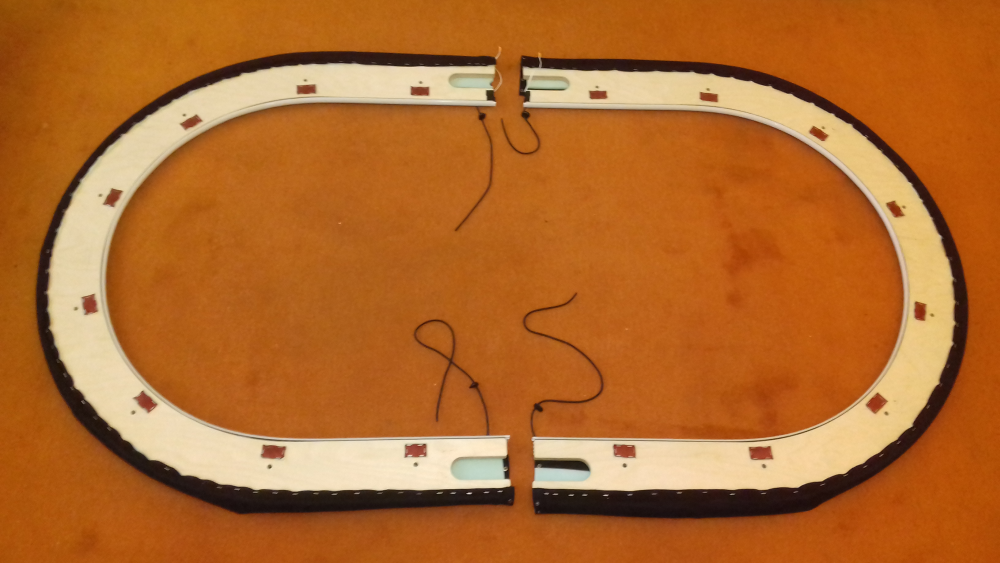
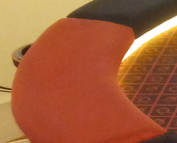
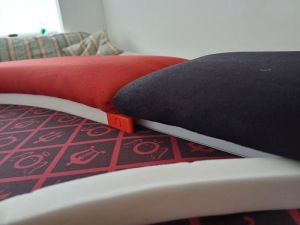
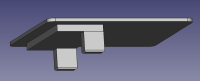
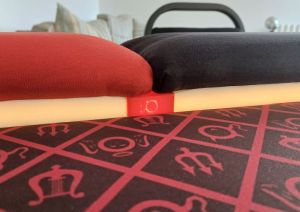
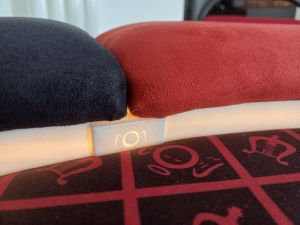
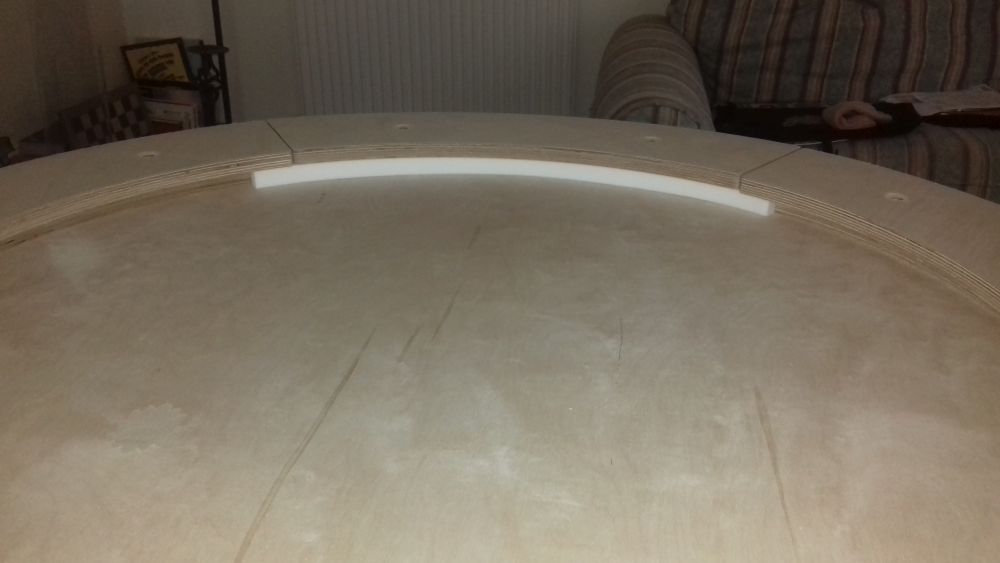
8 strips closed cell for LED diffuser. Longest length available was 1m so opted for a length per rail section ~610mm instead. They're slightly oversided on height so they will fit really snuggly between the rail overhang and the surface. They'll look good whether the LEDs are on or off and provide a little bit of bounce for overpitched cards rather than then slamming into perspex (for example)
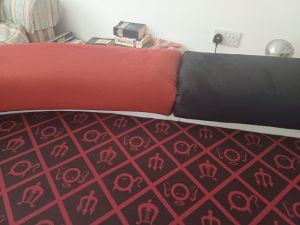
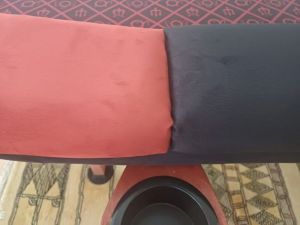
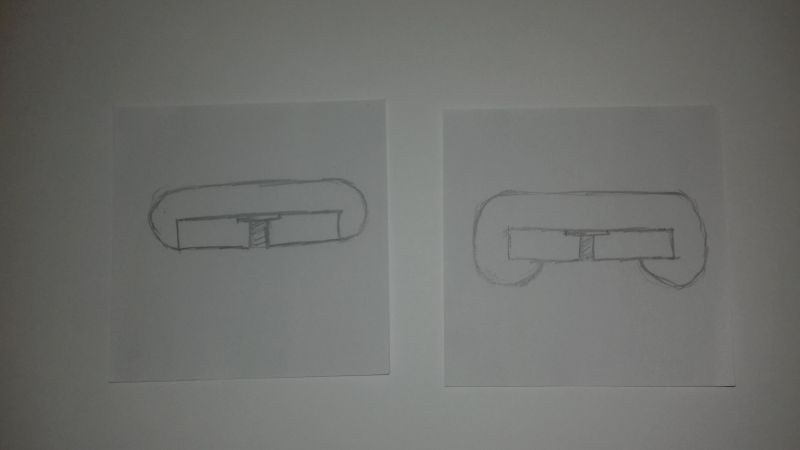
The "Skirt"
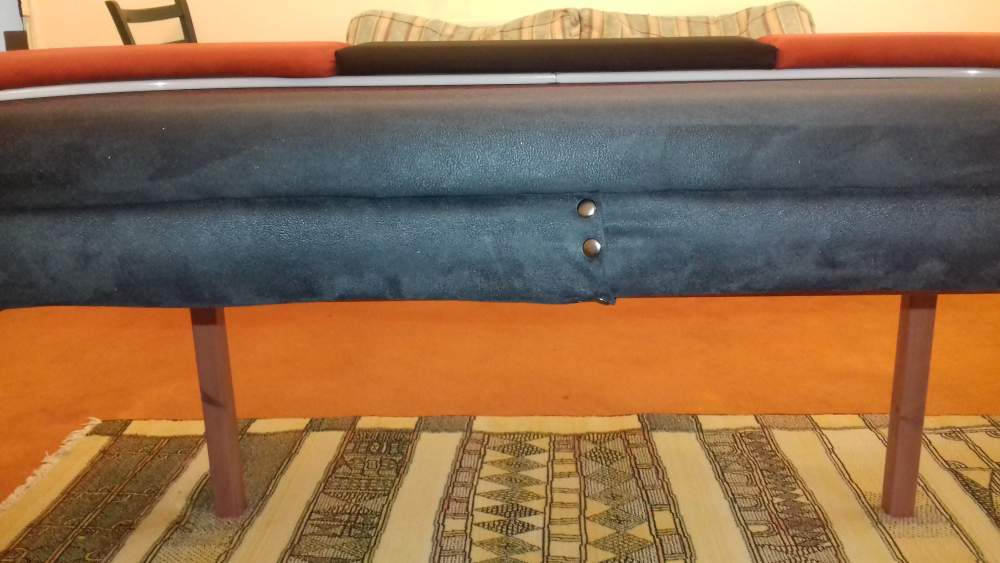
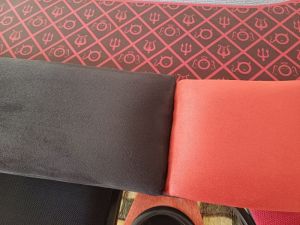
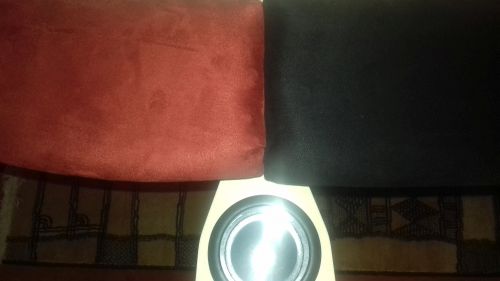
Earlier in the thread I proposed some system to hide the cloth excess and cover the outside wood that involved faux leather and poppers attached to the underside of the table. That was a bit complicated I think and the leather (sample) was a bit thick and therefore more difficult to work with than the suede that's being used for the rail. So I've changed that a bit.
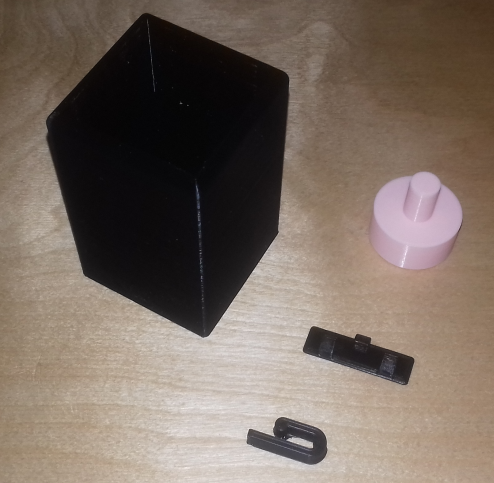
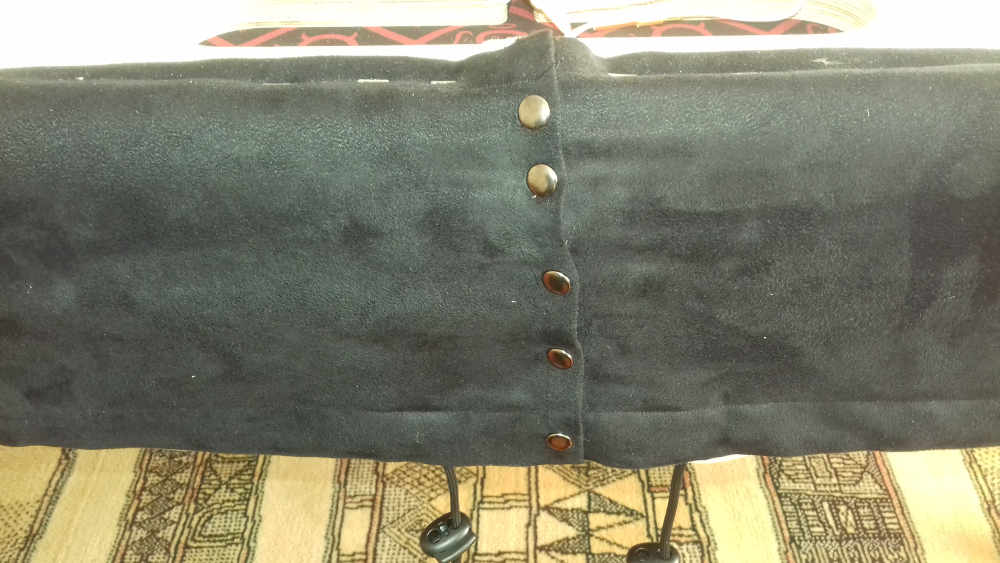
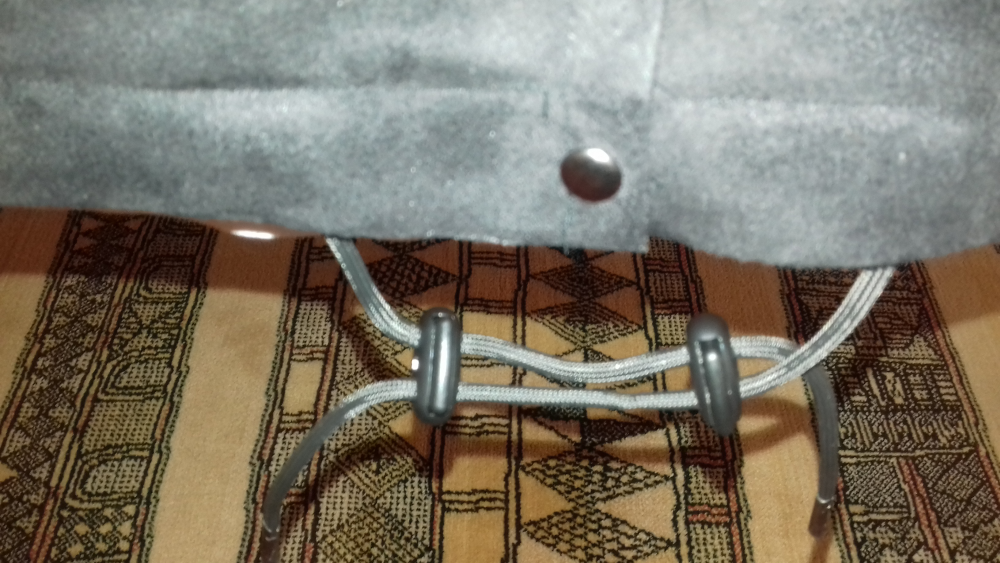
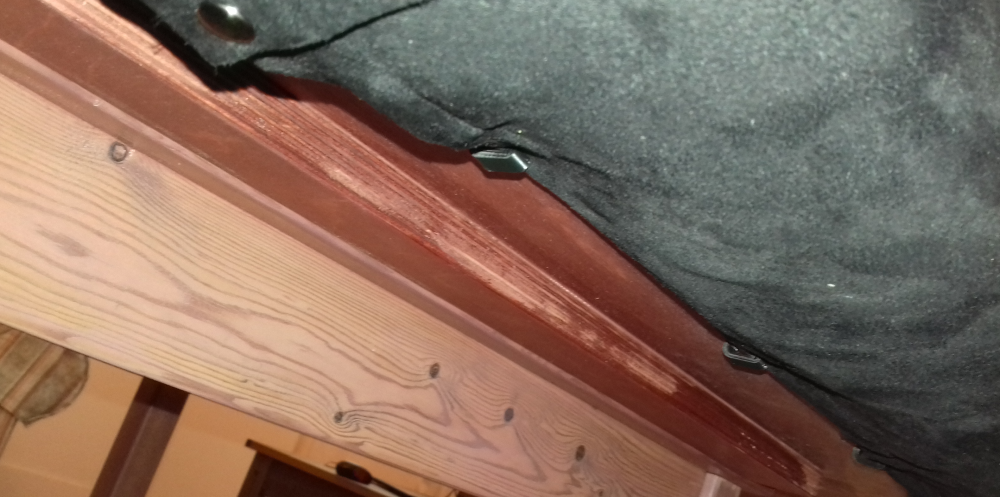
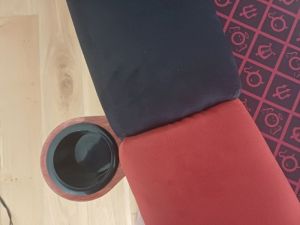
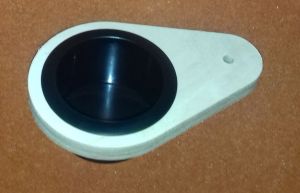
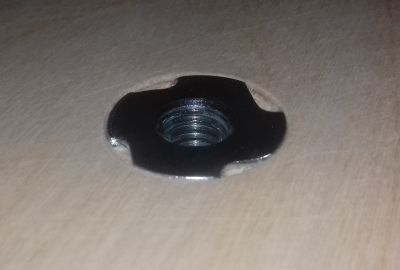
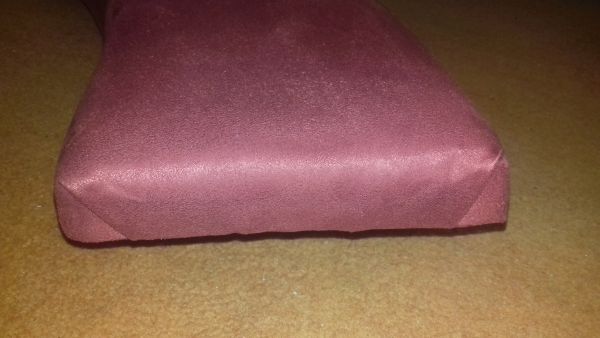
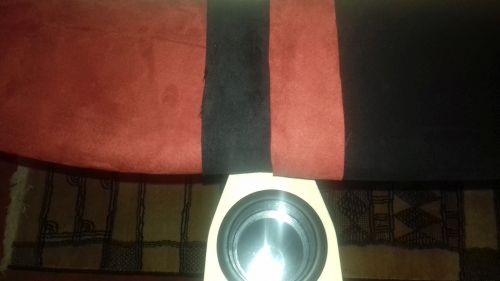
Now I'm still having the skirt but it will be out of the same fabric as the rail and have a thin layer of foam to give a bit of a cushion. Rather than attach it to the table with poppers I'm going to be making use of these
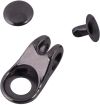
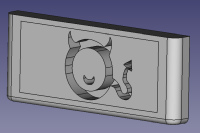
(lace hooks with rivets)
and some paracord to pull it all tight. I'll also be able to hide all this by adding it all on the top side of the skirt. I think it will work pretty well.
Metal work now joined by some 3M 77, some clamps and a spanner
I have a sproket set but it only goes up to 13mm and the bolts are 17mm so decided just to get a simple spanner.
The clamps are really strong so I'm going to have no problem keeping the tension in the cloth while adding the rail. No need for eyelets or velcro so it's going to be really easy doing that part.
Not yet decided if/when adhesive will be used on the playing surface but will certainly be needed for the rail foam.
And talking of foam - it's a regular old foam party here...
(top to bottom)
Single piece of 6mm HD foam for the playing surface. Might get split in 2 if I do glue it down but 1 piece in case I go the roll-it-up route.
4 pieces of 6mm HD for the "skirt" - see below.
8 pieces of 1" HD for the rail sections. (These are a bit bigger than they need to be but better that than too small and thinking about now I should have just got a big sheet but whatever)
8 strips closed cell for LED diffuser. Longest length available was 1m so opted for a length per rail section ~610mm instead. They're slightly oversided on height so they will fit really snuggly between the rail overhang and the surface. They'll look good whether the LEDs are on or off and provide a little bit of bounce for overpitched cards rather than then slamming into perspex (for example)
The "Skirt"
Earlier in the thread I proposed some system to hide the cloth excess and cover the outside wood that involved faux leather and poppers attached to the underside of the table. That was a bit complicated I think and the leather (sample) was a bit thick and therefore more difficult to work with than the suede that's being used for the rail. So I've changed that a bit.
Now I'm still having the skirt but it will be out of the same fabric as the rail and have a thin layer of foam to give a bit of a cushion. Rather than attach it to the table with poppers I'm going to be making use of these
(lace hooks with rivets)
and some paracord to pull it all tight. I'll also be able to hide all this by adding it all on the top side of the skirt. I think it will work pretty well.


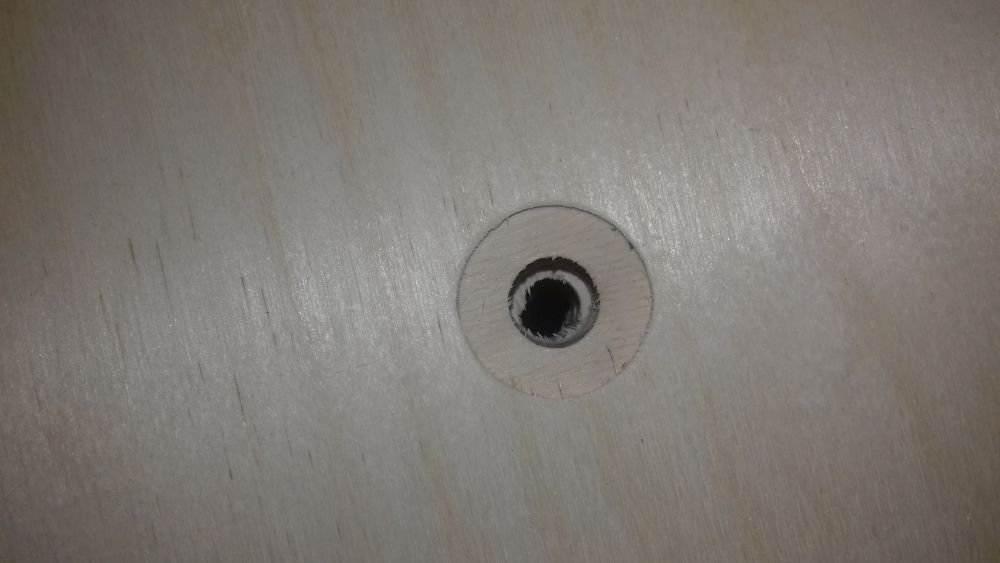
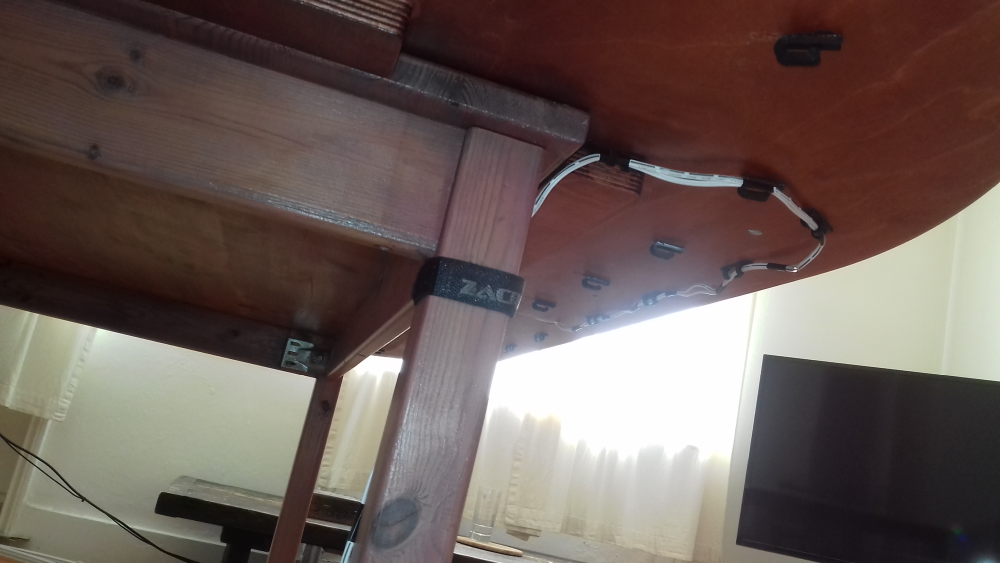
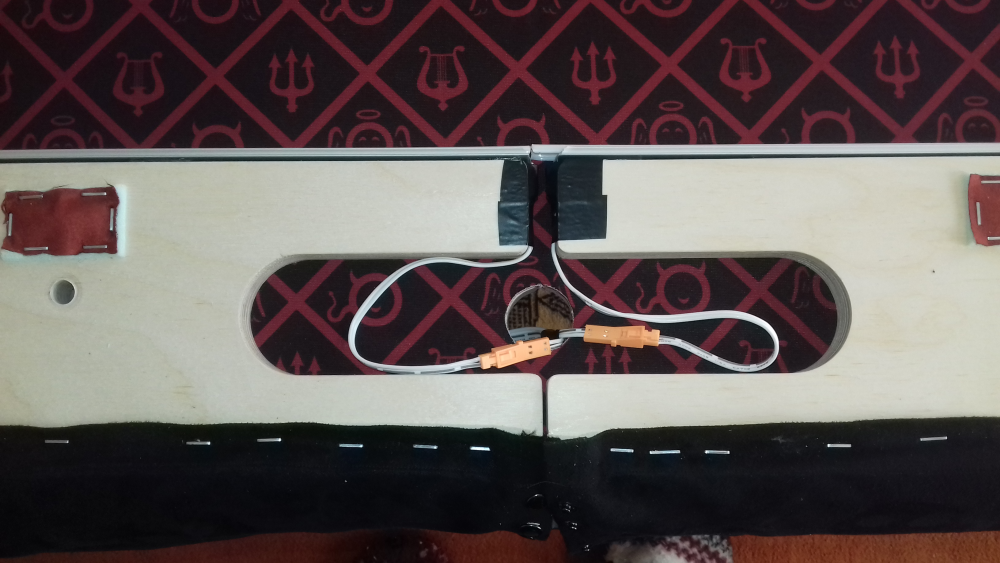
 . Undoing the bolts and one just wouldn't come out.
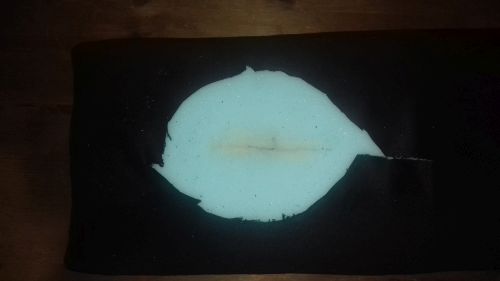


 ... and a few other support items to help me cut and hem straight edges.