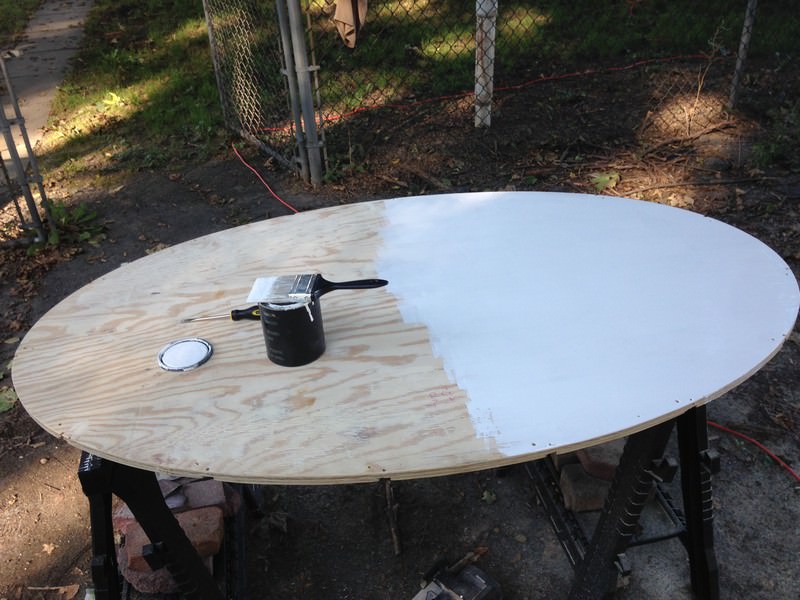
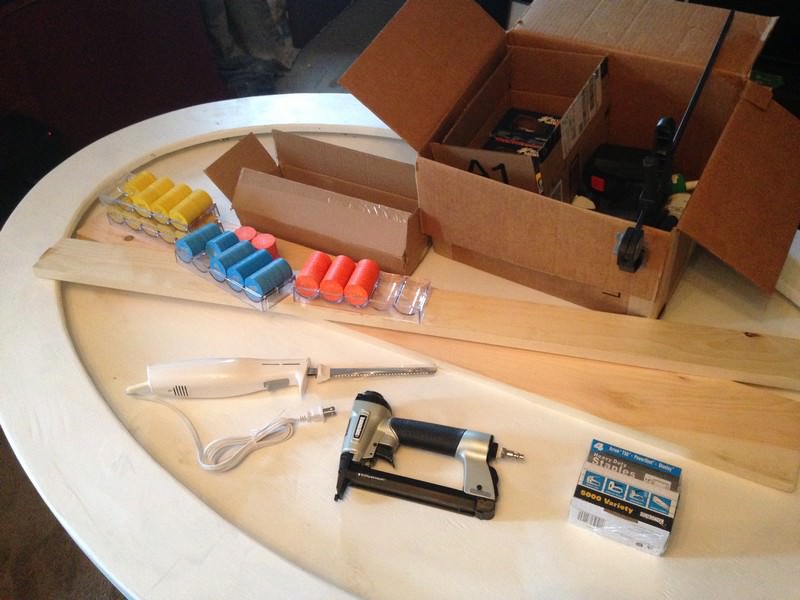
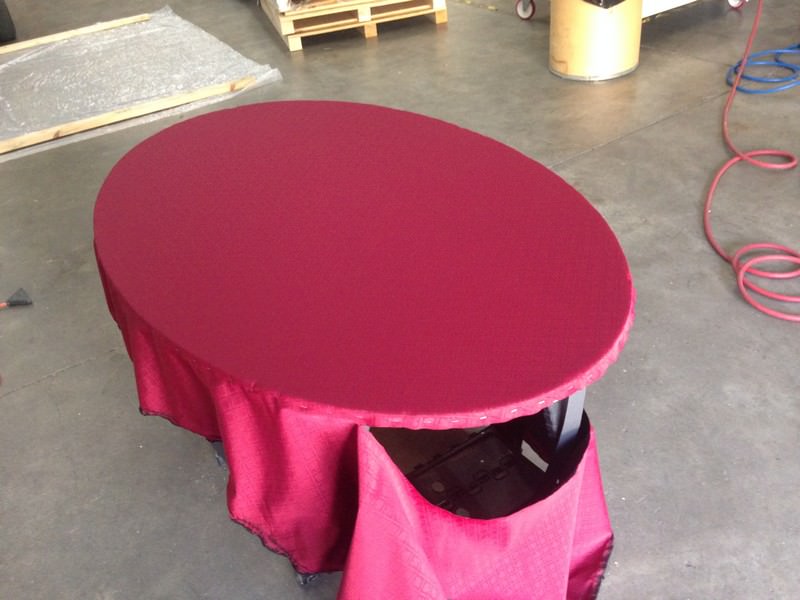
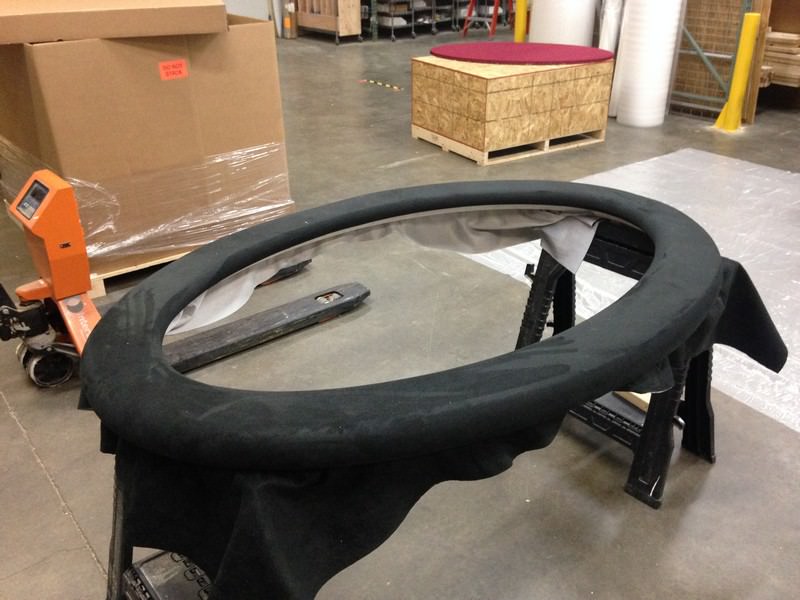
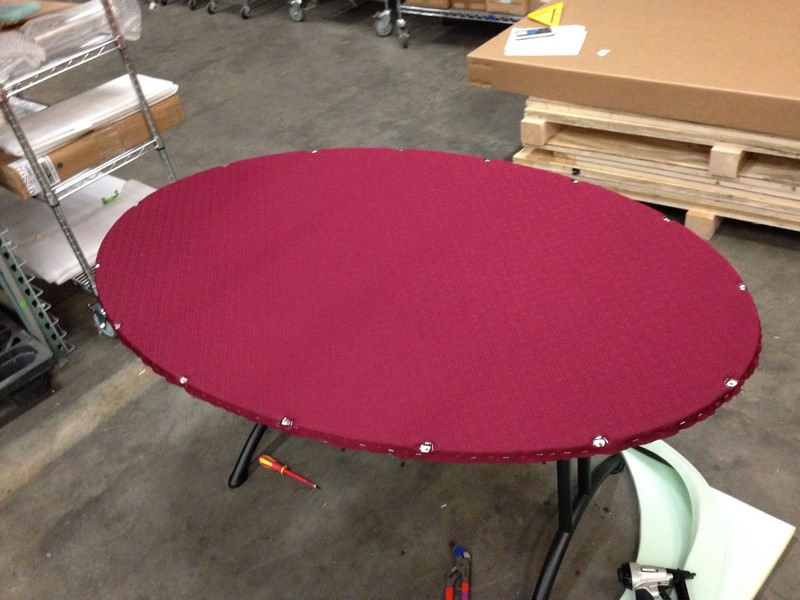
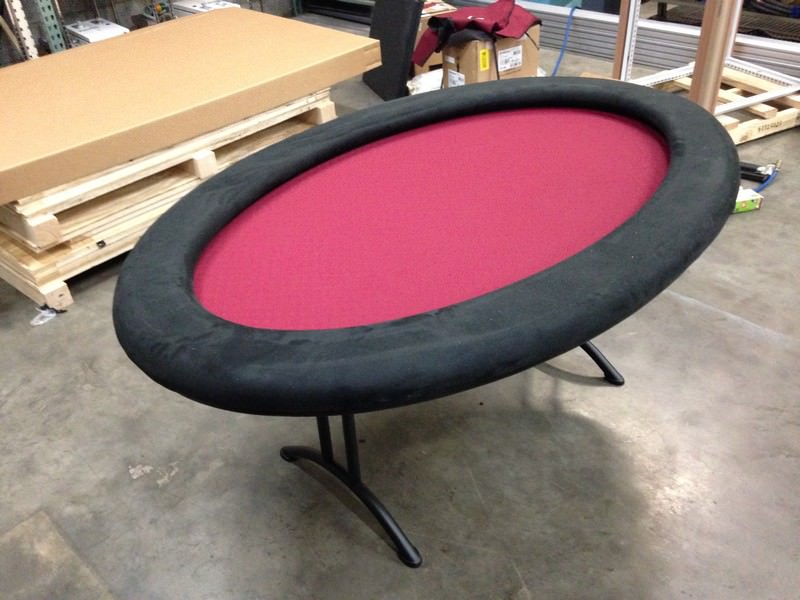
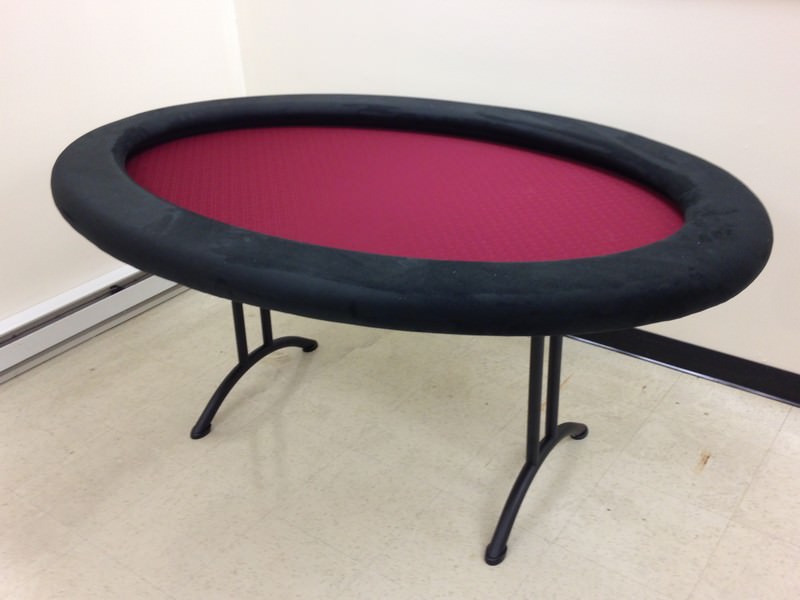
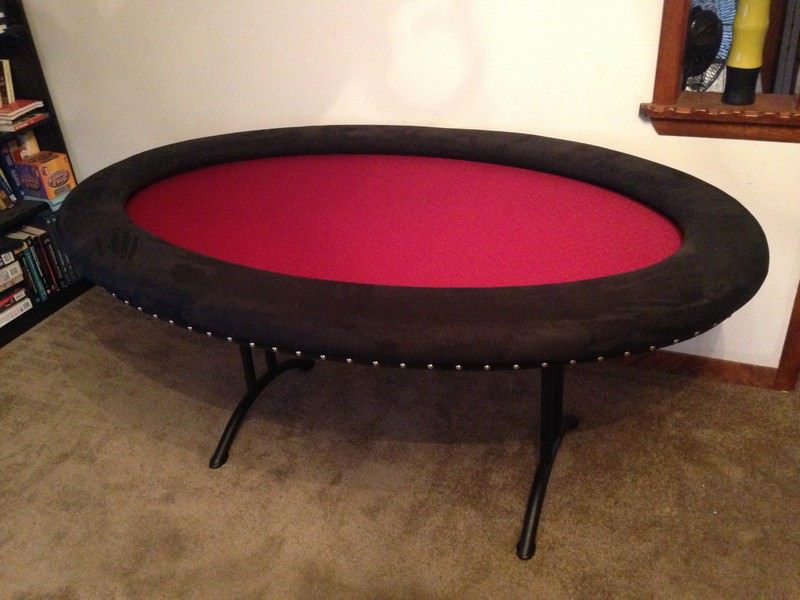
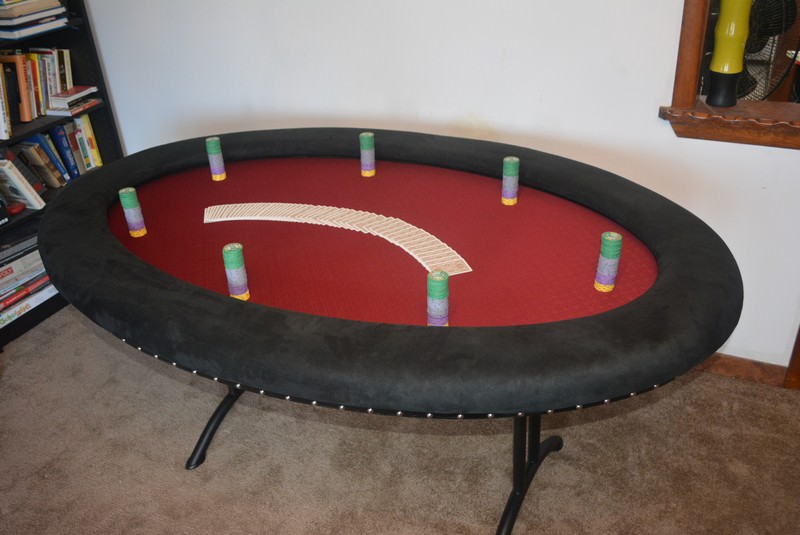
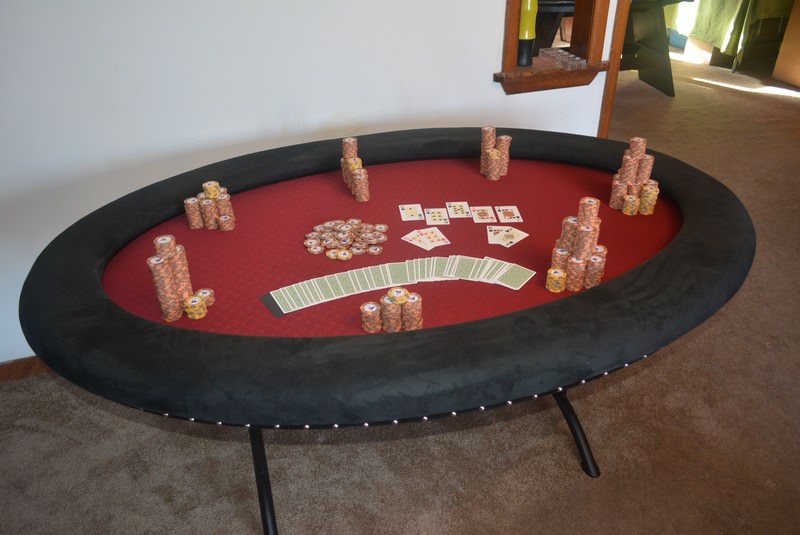
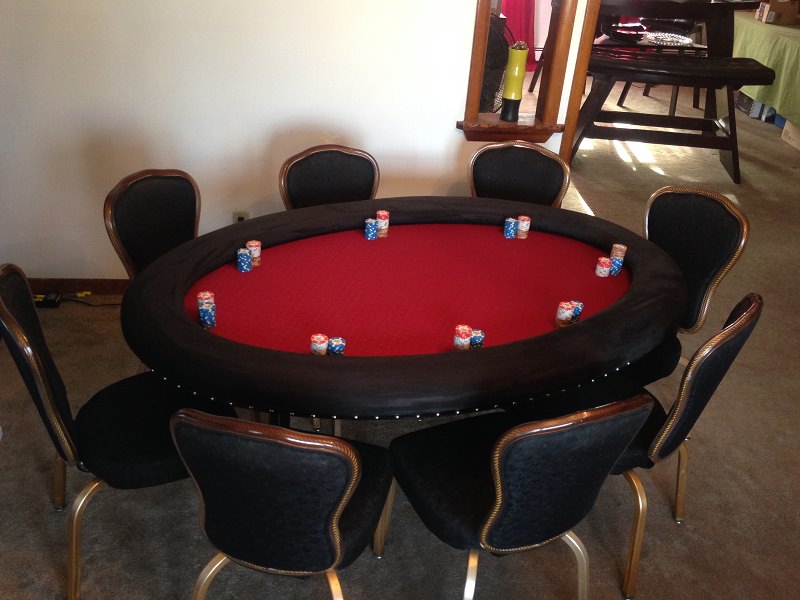
So great news, I finally put the finishing touches on the table this weekend! it is officially done, and I will try to start moving this thread along a little quicker. I took, like, waaaay too many pictures and they do take awhile to sort through and select ones to post.
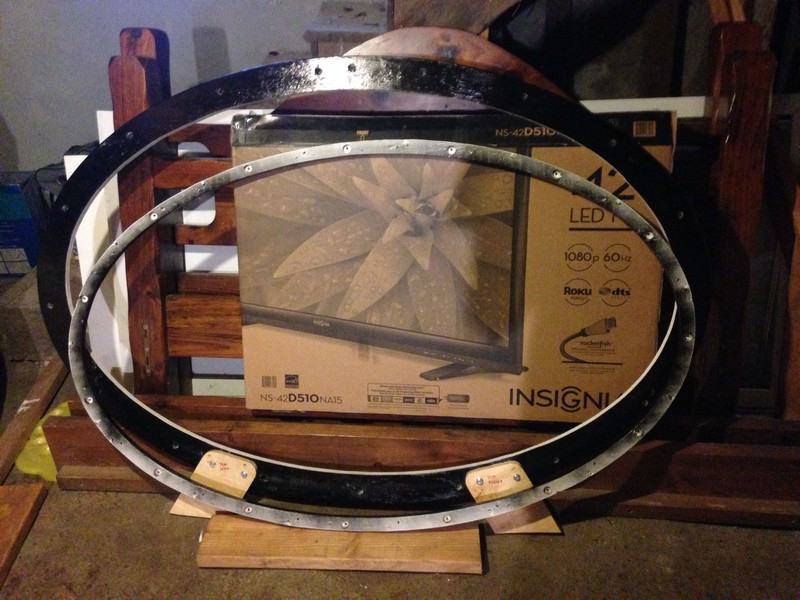
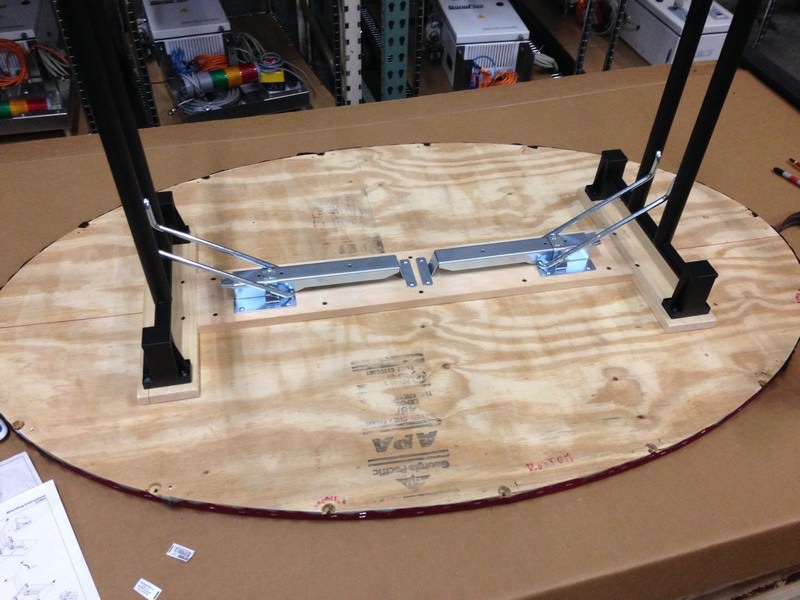
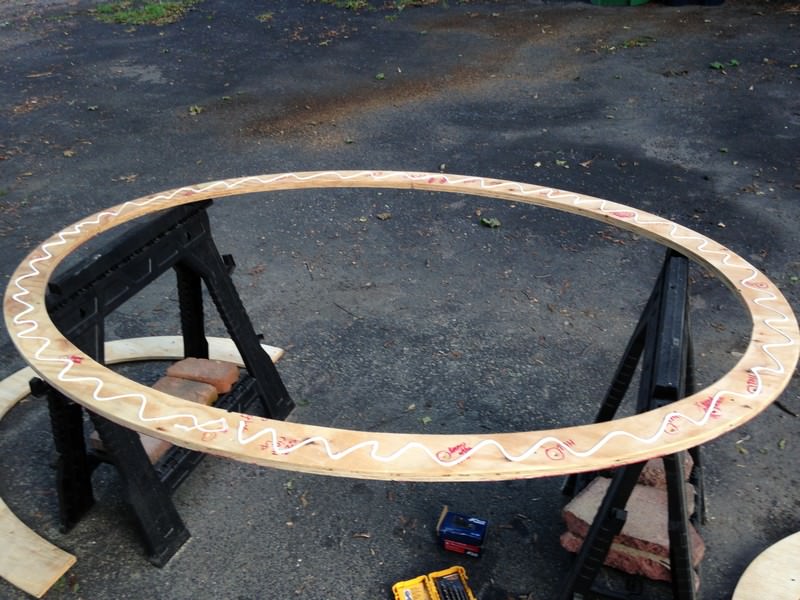
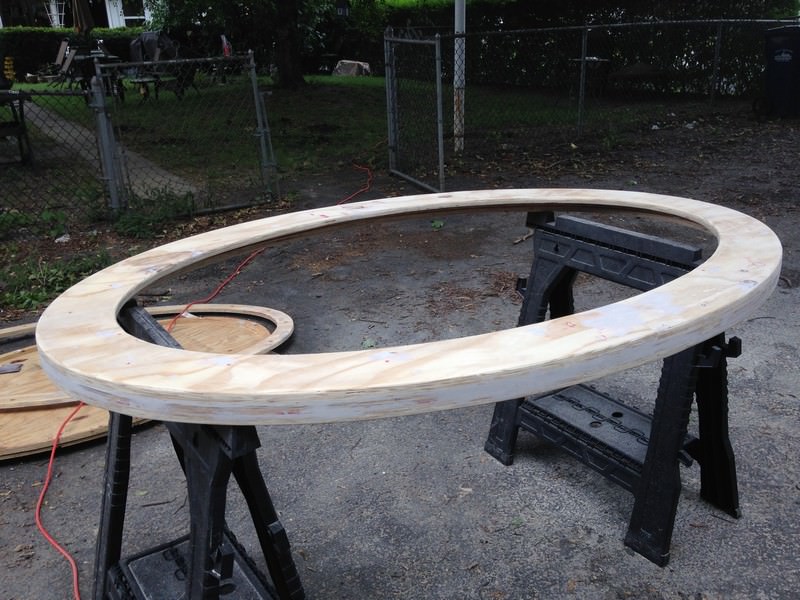
Next up, tear down and final assembly of the rail. The previous assembly was just to ensure everything fit properly.
Layer one glued:
and screwed:
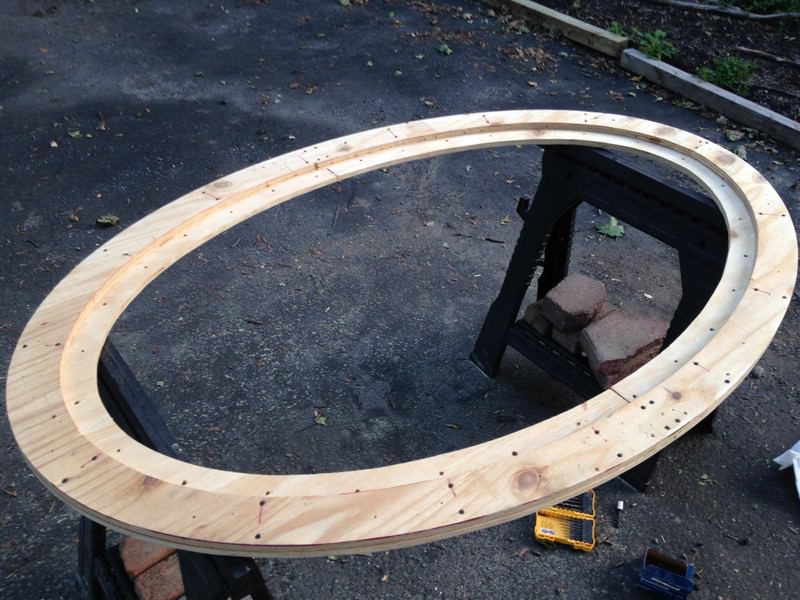
Layer two glued:
and screwed.... Okay you get the idea.
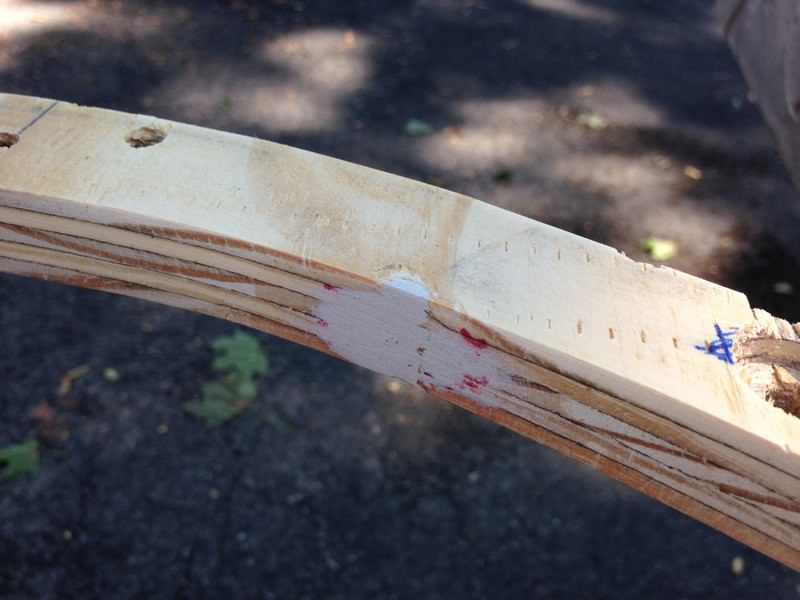
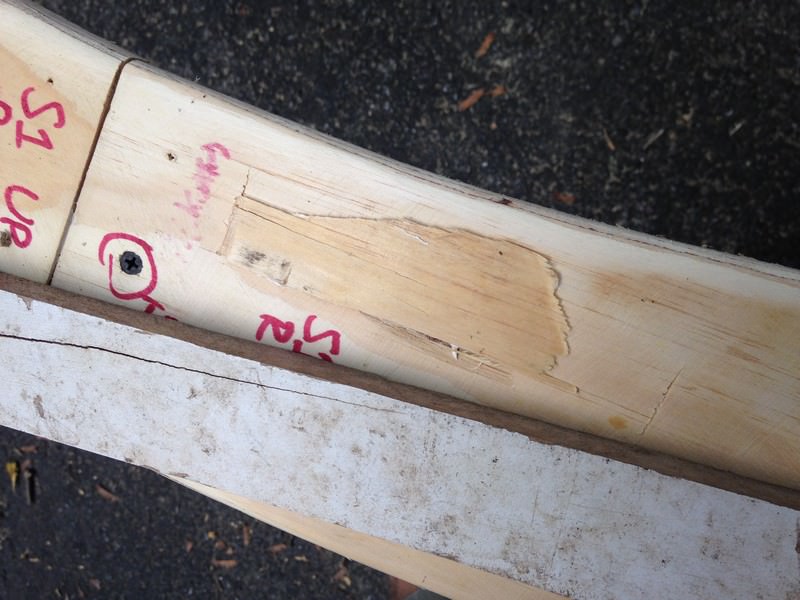
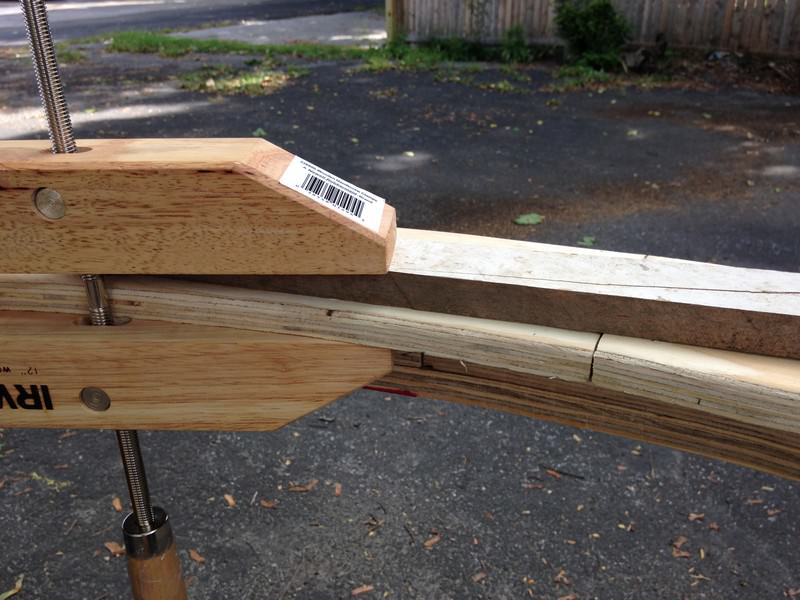
Next I have this huge gouged out piece to fix on the upper rail.
Glued down and clamped:
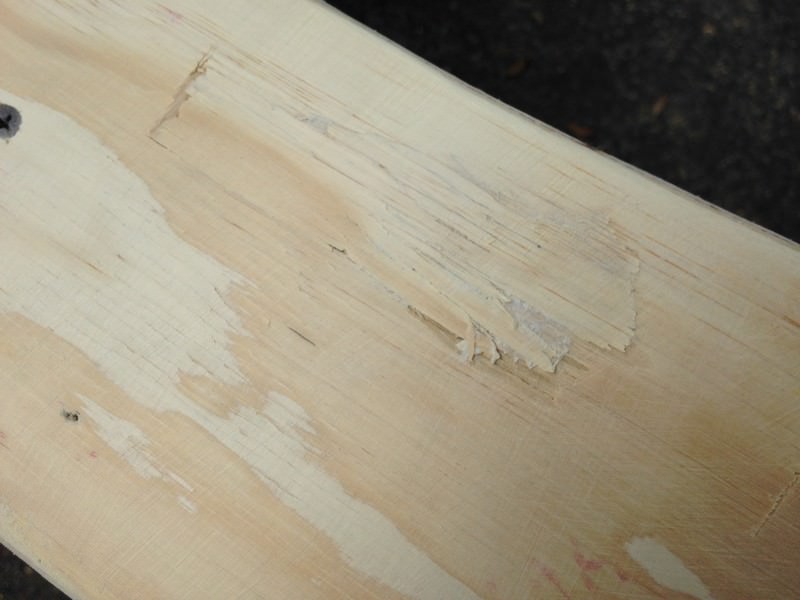
Sanded flush:
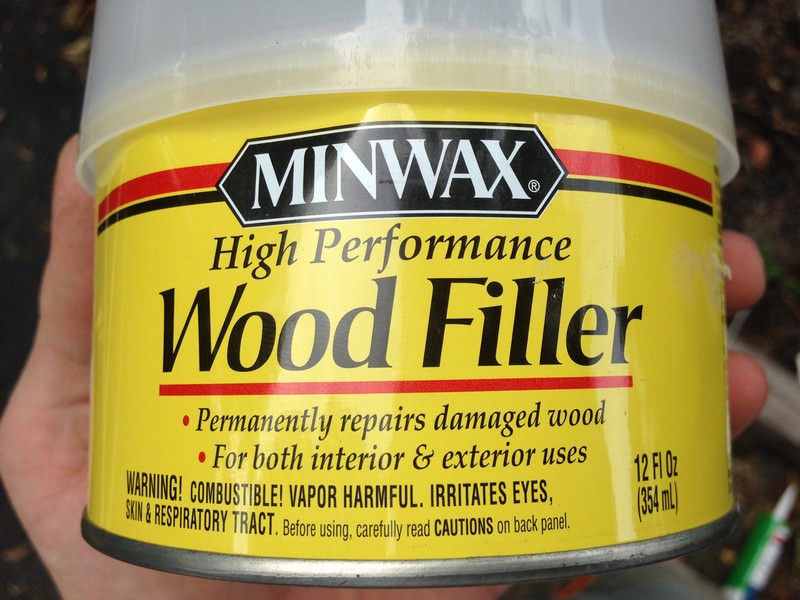
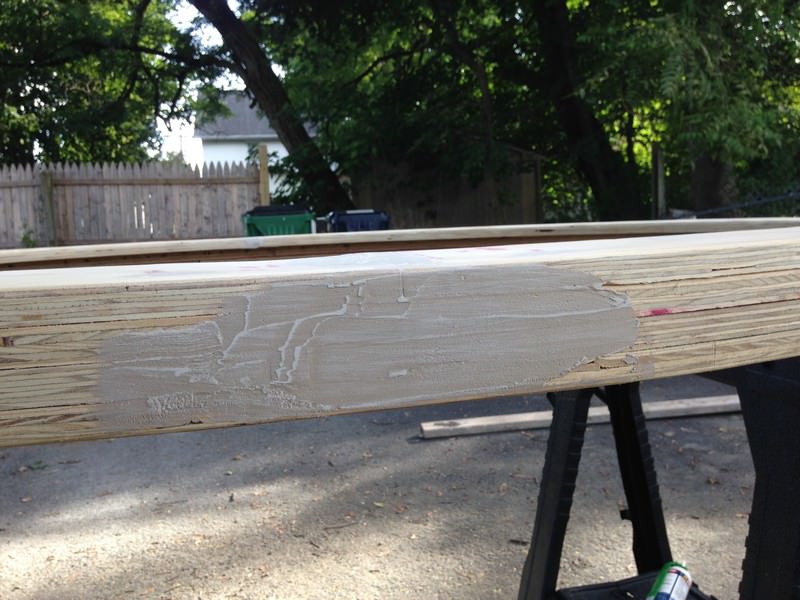
Now it's time for some filler. And by some, I mean this entire can. It's pretty good stuff - two part, dries very hard. Strong enough to use as an adhesive. Not at all like regular filler that you can scratch away with your fingernail.
It dries sooo fast though! They really try to ease you into that realization :
:
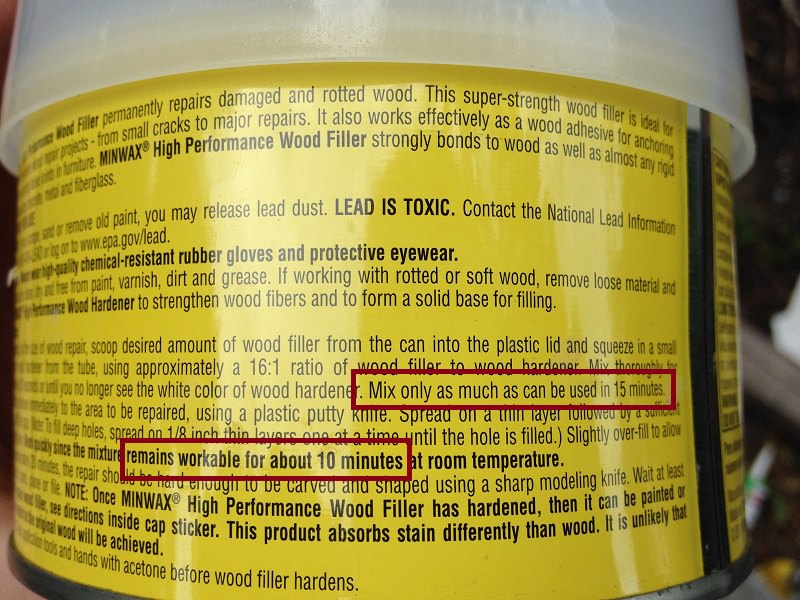
OK, um, I would like to find the hookup for whatever these Minwax folk are puffing on. In 10+ batches I never got more than three minutes of working time, with correct mixture ratio and room temperature.
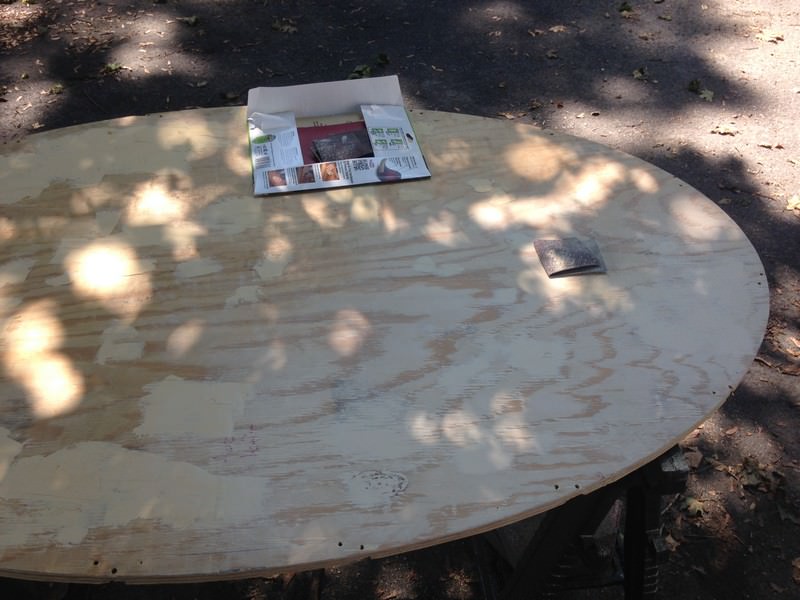
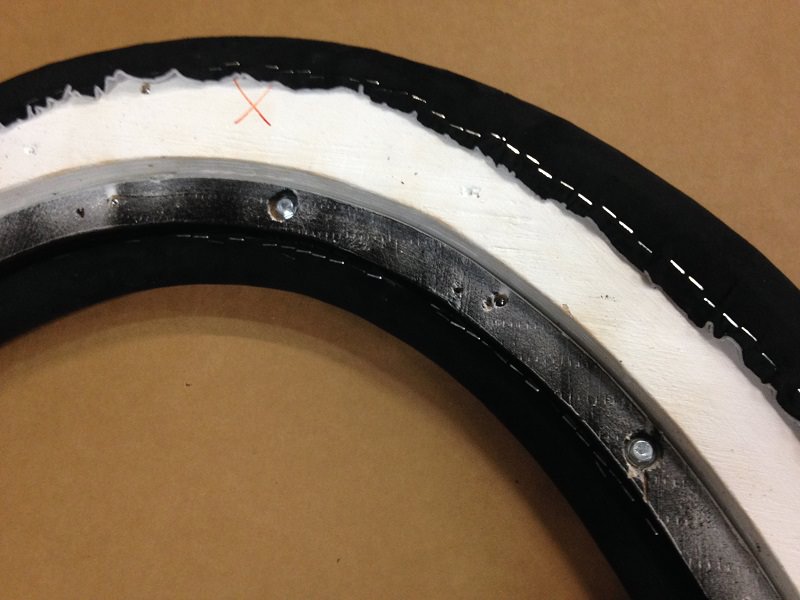
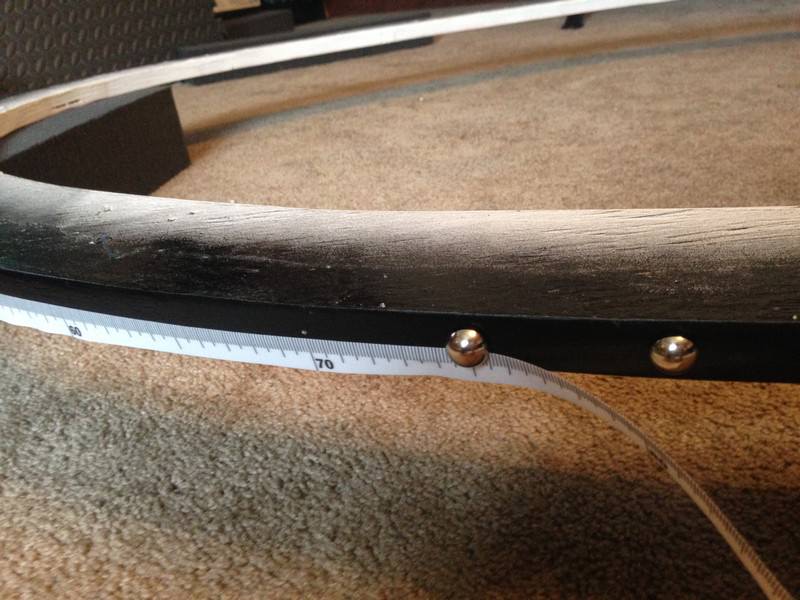
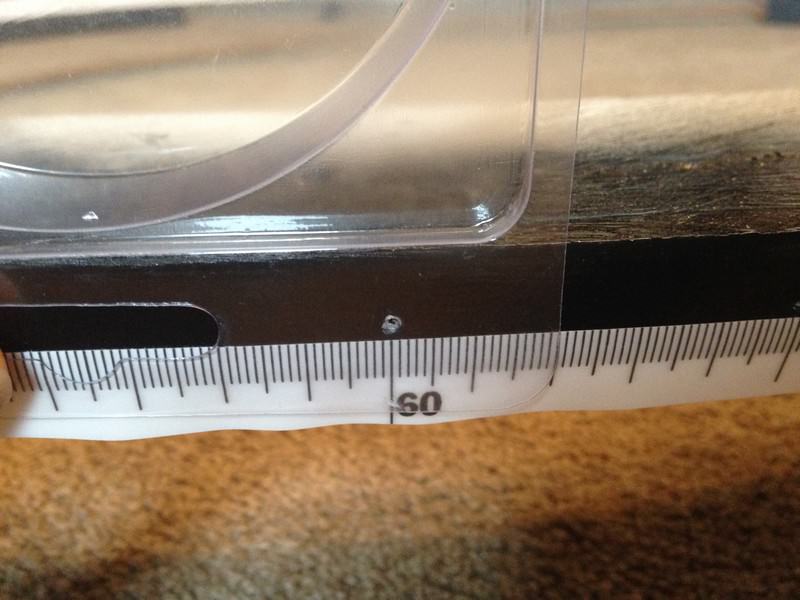
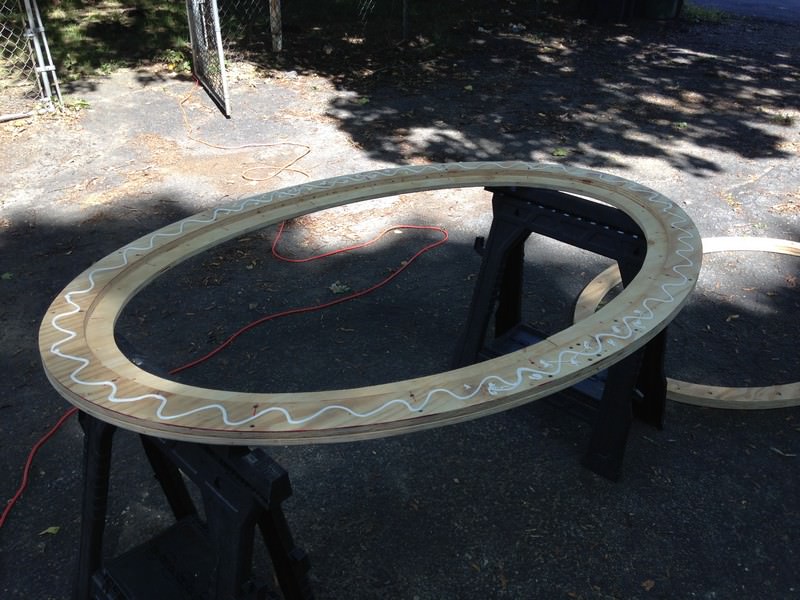
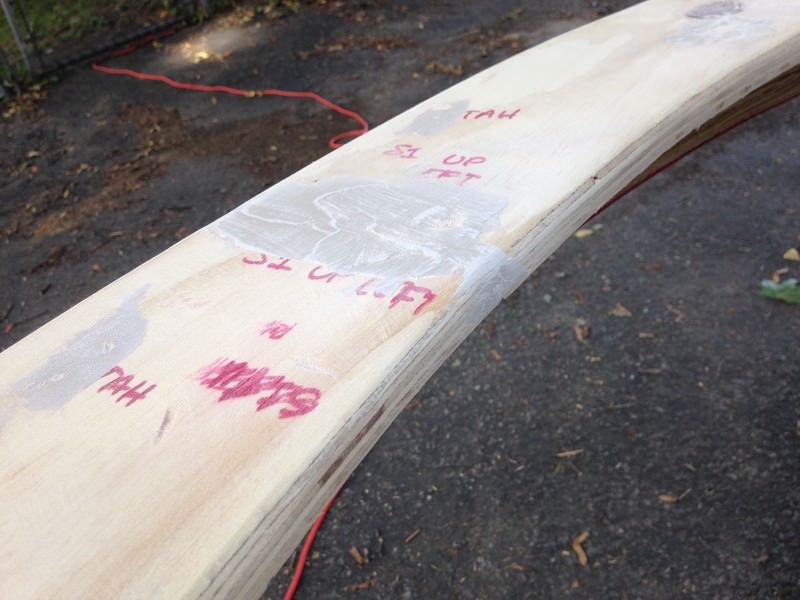
I worked very hard to get the rail as smooth and even as possible. Basically an entire weekend+ of filling, sanding, rinse & repeat. Here is a section after some rough sanding:
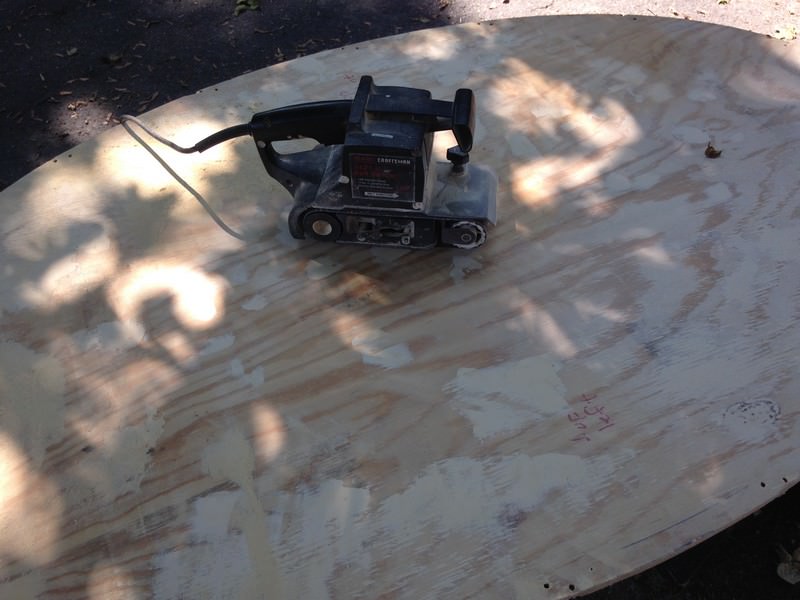
Belt sander got a good workout. You can see the fillets (rounded edges) on the three outside edges. I carefully sanded these to about 3/16" radius, also a ton of work. Ideally this would be done with a router, but my router went missing during my last move. Ugh, it was a nice router too. Bosch.
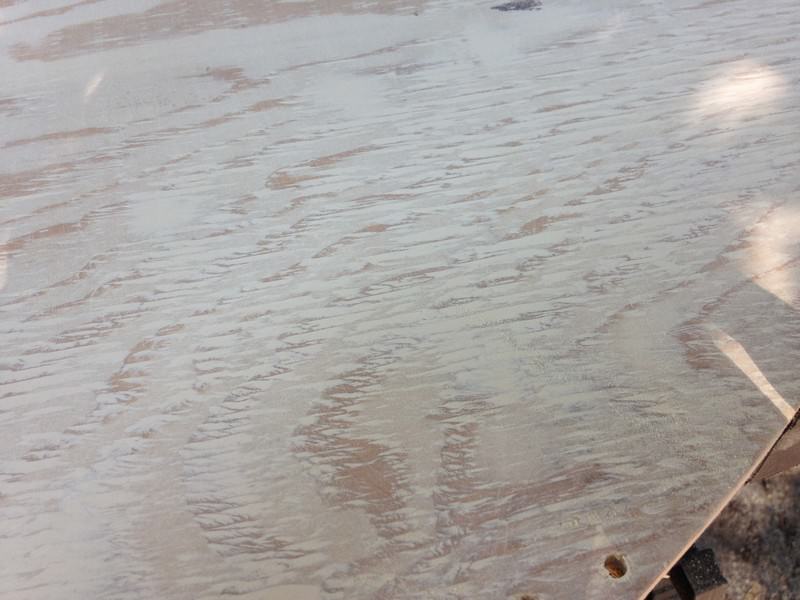
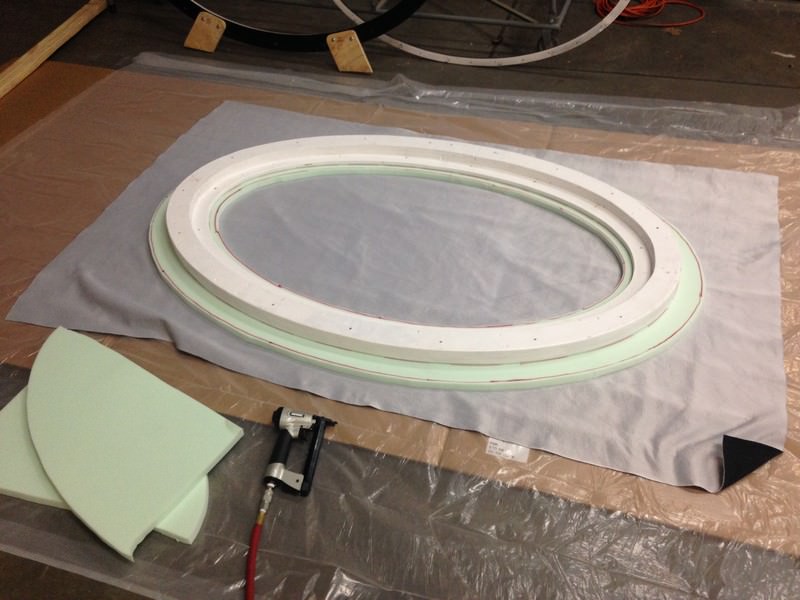
Recall the top surface of the rail is two pieces. I wanted to cut a pocket in the underside of these pieces and reinforce the joins with strips of wood. But without a router I didn't have a good way to pull that off. So I just loaded it up with the filler. To my surprise, this was reasonably effective.
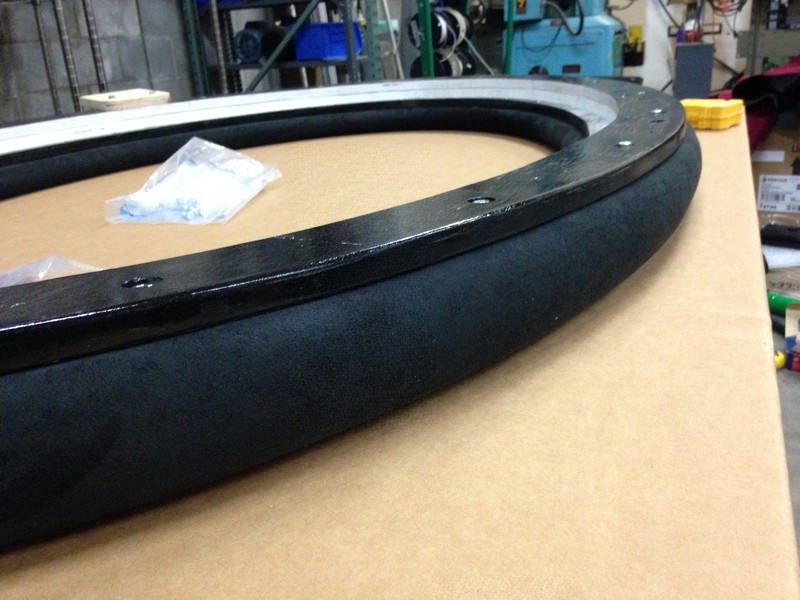
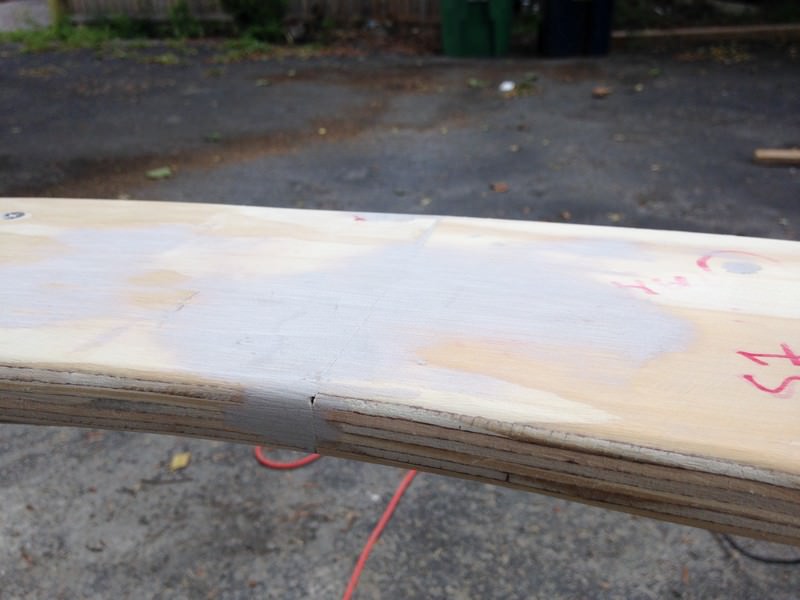
The other joined section, sanded smooth:
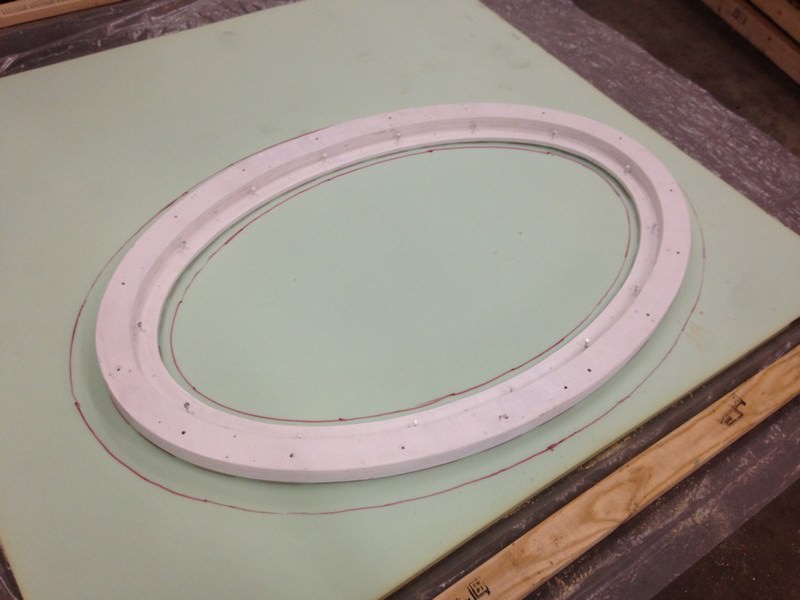
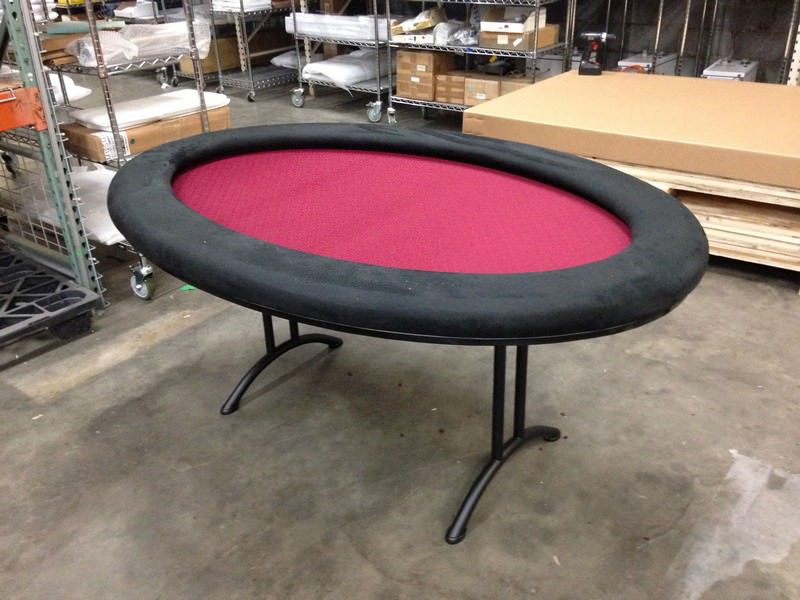
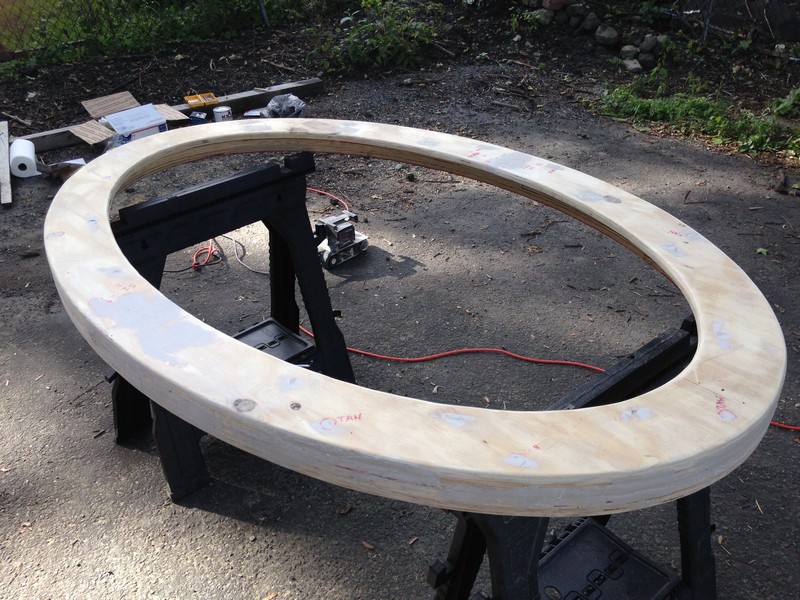
The bodywork is finally done! If these were precision CNC-cut parts, I wouldn't have needed to do all this. It was probably still overkill, given this all gets covered with 1" foam. But I wanted to ensure as smooth and even a rail as I could get. Good results are always in the prep work.
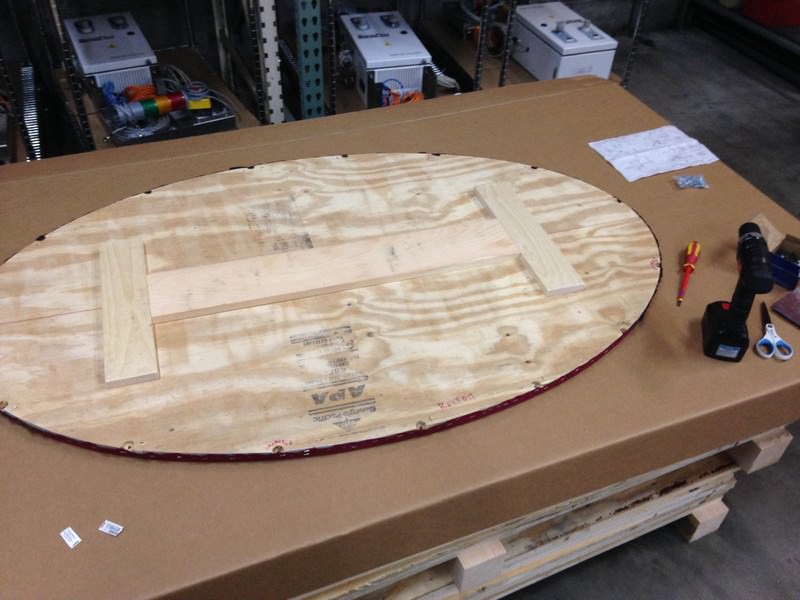
Next issue was mold/mildew. I was storing my parts in a basement and each week I'd find some. So as soon as final sanding was complete, I gave the rail a coat of Killz primer.
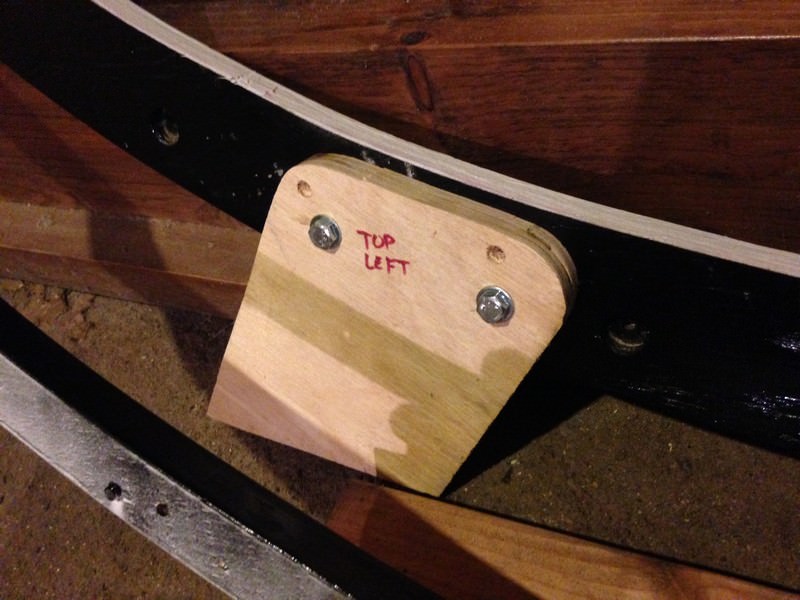
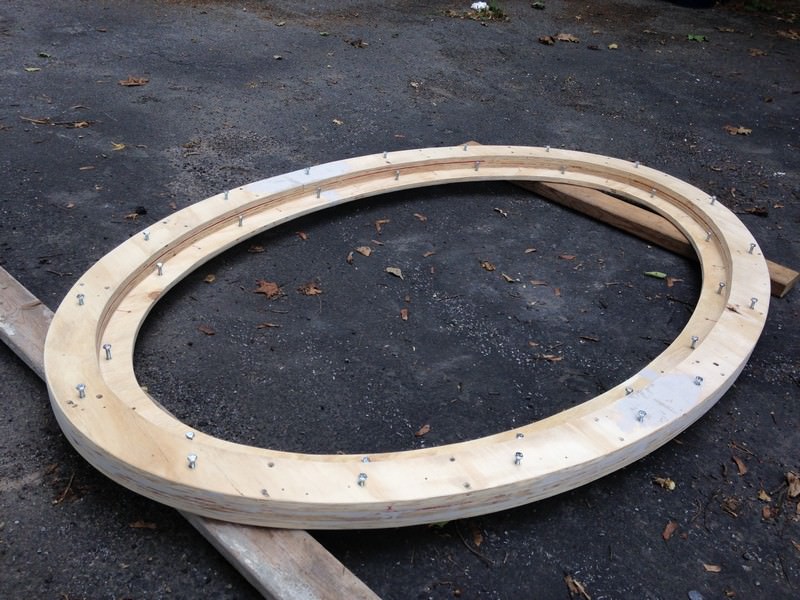
Put bolts into all the T-nuts first to keep primer out of the threads:
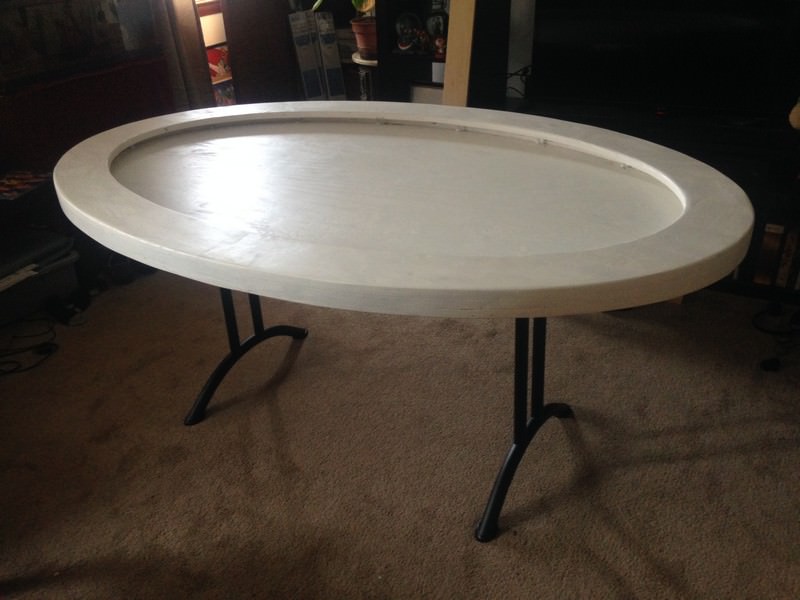
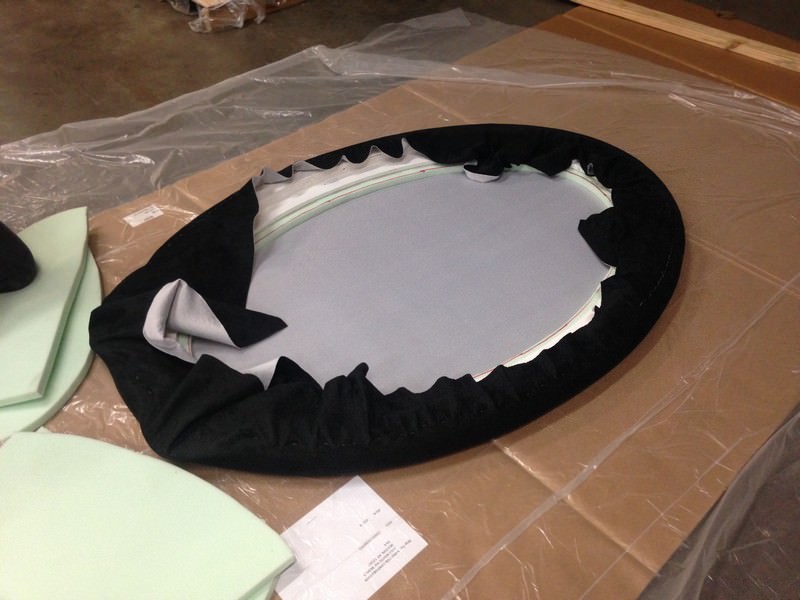
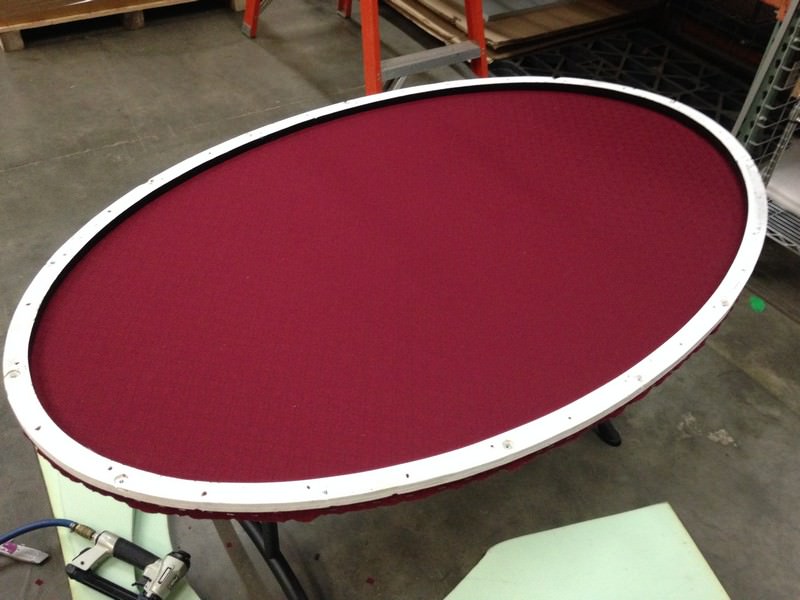
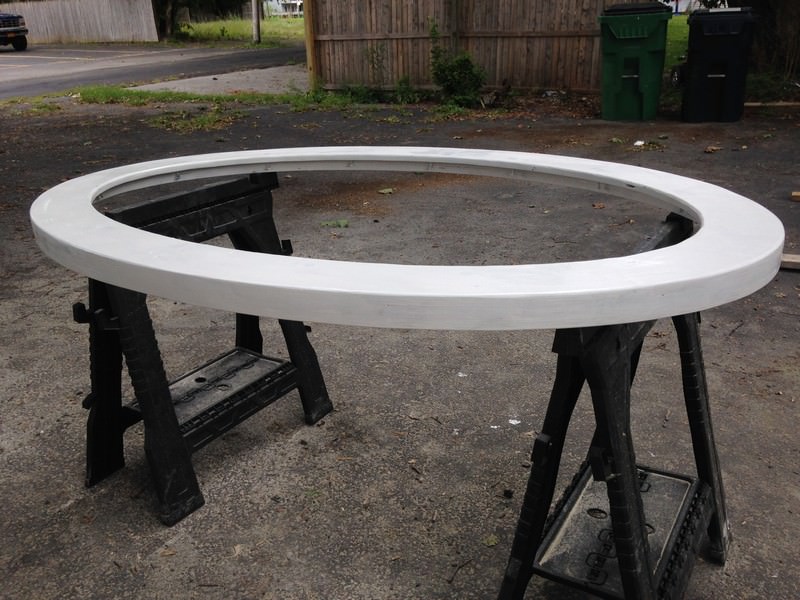
Priimed and (almost) ready for upholstery!!
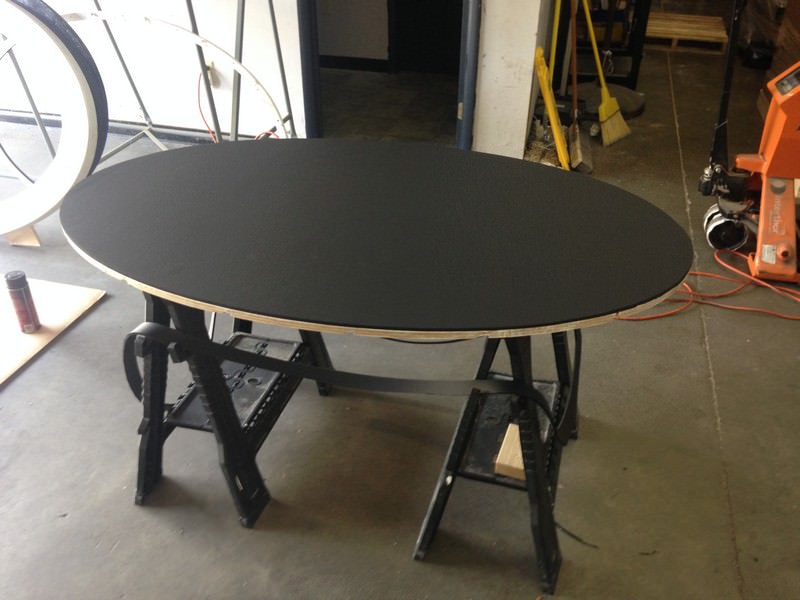
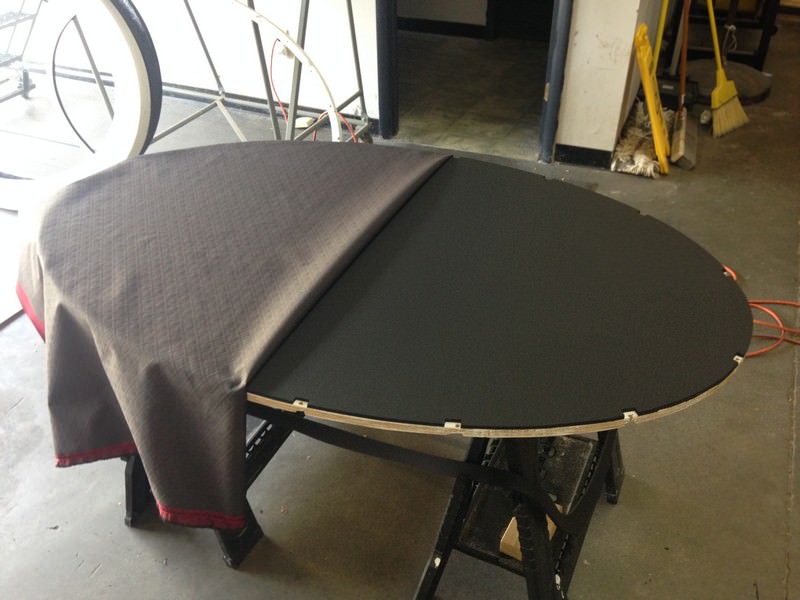
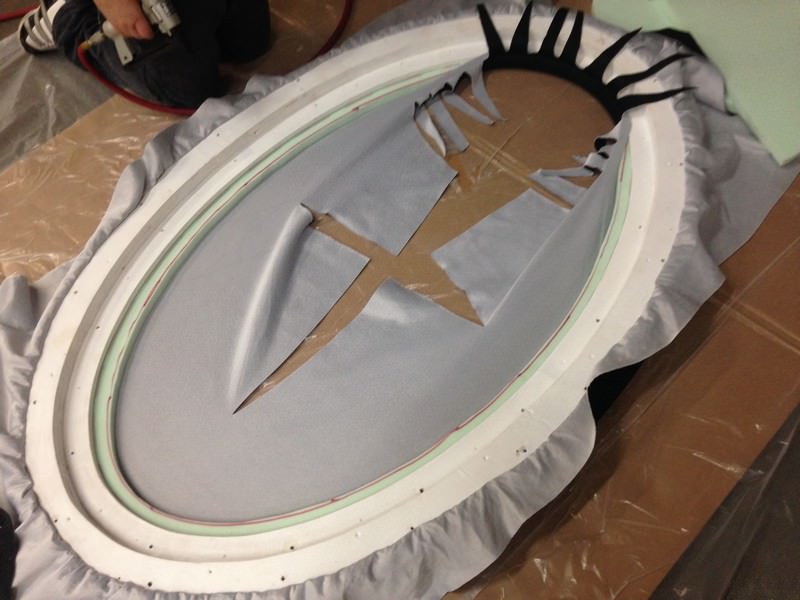
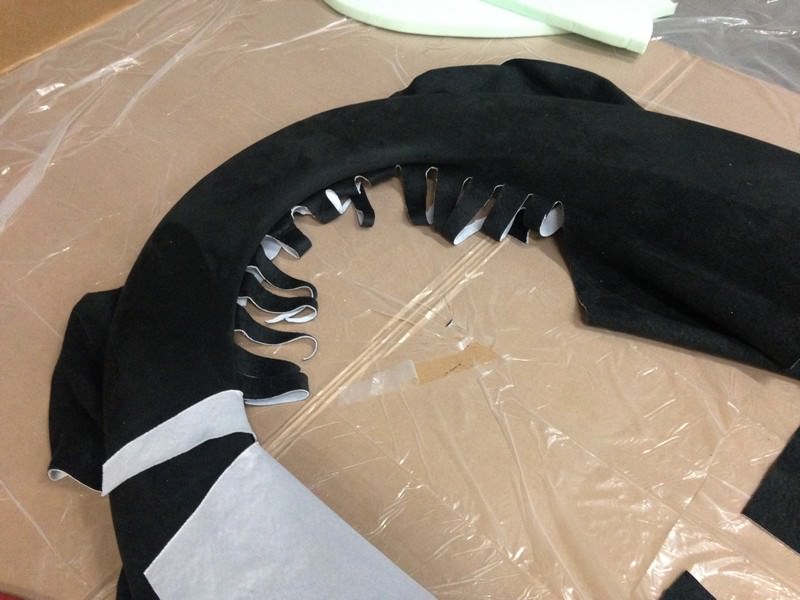
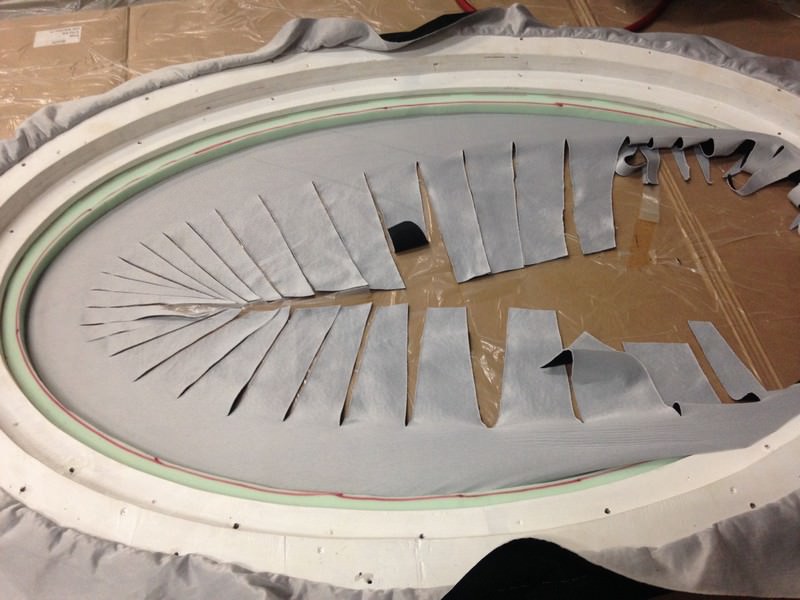
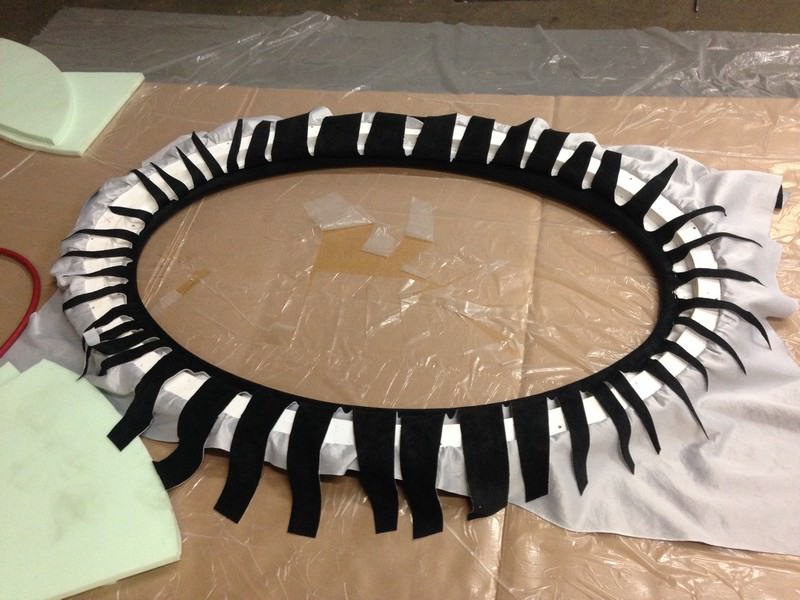
In the next installment we'll get the playing surface ready for upholstery, paint the riser and trim ring, and add a nice little feature that will make storing the table easier.
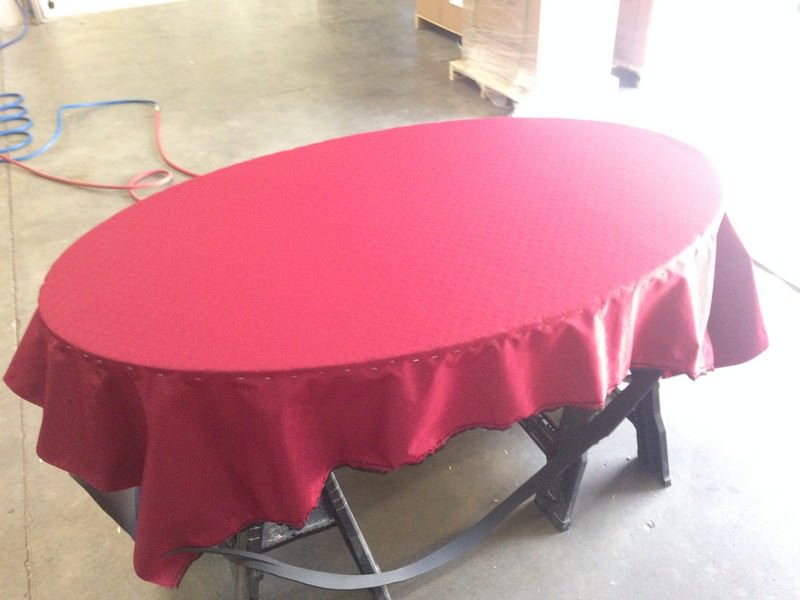
Then the fun part starts. I will get some upholstery posted before Thanksgiving!
Next up, tear down and final assembly of the rail. The previous assembly was just to ensure everything fit properly.
Layer one glued:
and screwed:
Layer two glued:
and screwed.... Okay you get the idea.
Next I have this huge gouged out piece to fix on the upper rail.
Glued down and clamped:
Sanded flush:
Now it's time for some filler. And by some, I mean this entire can. It's pretty good stuff - two part, dries very hard. Strong enough to use as an adhesive. Not at all like regular filler that you can scratch away with your fingernail.
It dries sooo fast though! They really try to ease you into that realization
:
OK, um, I would like to find the hookup for whatever these Minwax folk are puffing on. In 10+ batches I never got more than three minutes of working time, with correct mixture ratio and room temperature.
I worked very hard to get the rail as smooth and even as possible. Basically an entire weekend+ of filling, sanding, rinse & repeat. Here is a section after some rough sanding:
Belt sander got a good workout. You can see the fillets (rounded edges) on the three outside edges. I carefully sanded these to about 3/16" radius, also a ton of work. Ideally this would be done with a router, but my router went missing during my last move. Ugh, it was a nice router too. Bosch.
Recall the top surface of the rail is two pieces. I wanted to cut a pocket in the underside of these pieces and reinforce the joins with strips of wood. But without a router I didn't have a good way to pull that off. So I just loaded it up with the filler. To my surprise, this was reasonably effective.
The other joined section, sanded smooth:
The bodywork is finally done! If these were precision CNC-cut parts, I wouldn't have needed to do all this. It was probably still overkill, given this all gets covered with 1" foam. But I wanted to ensure as smooth and even a rail as I could get. Good results are always in the prep work.
Next issue was mold/mildew. I was storing my parts in a basement and each week I'd find some. So as soon as final sanding was complete, I gave the rail a coat of Killz primer.
Put bolts into all the T-nuts first to keep primer out of the threads:
Priimed and (almost) ready for upholstery!!
In the next installment we'll get the playing surface ready for upholstery, paint the riser and trim ring, and add a nice little feature that will make storing the table easier.
Then the fun part starts. I will get some upholstery posted before Thanksgiving!