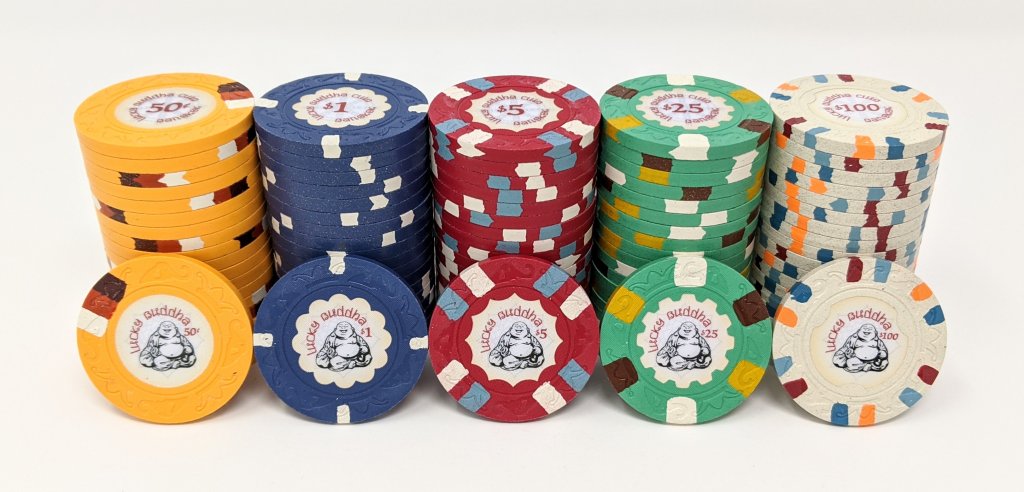
Shaped inlays: It's a lot of money for a fairly minor effect.
Investing the money saved by dropping shaped inlays into two to three levels more complex edge spots does, IMO, a lot more for the overall appearance of a chip. Complex edge spots are usually flashier than the (simple) real shaped inlays. There are exceptions to this rule and other things to consider, but yeah.
Also you can do faux shaped inlays as a zero-premium alternative. It does look good if done well. Most non-dayglo colors can be matched very well and even on dayglos it can look good. But I'd only try this with FDL, which does not put any sort of texture on the inlay.
For myself, I will always put satisfaction with the looks before money, but I do have a threshold of pain, in particular when the perceived cost-benefit ratio becomes bad.
I've done shaped inlays on Club Hel, which had mostly "cheaper" edge spot patterns, but not primarily for cost concerns but simply because I liked the looks. It would have been hard for me to find more complex spots that would give significantly better overall looks for the extra money spent.
For my FDL sets, I have done faux shaped inlays with varying levels of matching quality, ranging from perfect illusion to very obvious, but overall I am happy with the result. I used some very high level spots on those in large quantities, one even off the regular menu, for a "mere" 40-ish cent increase in averaged per-chip cost. The other FDL set with a little more tame spot levels (but still higher average level) cost me even a bit less per chip than the shaped inlay set.