BadMonkeyMusic
High Hand
OK,
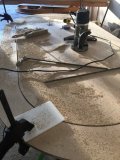
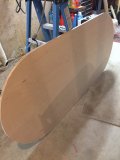
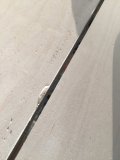
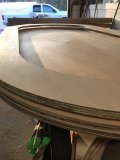
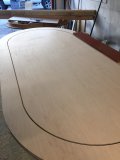
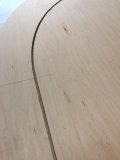
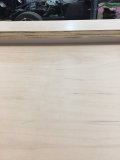
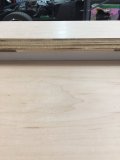
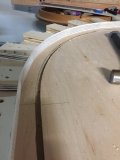
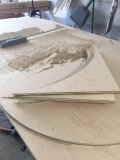
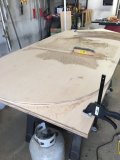
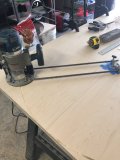
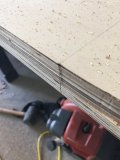
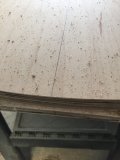
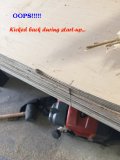
So I returned my warped panels and bought some nice 3/4 maple, very straight and very solid.
Stay away from cheap "radiata" ply at HD!
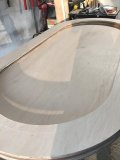
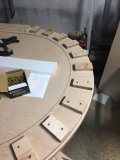
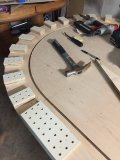
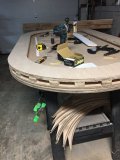
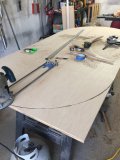
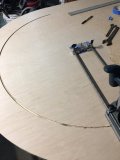
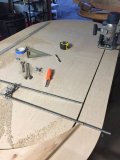
86"x44" overall
3 sheets 3/4" ply
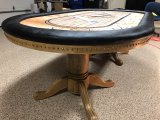
Black whisper vinyl
1/4" playing surface foam
1" 55lb rail foam (possibly doubling only wrapping over top layer)
dk blue SSC
custom under table sliding/removable cup holders
LED w/ 3/4" raised rail
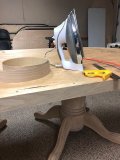
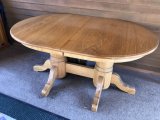
folding legs, until I find some nice pedestals on CL...
Here are a few crude sketch-ups on my design thought...
Lots of info from PCF's chipjoker... he went above and beyond getting me his documentation on a couple of his old builds! thanks!
Any and all input is welcomed... and encouraged! LOL


So I returned my warped panels and bought some nice 3/4 maple, very straight and very solid.
Stay away from cheap "radiata" ply at HD!
86"x44" overall
3 sheets 3/4" ply
Black whisper vinyl
1/4" playing surface foam
1" 55lb rail foam (possibly doubling only wrapping over top layer)
dk blue SSC
custom under table sliding/removable cup holders
LED w/ 3/4" raised rail
folding legs, until I find some nice pedestals on CL...
Here are a few crude sketch-ups on my design thought...
Lots of info from PCF's chipjoker... he went above and beyond getting me his documentation on a couple of his old builds! thanks!
Any and all input is welcomed... and encouraged! LOL

")