mikelphone
Sitting Out
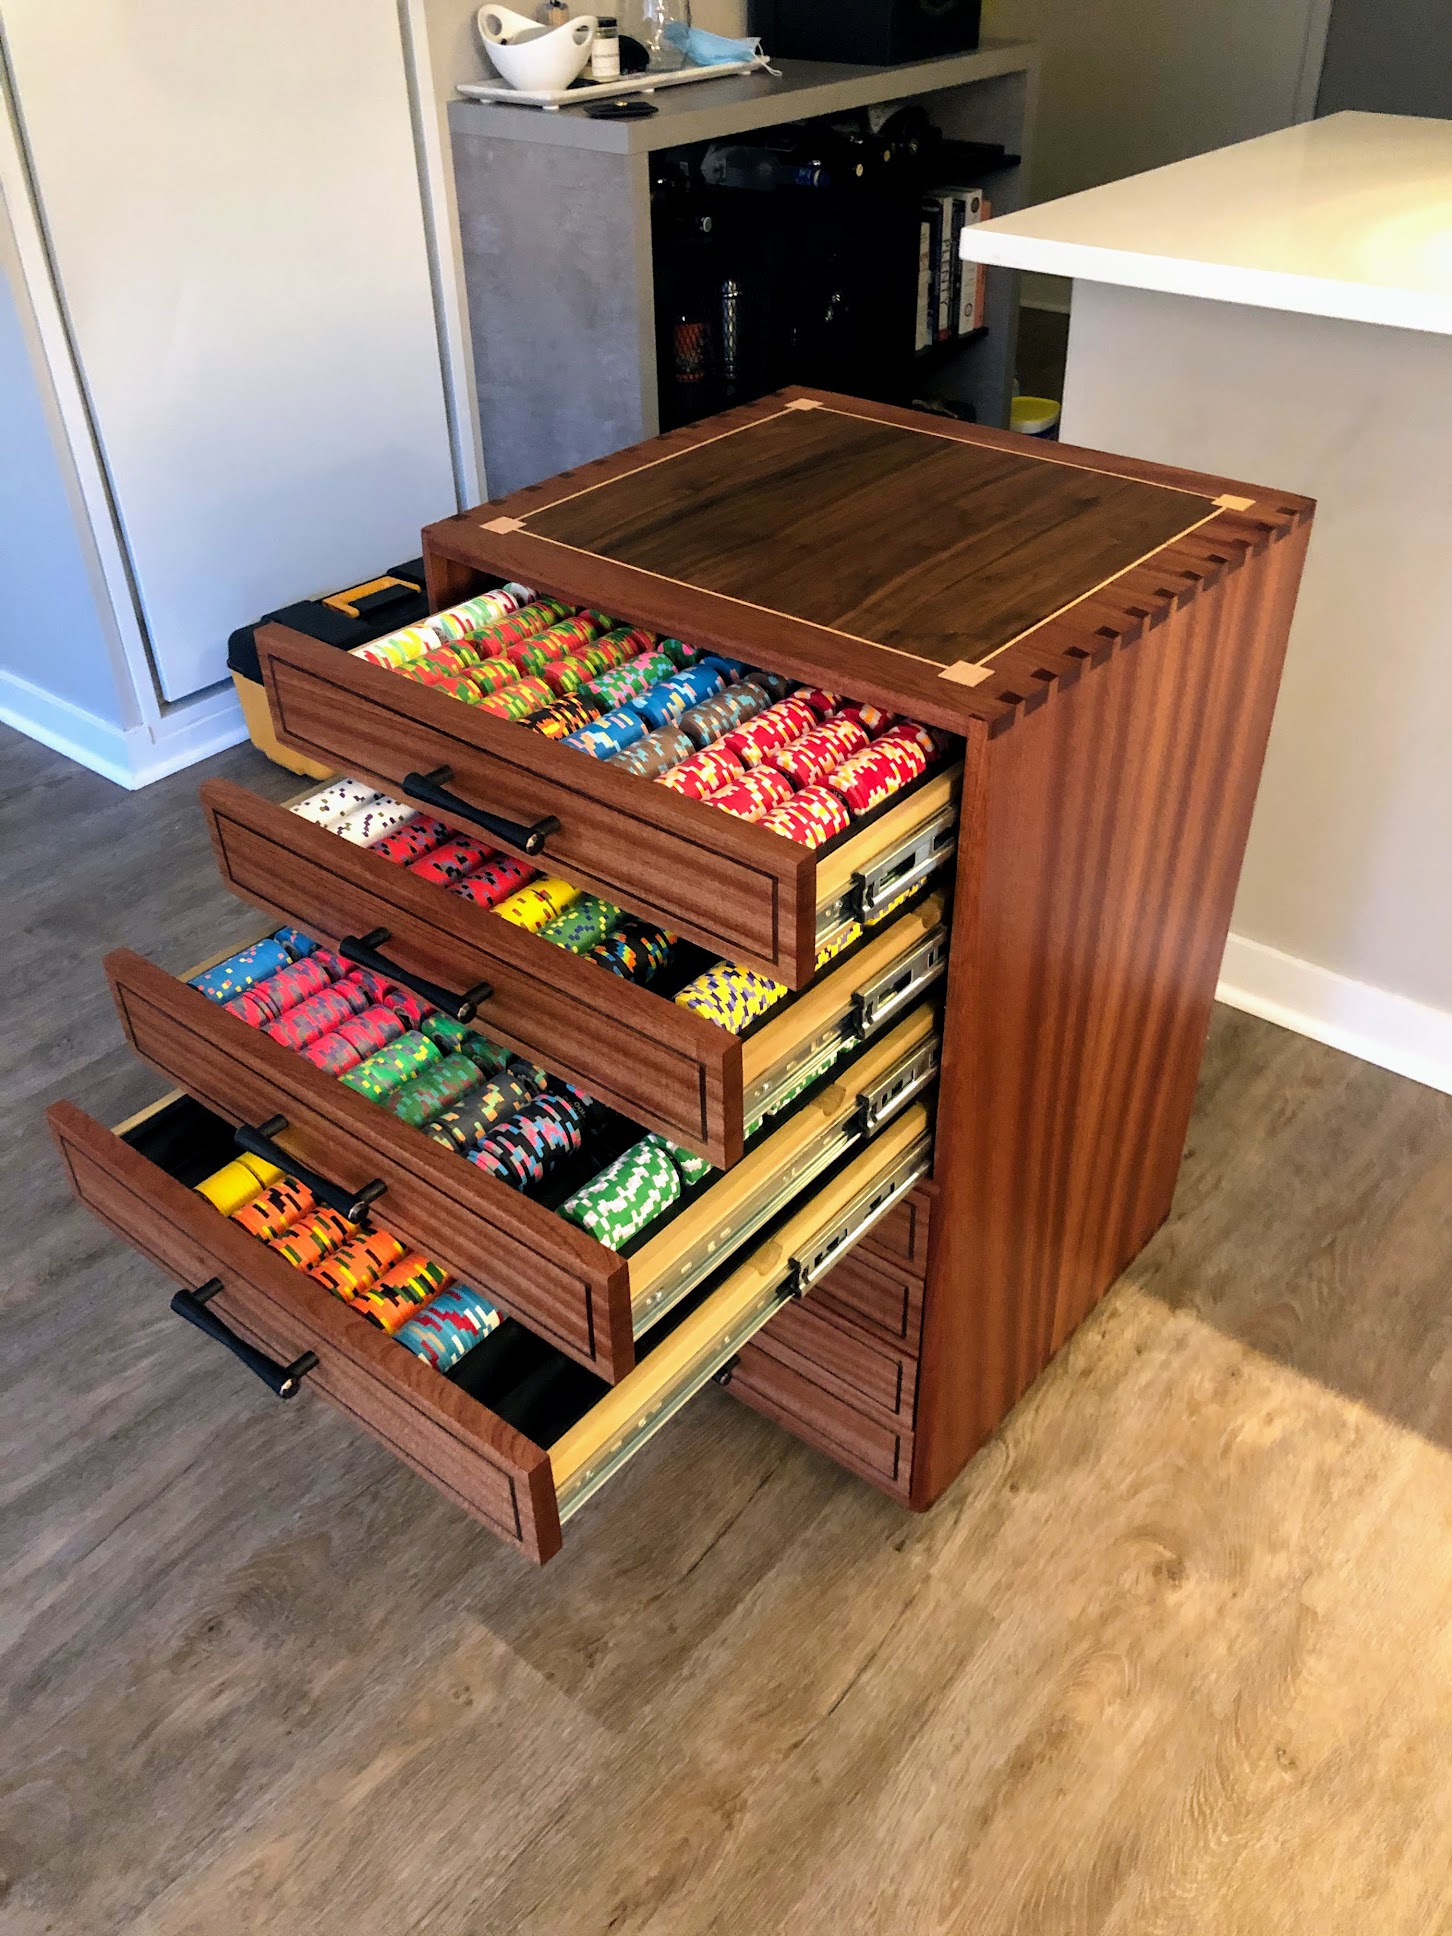
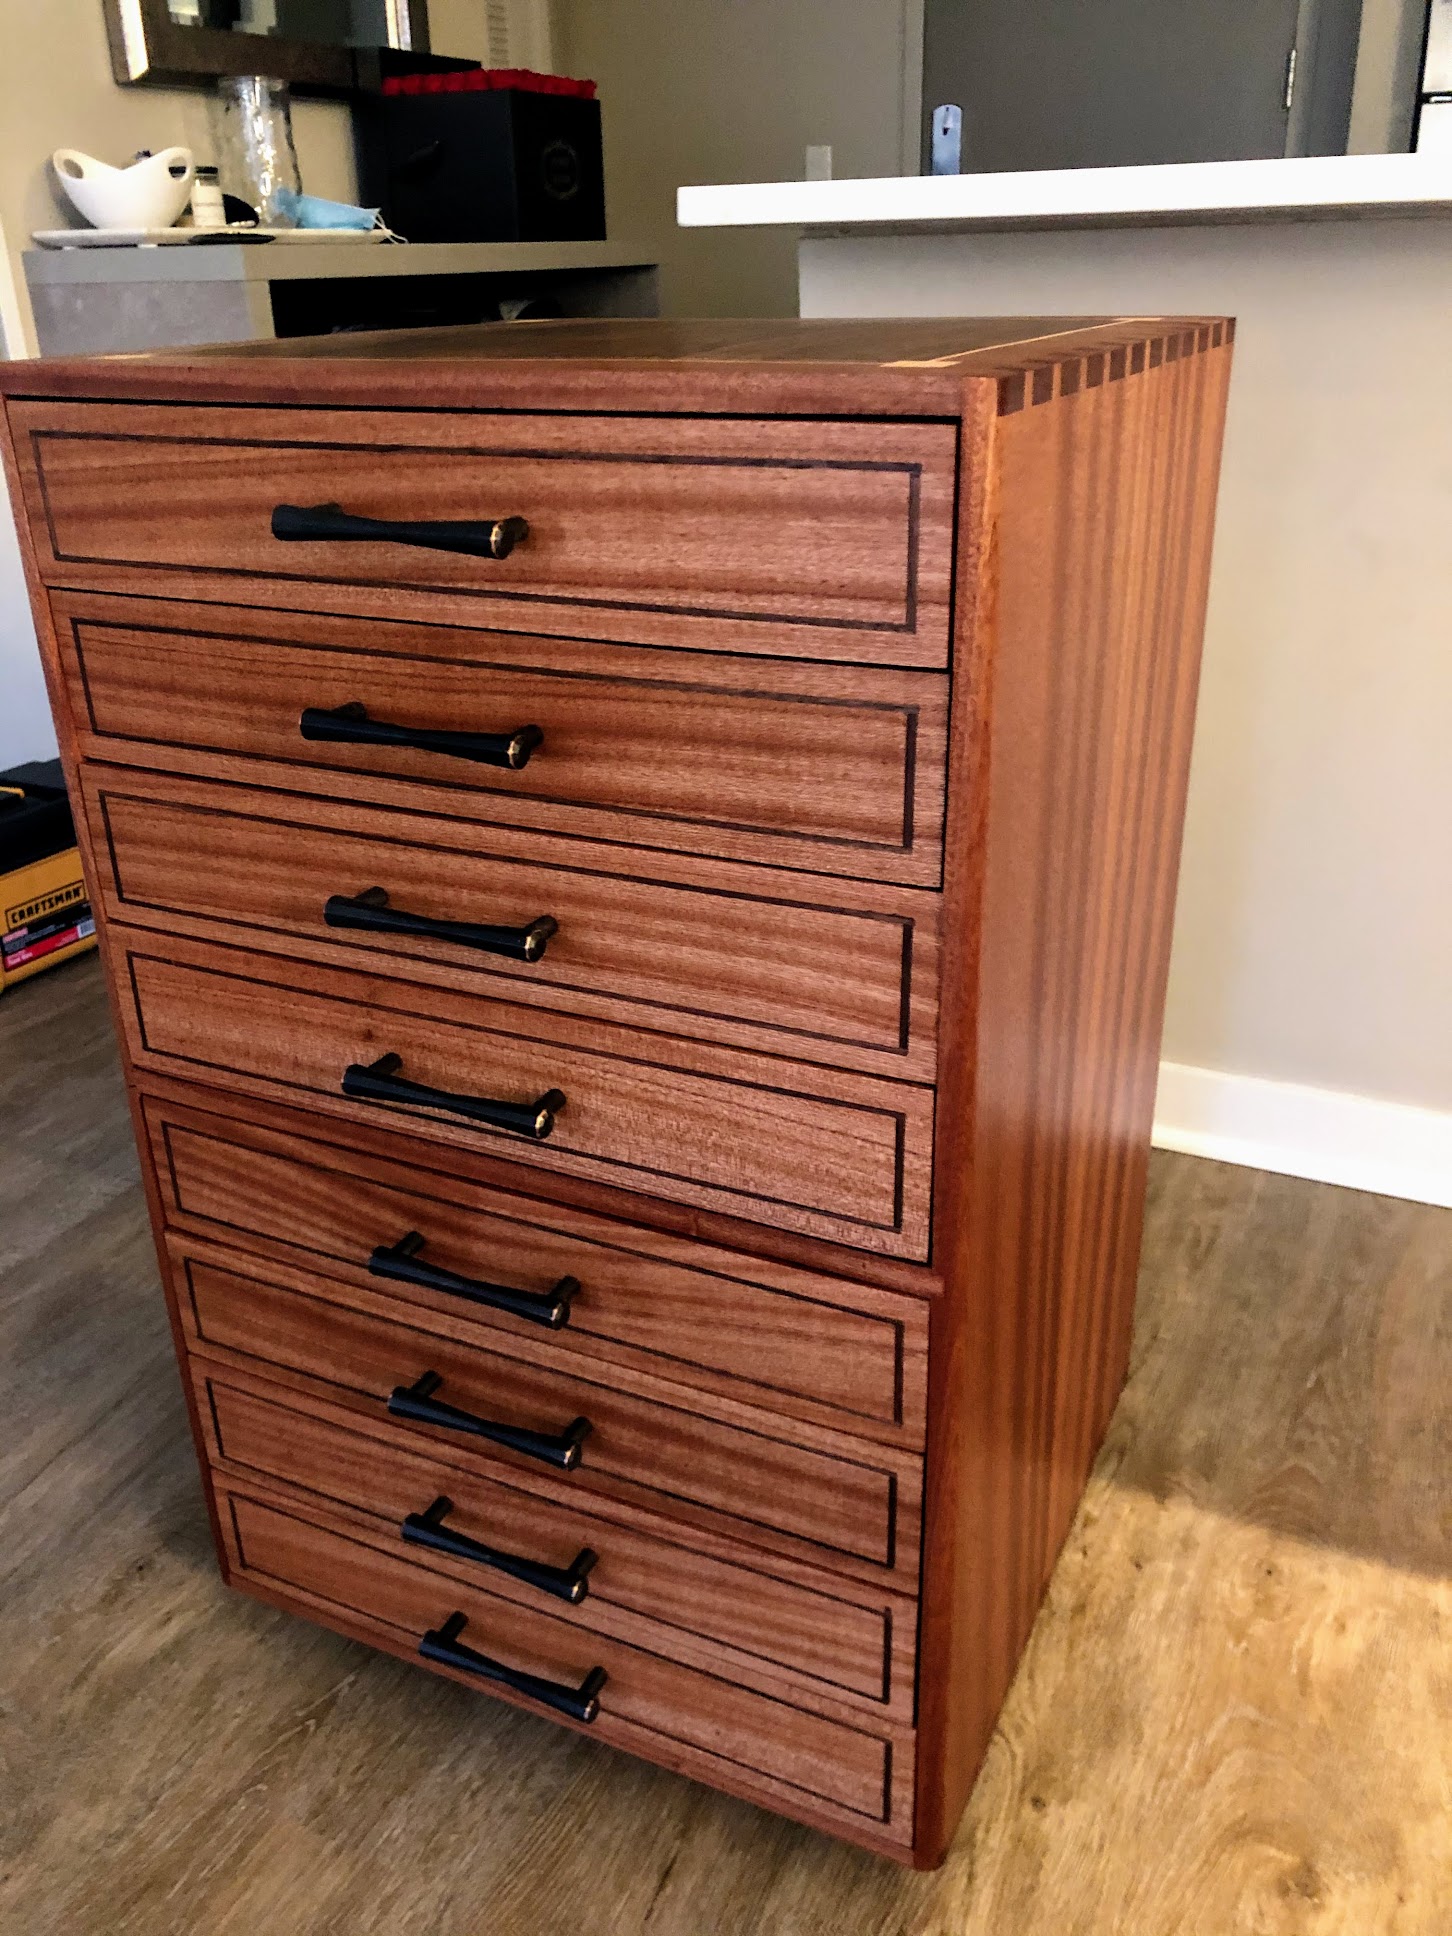
Very nice! The dovetails & inlays look sweet!


How long did that take to design and build?
Very nice! The dovetails & inlays look sweet!
The chip cabinet took 3 months bc I was doing it a little at a time at a community woodshop in Boulder. I did the shuffletech cabinet over a long 3 day weekend at my dad’s shop.Very nice! The dovetails & inlays look sweet!
How long did that take to design and build?
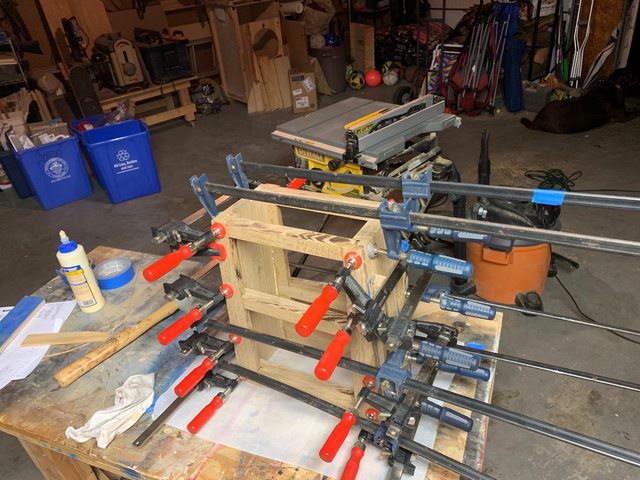
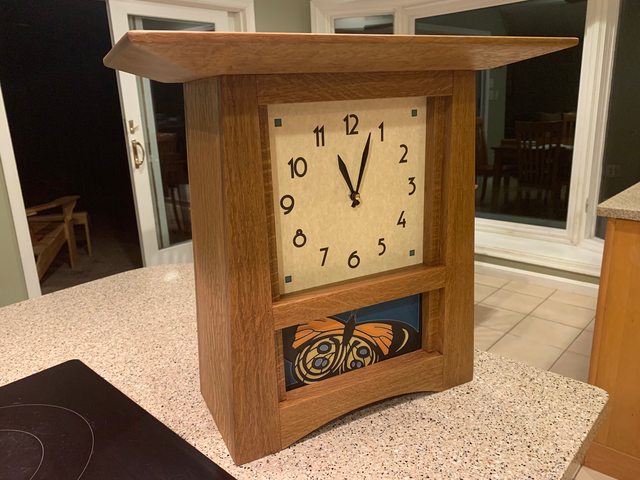
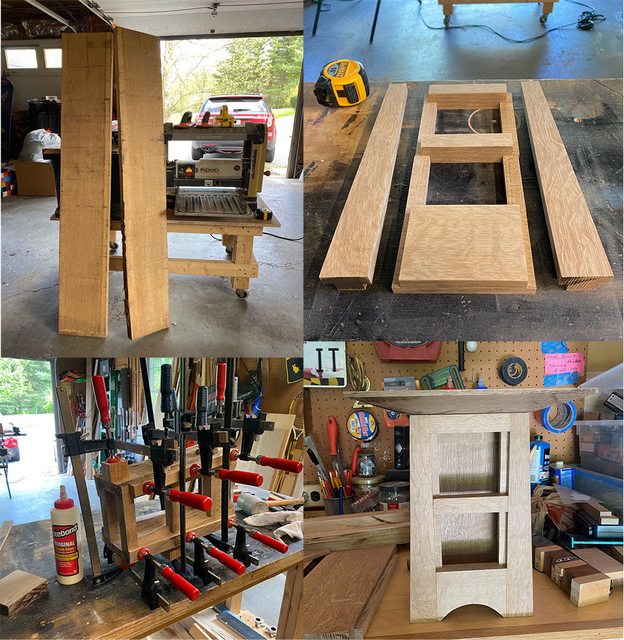
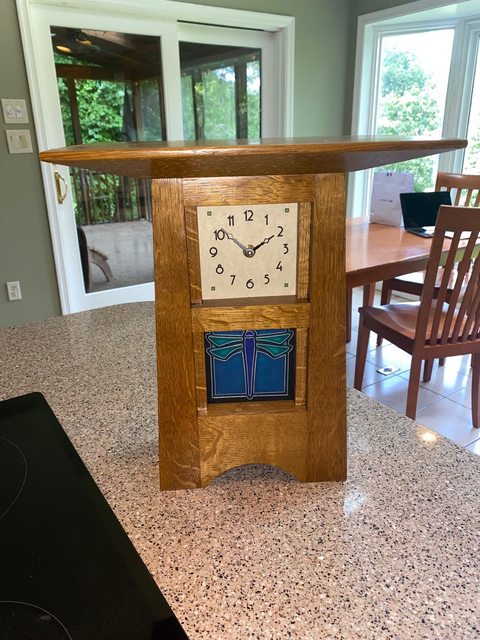

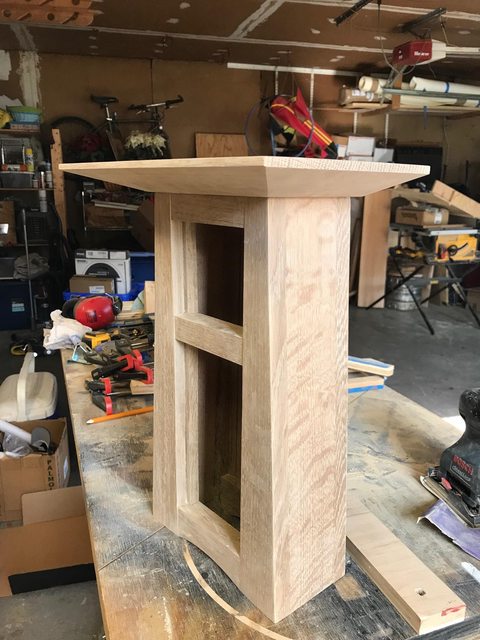
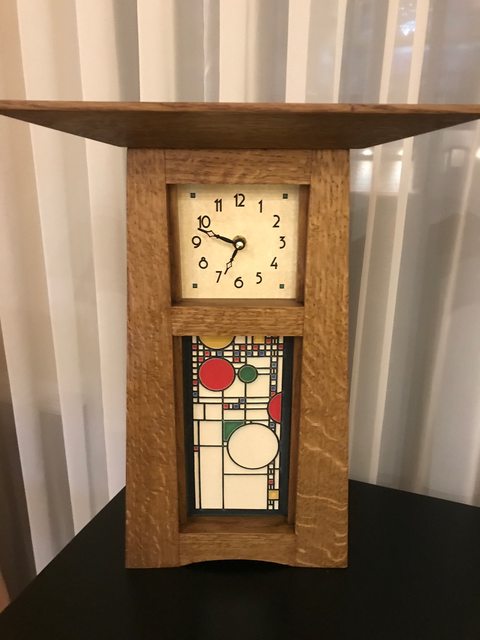
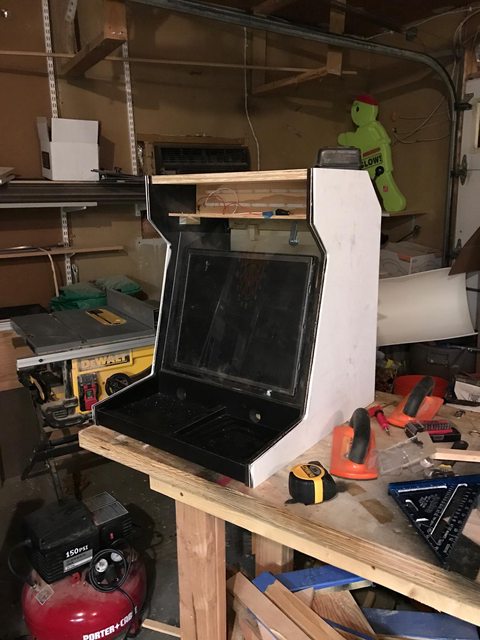
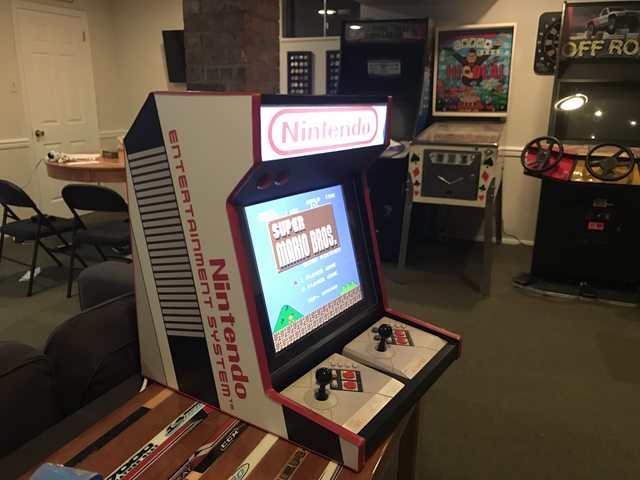

Damn you. Now I need to build a nintendo arcade machine.Some random projects I've done... I've been building clocks for members of my family. here's some examples
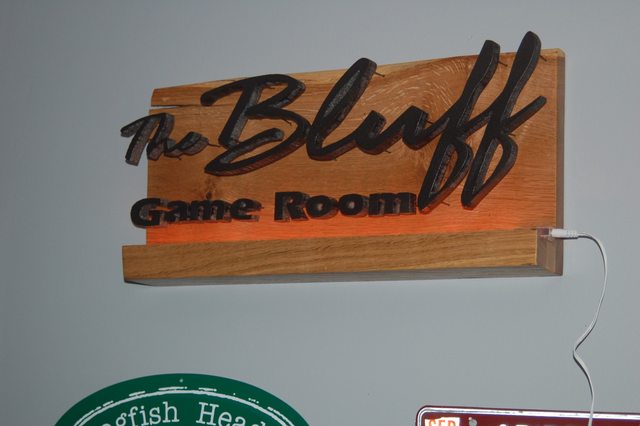
Built this light up sign for my basement
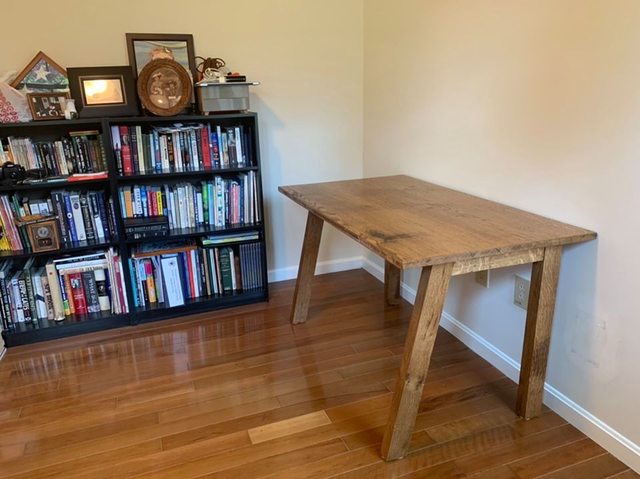
Built this desk while working from home at the start of covid
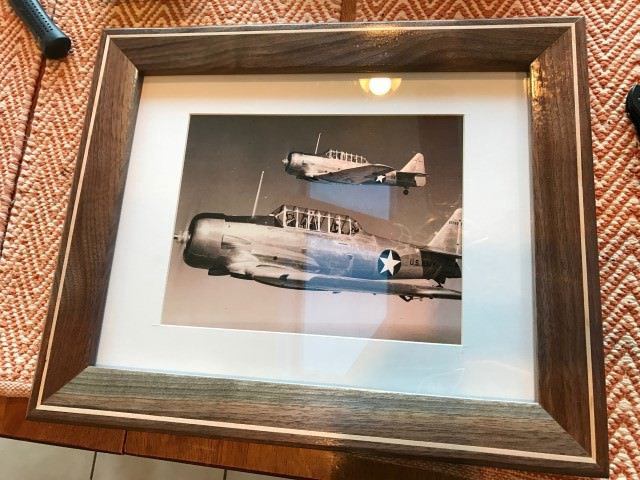
Frame I made for my mom - her dad is in the backseat of the plane
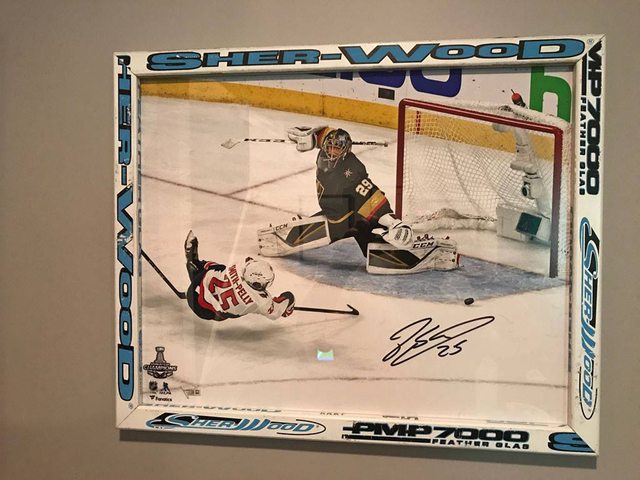
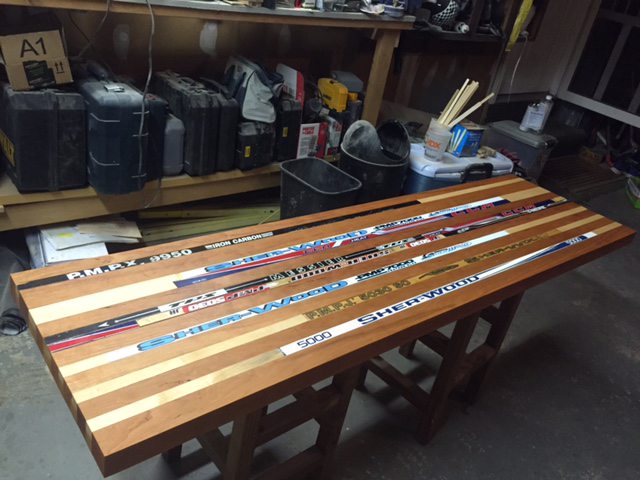
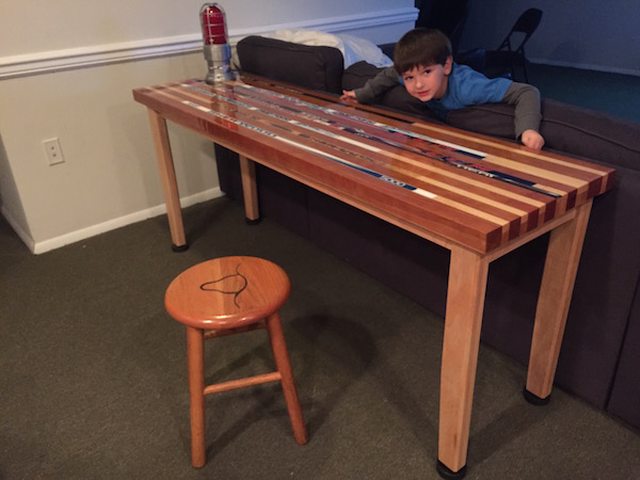
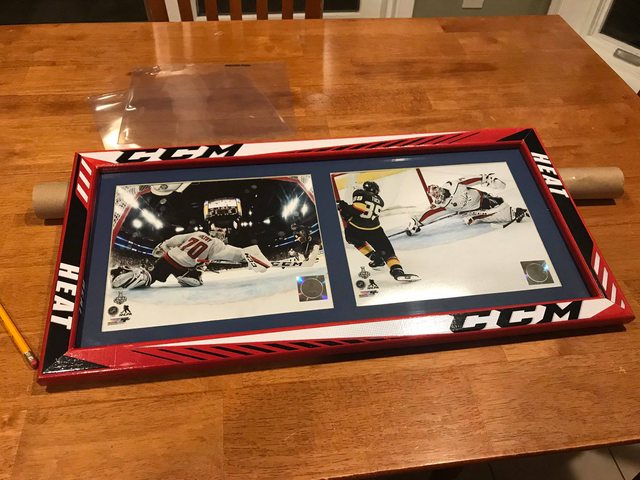
Hockey stick projects
I've made some arcade machines, videos of them on my youtube page.
Wood sticks are harder and harder to find these days. Here's another one I made for Holtby's save in the final.@Richard Cranium the recycled hockey stick frame and table are awesome, I have to say. Wish I was this handy, my broken sticks just go in the trash.
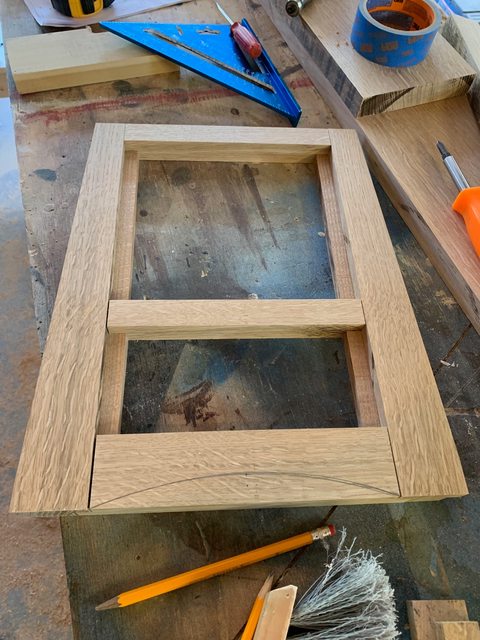
This is awesomeHaven't made anything really fun & complex in a while, just haven't had the time to get out all the tools. Latest project was a simple frame for the basement / card room.
View attachment 883875


The boards came out amazing @Irish ! Great detail and the level on the back of each board is such an awesome touch.Simple but fun project over the memorial day weekend - cornhole boards.
View attachment 1143250
View attachment 1143251
View attachment 1143252
View attachment 1143253
View attachment 1143254
View attachment 1143255
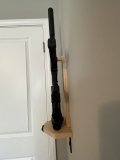
Its a support, the small holes in it is how it is attached to the platform, it likely also assists in prevent it from warping, the 'anchors' for that go into the frame horizontally, you can see if you look close.What is the additional board in picture 3 with lots of small holes attached to the inside of the board?
Couple questions:
- What is the additional board in picture 3 with lots of small holes attached to the inside of the board?
It's a vinyl decal I purchased online, they size them so they're ~20" wide to fit on a 24" board. They come on a sheet with front/backing paper, you center it, tape it down in the middle, peel off the back of half, secure it down / squeegee it with a credit card to make it smooth, repeat for the other side and then remove the front backing paper. More info here: https://customcorntoss.com/apply-cornhole-decals/- How did you do the logo sizing and transfer?
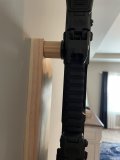
- Did you use 2 clips on each side of the boards for when you attach them together or a hinge type attachment on one side?
Awesome. Thanks for the responses. I'm a huge proponent of re-using/re-purposing old projects into new projects.The frame pieces were all leftovers from another project. I had built my oldest son a nice loft bed & bookcase when he was little:
View attachment 1144176
But once he hit like 15 he needed more overhead clearance, so I cut everything down to more normal height frame, removed the railing and happened to save the wood. So, being thecheap bastardresourceful dude I am, I re-purposed the leftovers for this project to save a few bucks as wood is crazy expensive these days. I had *almost* enough longer pieces for the 4' sides, but was like 8" short on one piece, so I spliced it and that inside piece with all the screws is the splice plate joining the two pieces. The frame is inset about an inch from the edge of the plywood, so you really can't see much of the frame when you're playing, especially on the low end.
View attachment 1144177
It's a vinyl decal I purchased online, they size them so they're ~20" wide to fit on a 24" board. They come on a sheet with front/backing paper, you center it, tape it down in the middle, peel off the back of half, secure it down / squeegee it with a credit card to make it smooth, repeat for the other side and then remove the front backing paper. More info here: https://customcorntoss.com/apply-cornhole-decals/
One side has a pair of slip hinges (see pic above), the other side a pair of latches. This way you can unlatch it, open it up like a coffin and toss in the bags for storage / transportation (though with both boards together it's fairly heavy / bulk
Looks great! There's so many different options for cornhole boards - these turned out amazing!The frame pieces were all leftovers from another project. I had built my oldest son a nice loft bed & bookcase when he was little:
View attachment 1144176
But once he hit like 15 he needed more overhead clearance, so I cut everything down to more normal height frame, removed the railing and happened to save the wood. So, being thecheap bastardresourceful dude I am, I re-purposed the leftovers for this project to save a few bucks as wood is crazy expensive these days. I had *almost* enough longer pieces for the 4' sides, but was like 8" short on one piece, so I spliced it and that inside piece with all the screws is the splice plate joining the two pieces. The frame is inset about an inch from the edge of the plywood, so you really can't see much of the frame when you're playing, especially on the low end.
View attachment 1144177
It's a vinyl decal I purchased online, they size them so they're ~20" wide to fit on a 24" board. They come on a sheet with front/backing paper, you center it, tape it down in the middle, peel off the back of half, secure it down / squeegee it with a credit card to make it smooth, repeat for the other side and then remove the front backing paper. More info here: https://customcorntoss.com/apply-cornhole-decals/
One side has a pair of slip hinges (see pic above), the other side a pair of latches. This way you can unlatch it, open it up like a coffin and toss in the bags for storage / transportation (though with both boards together it's fairly heavy / bulky)
Looks great! There's so many different options for cornhole boards - these turned out amazing!
We build tons of boards for our ACL leagues near me - Did you polycrylic over the top of the decal? We have some people do a direct print to the wood itself which is definitely the best but for vinyl I'll use a polycrylic because a traditional polyurethane tends to yellow over time (and you don't want the vinyl to peel) - I did the same thing with that farmhouse sign if you want to take a look at the finish! Just a few coats with sanding in between is great playing surface for cornhole too! I think I've seen people use a lacquer before but the bags don't slide quite the same on that
We'll use 1x3s for frame + legs with a cross brace between the legs so they move as a single unit. 3/4in plywood for surface, 1/4in rounded routing around surface too - same pocket hole construction!
View attachment 1144479
View attachment 1144480
These look great! One suggestion I would make, which is pretty standard-fare on competition boards, is to radius the corners so they are a little less pointy.Looks great! There's so many different options for cornhole boards - these turned out amazing!
We build tons of boards for our ACL leagues near me - Did you polycrylic over the top of the decal? We have some people do a direct print to the wood itself which is definitely the best but for vinyl I'll use a polycrylic because a traditional polyurethane tends to yellow over time (and you don't want the vinyl to peel) - I did the same thing with that farmhouse sign if you want to take a look at the finish! Just a few coats with sanding in between is great playing surface for cornhole too! I think I've seen people use a lacquer before but the bags don't slide quite the same on that
We'll use 1x3s for frame + legs with a cross brace between the legs so they move as a single unit. 3/4in plywood for surface, 1/4in rounded routing around surface too - same pocket hole construction!
View attachment 1144479
View attachment 1144480
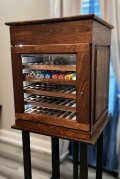
Looks great! Is there a storage space from the top?Just finished 6000 count chip cabinet in Black Walnut.
Yes. has lid with stay hingesLooks great! Is there a storage space from the top?