Marius L
4 of a Kind
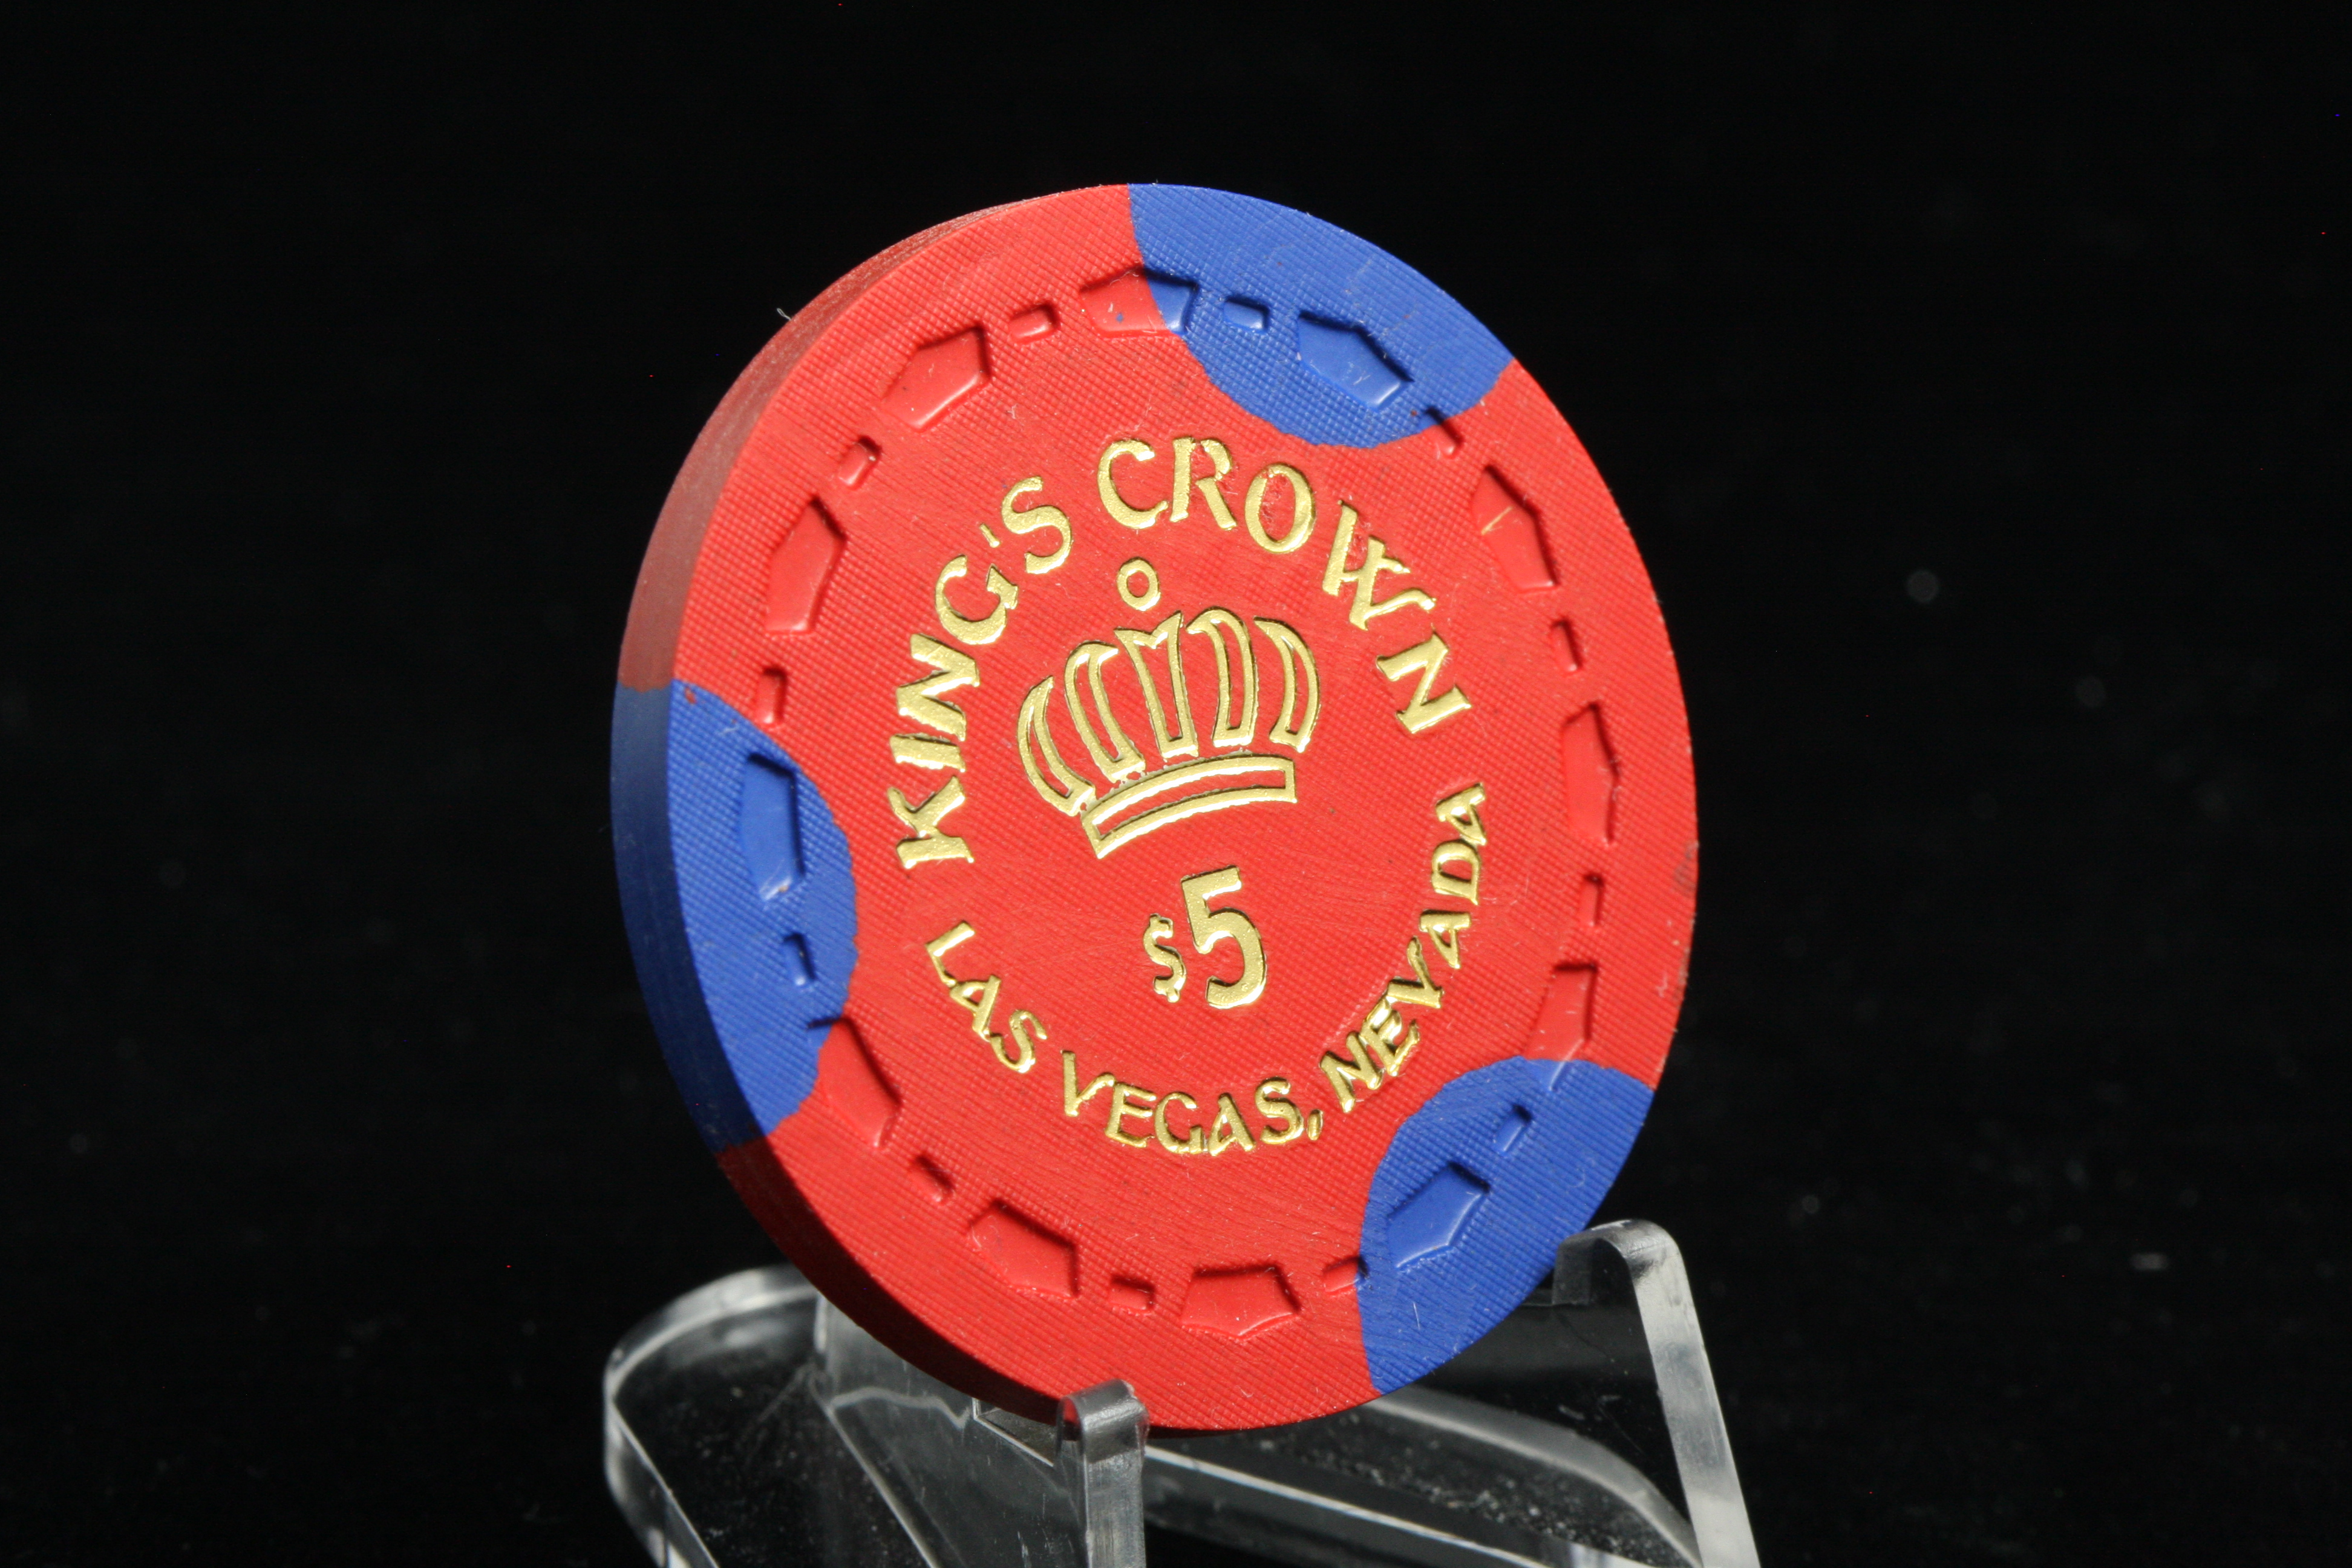
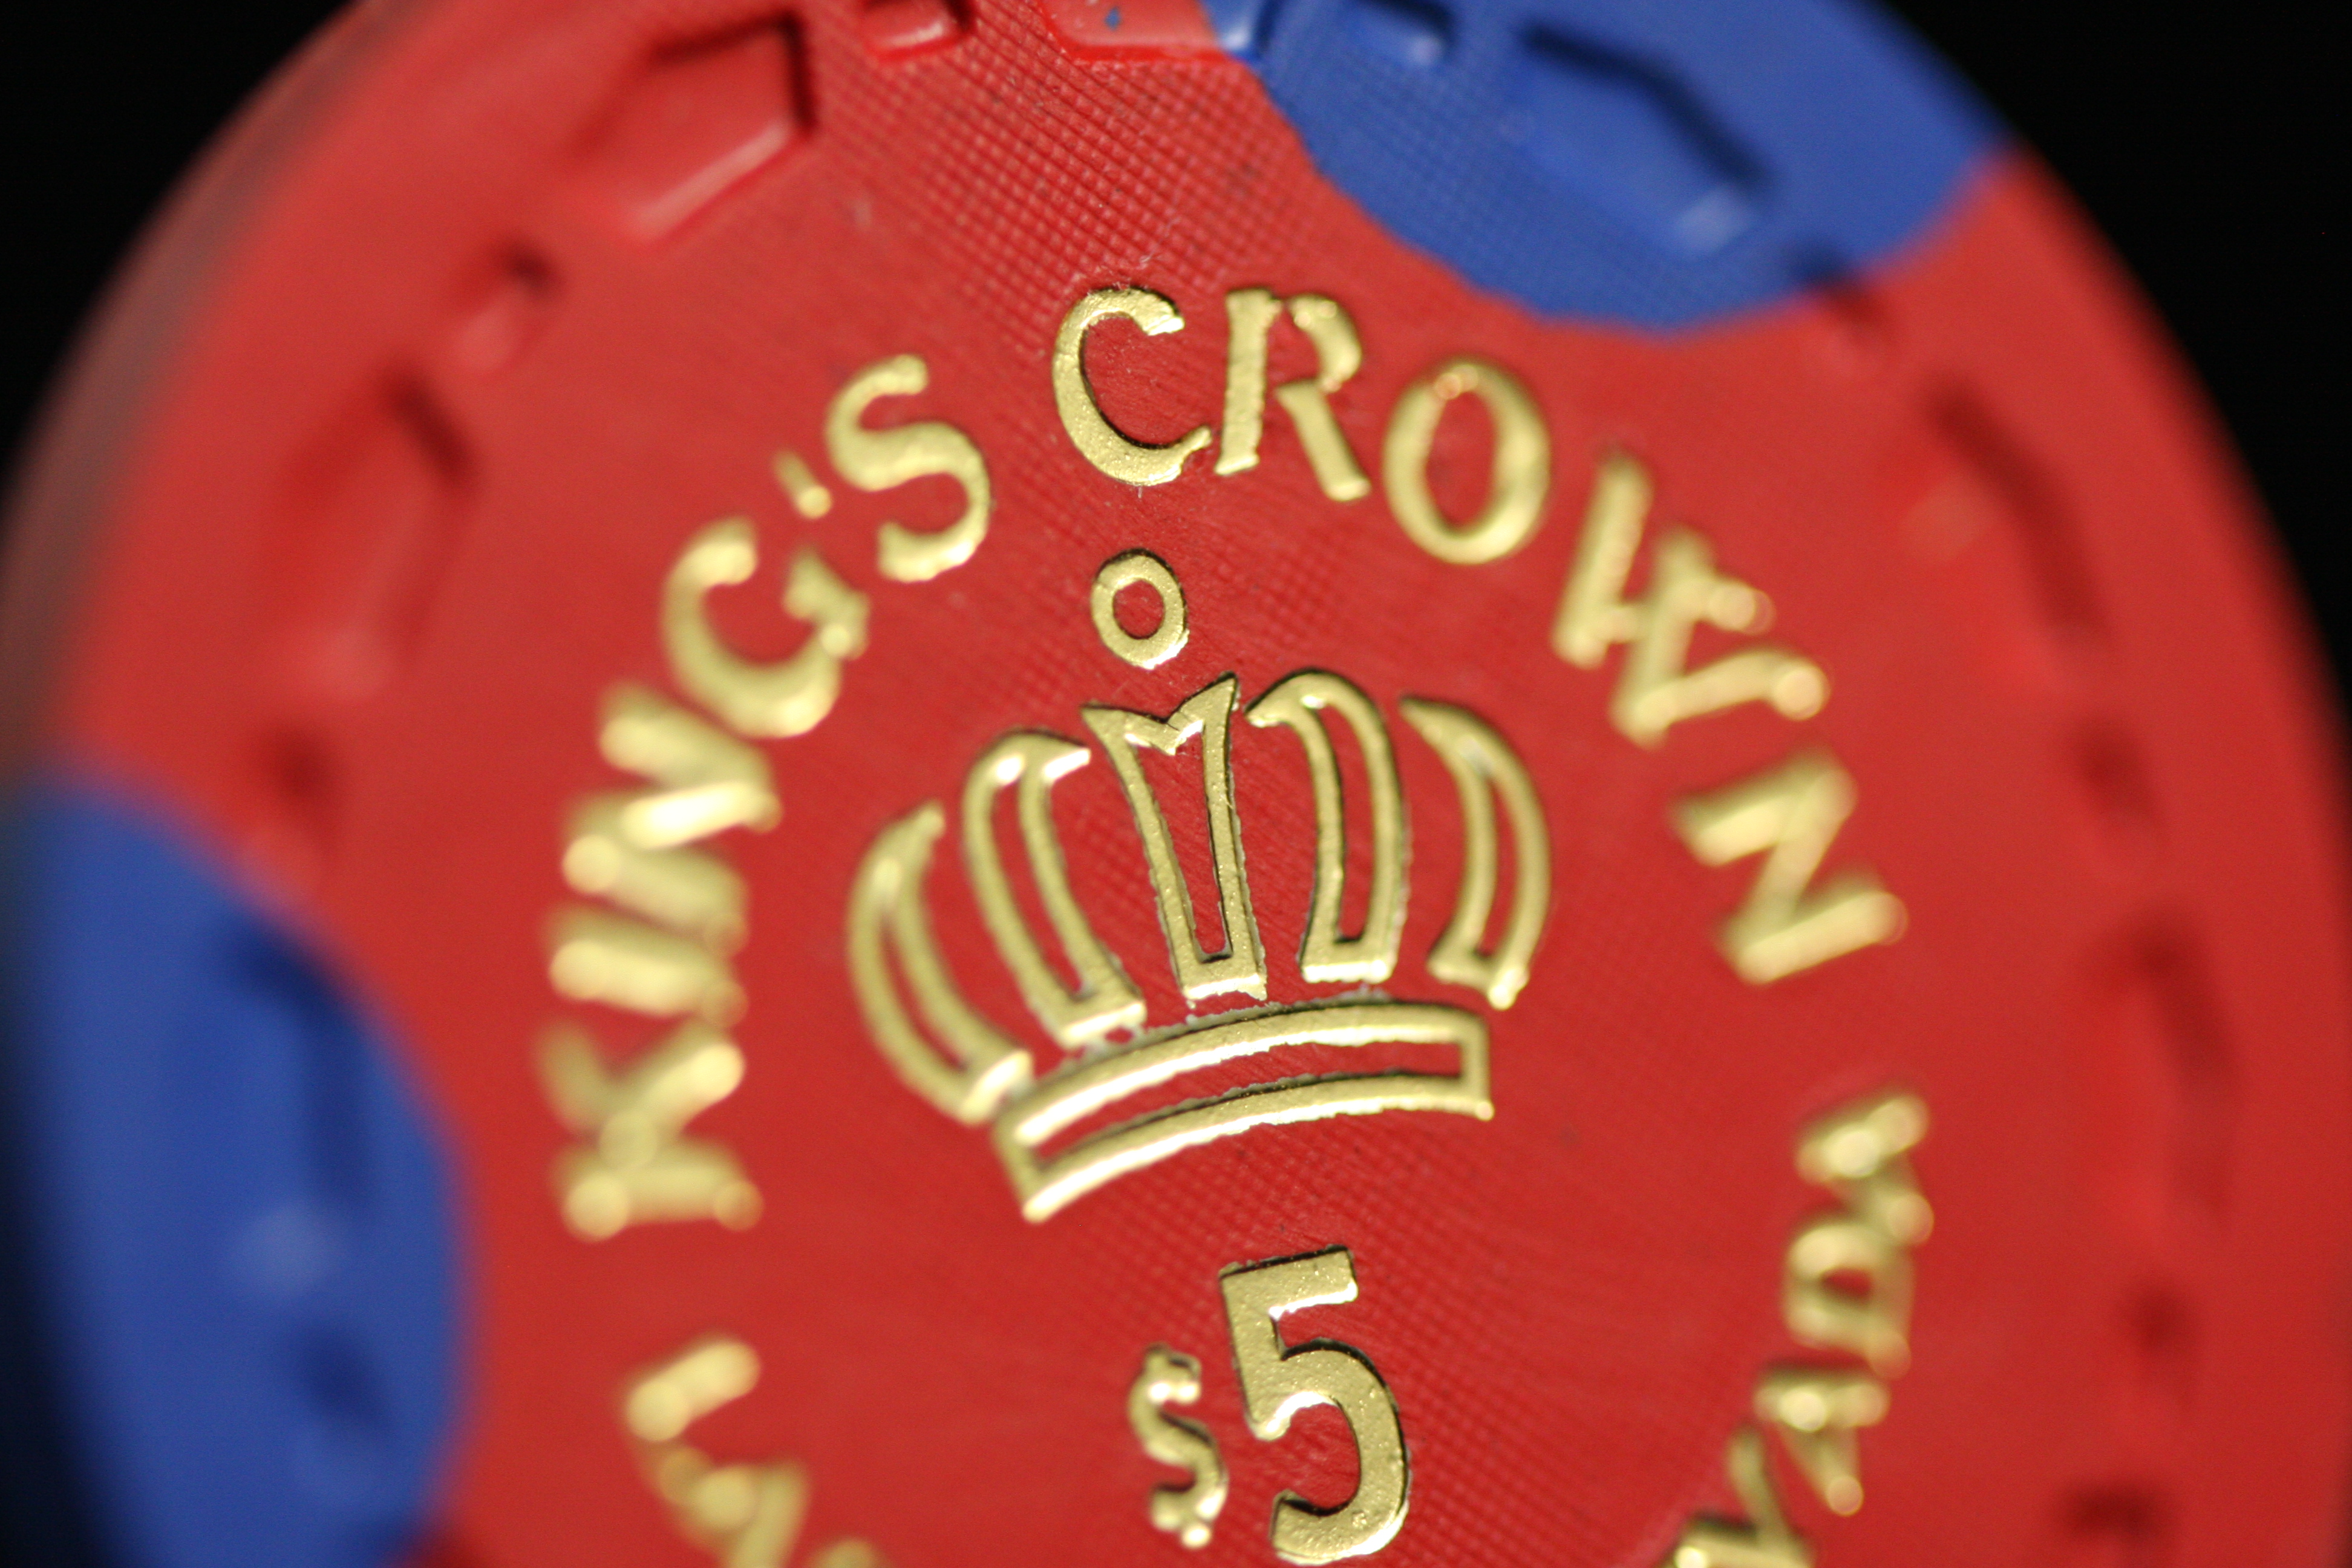
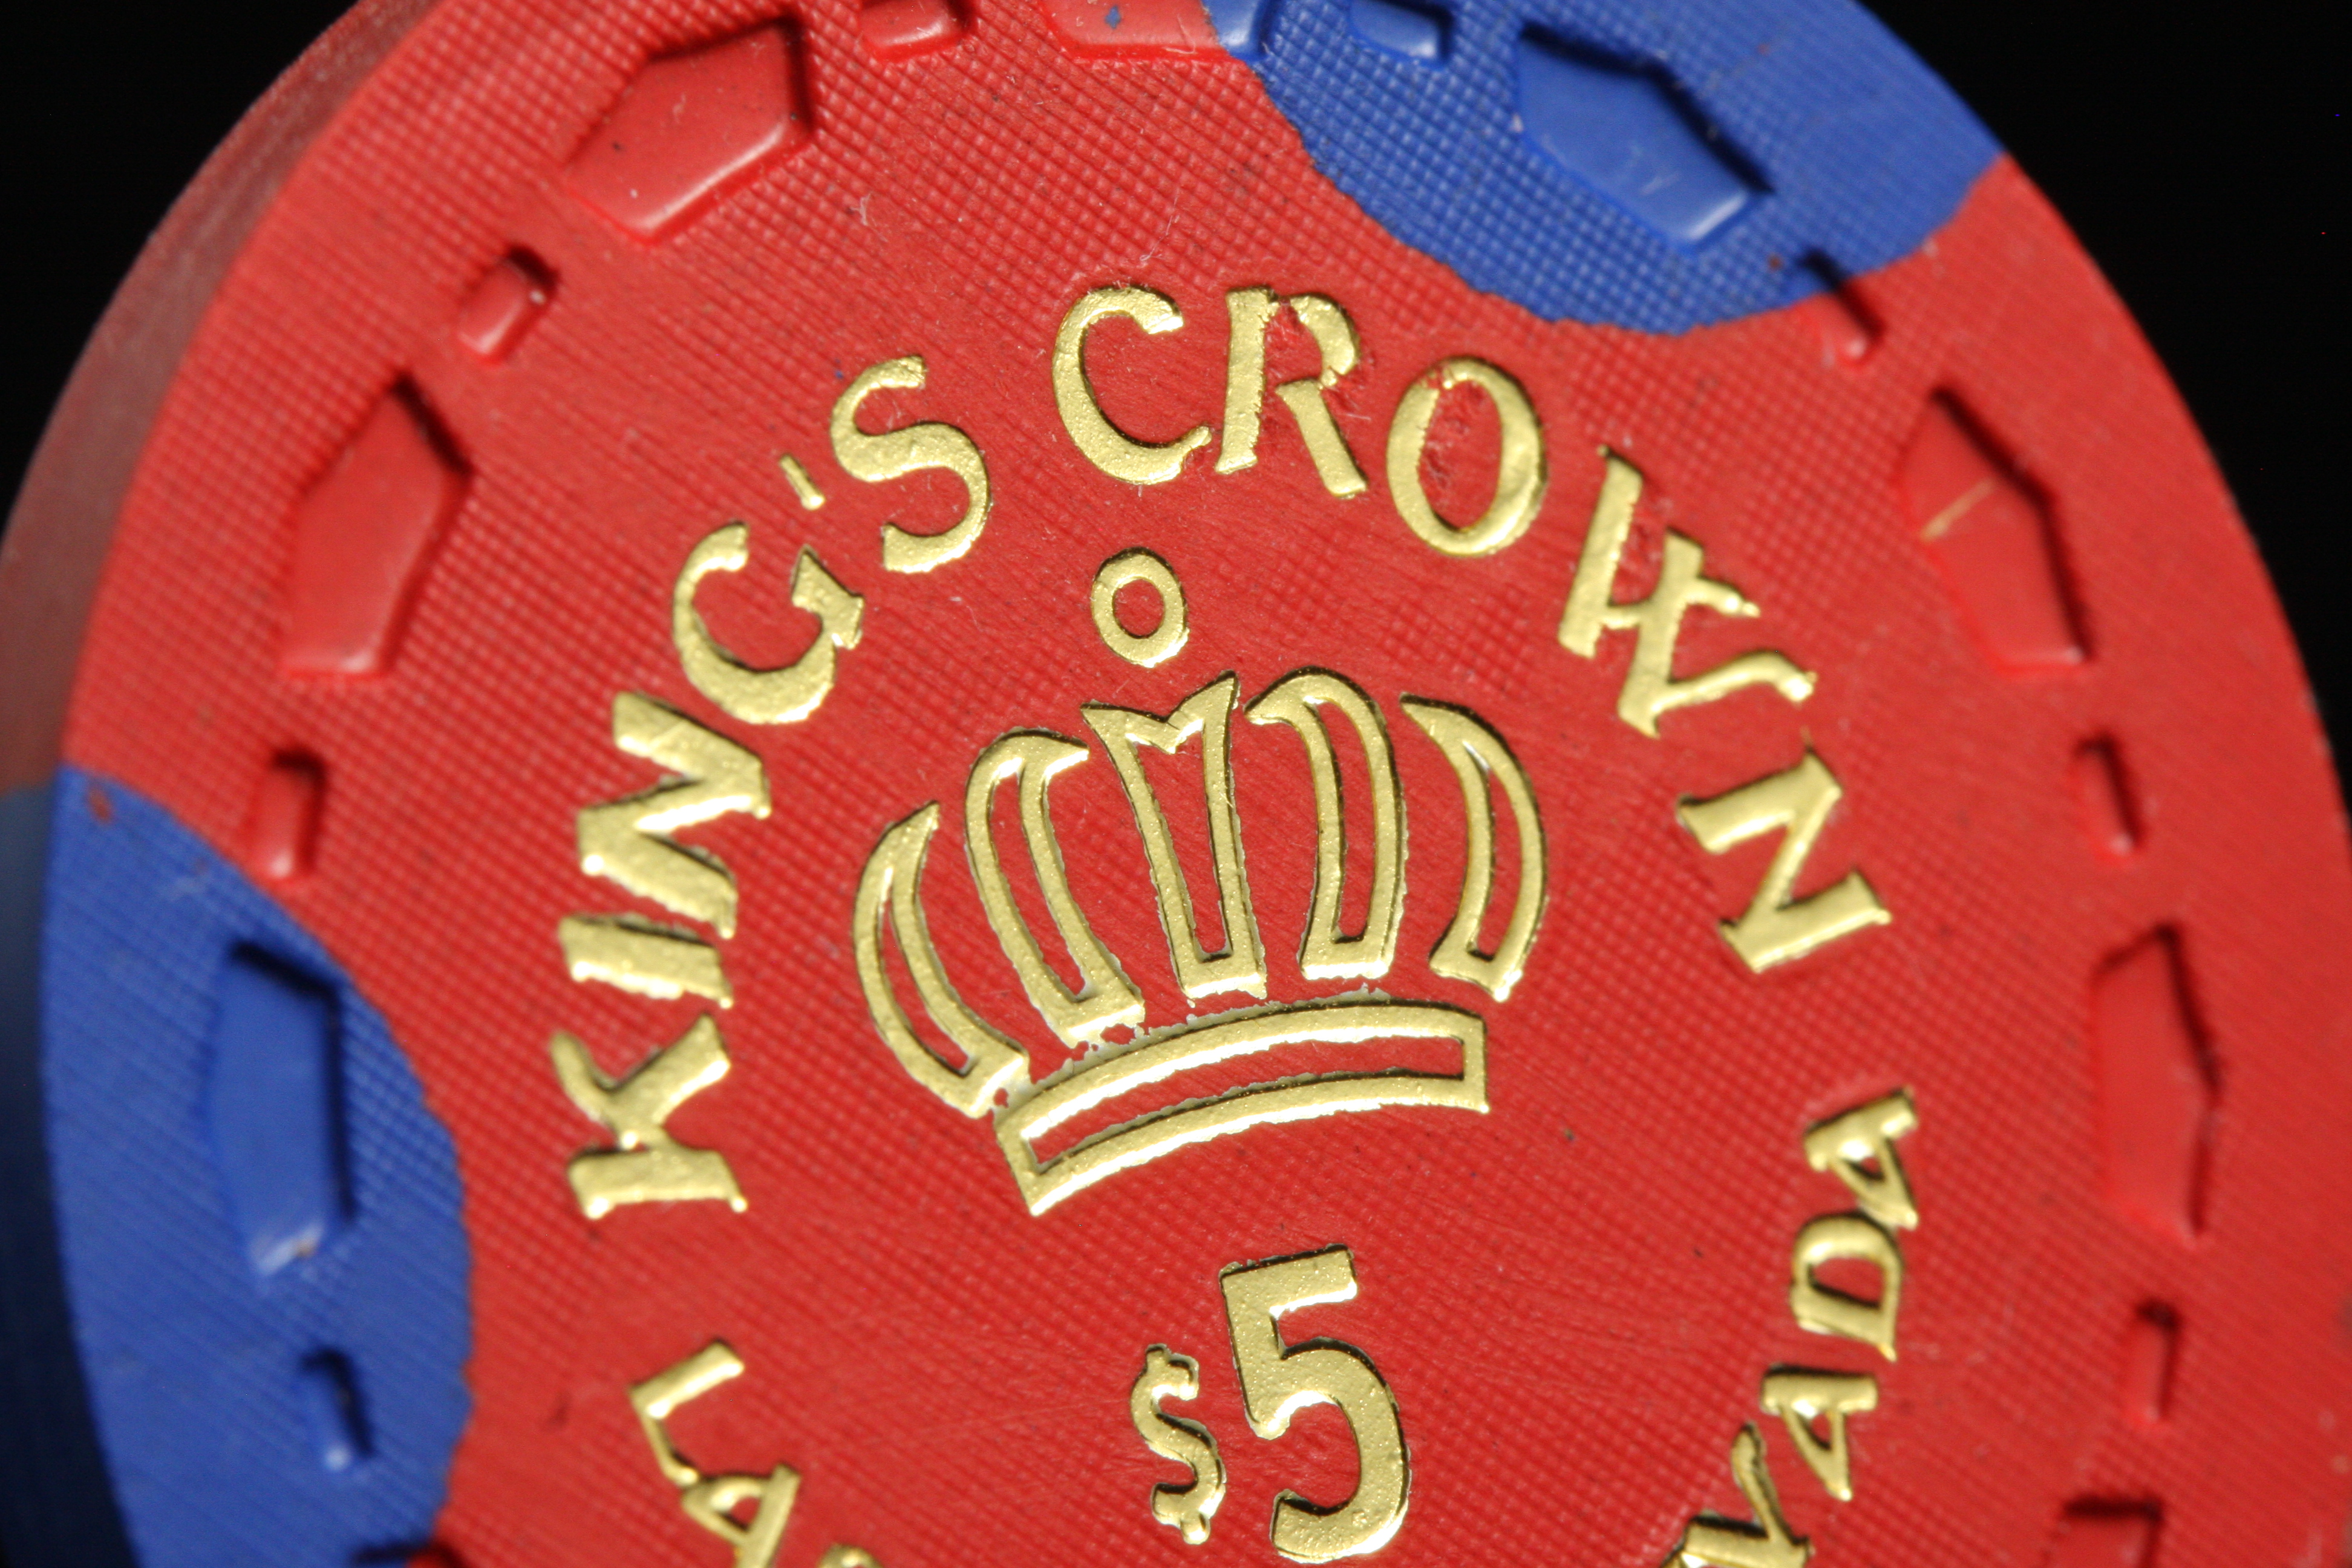
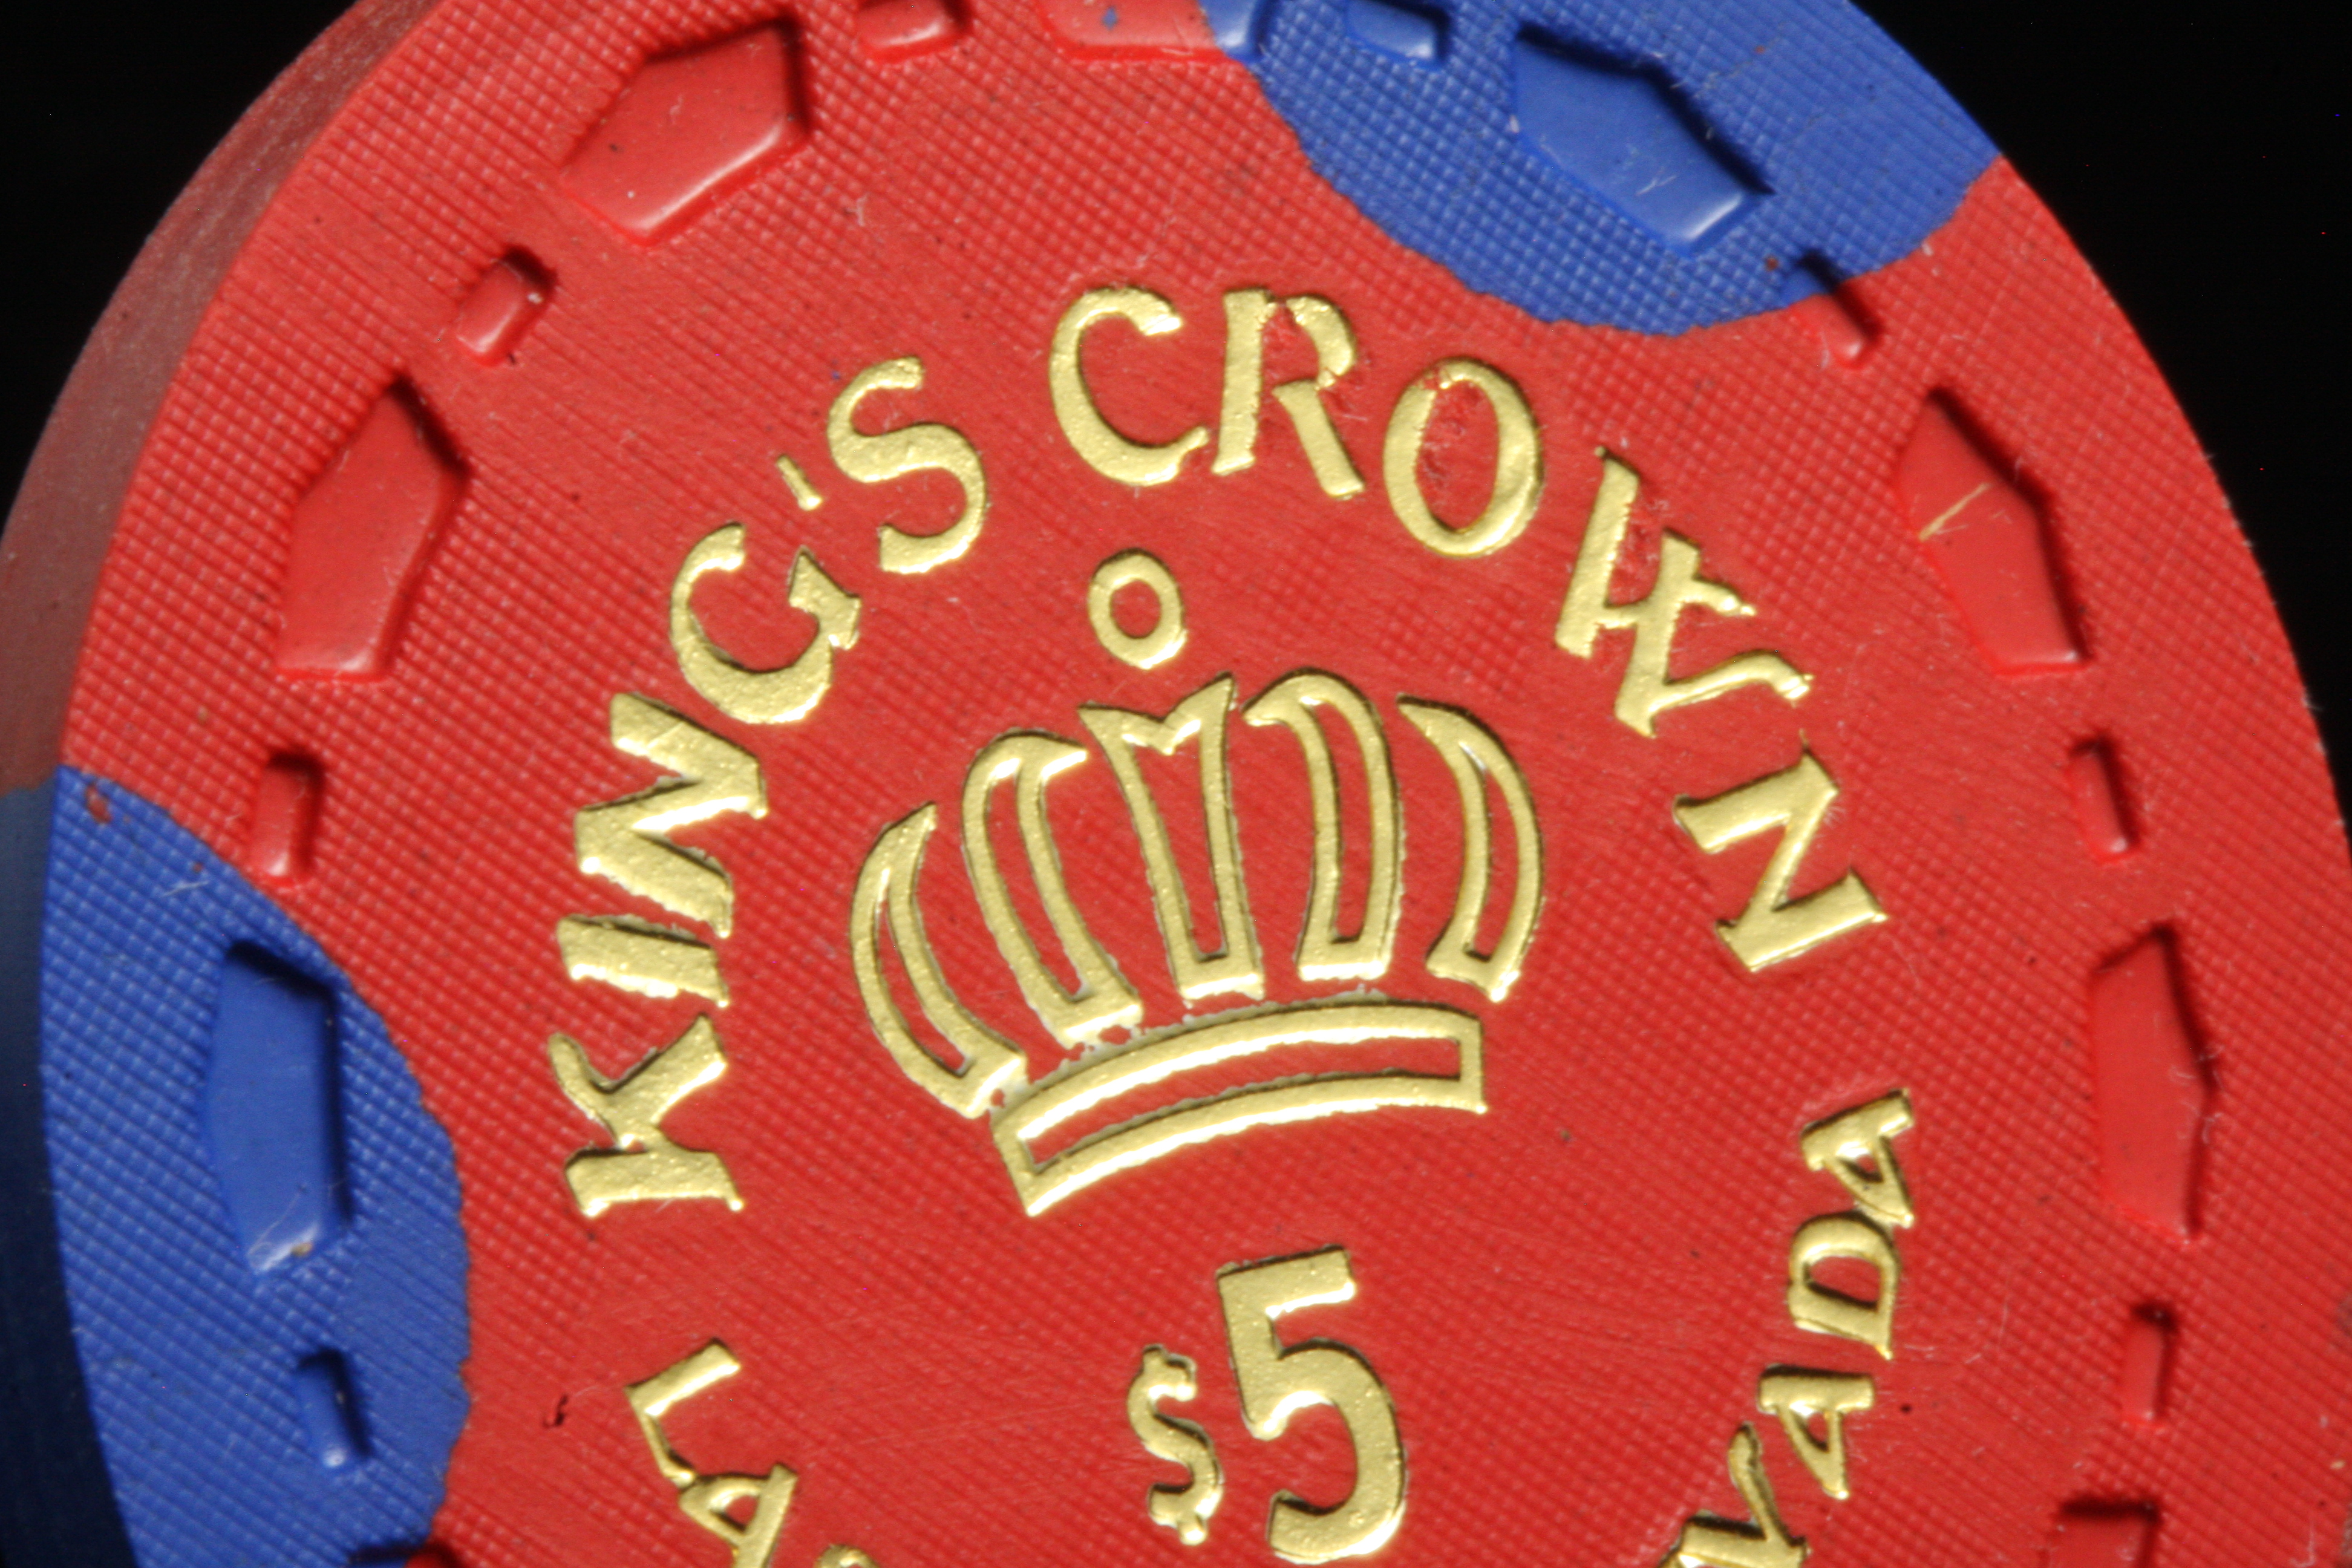
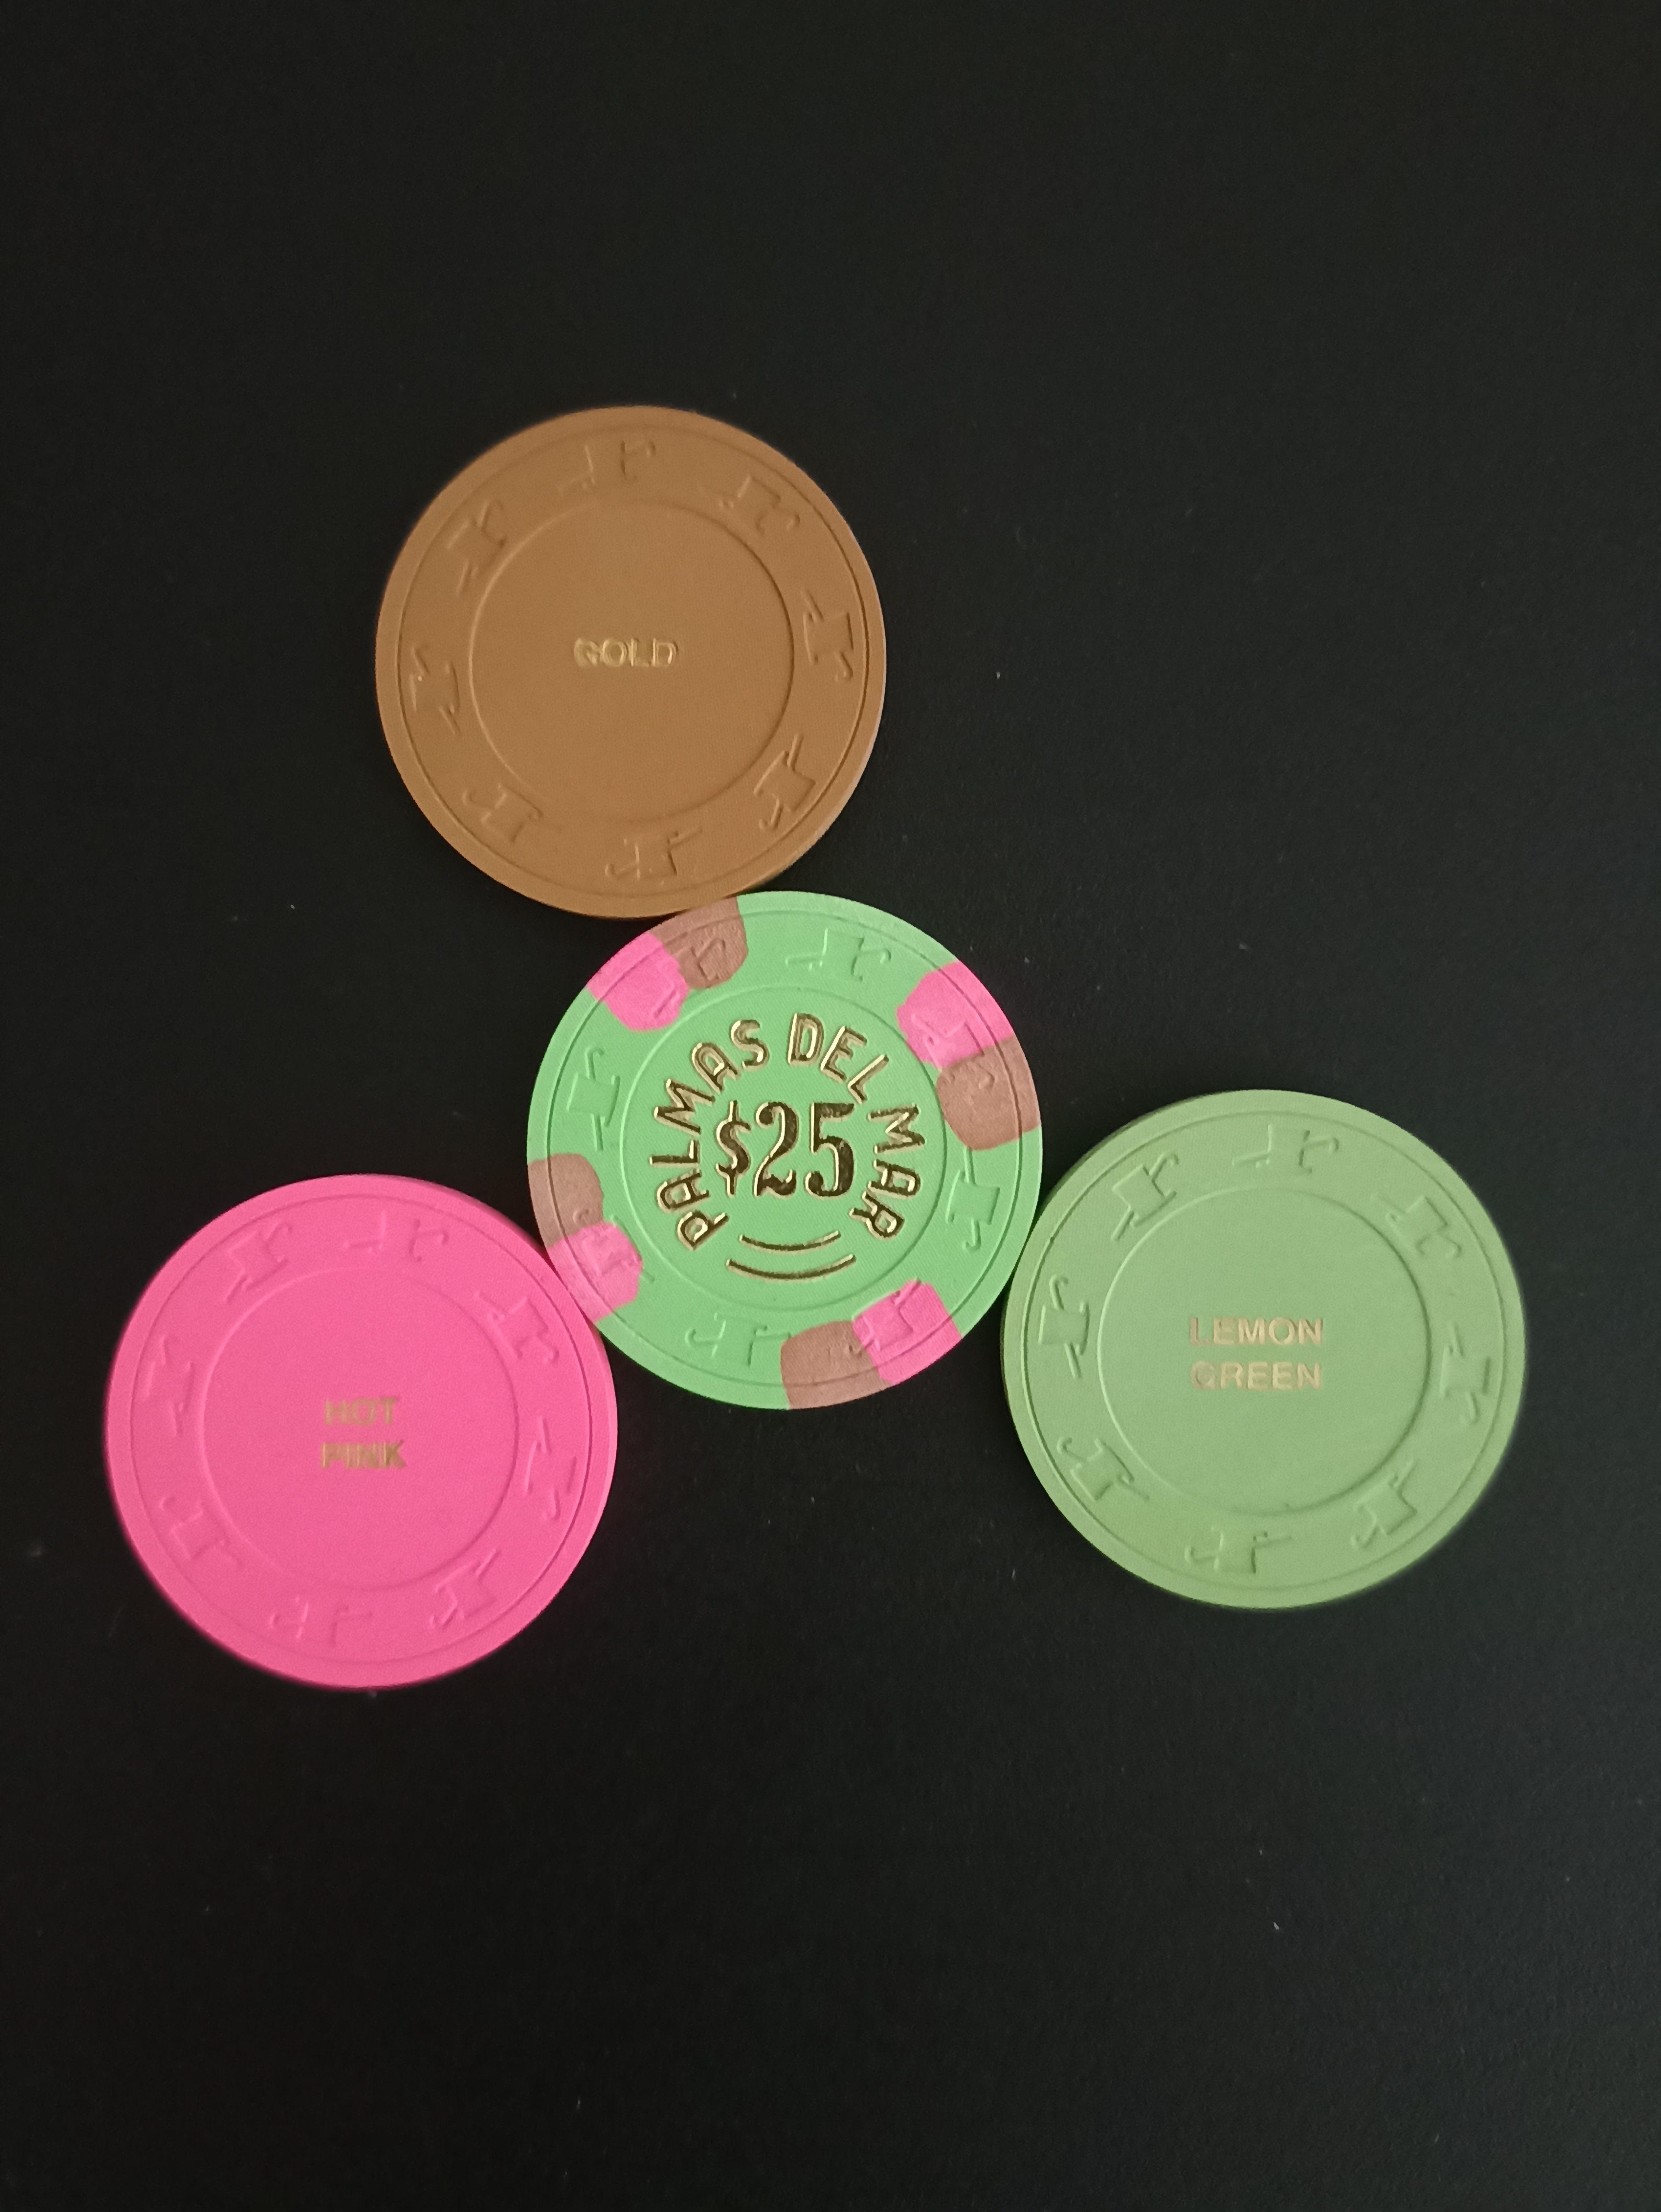
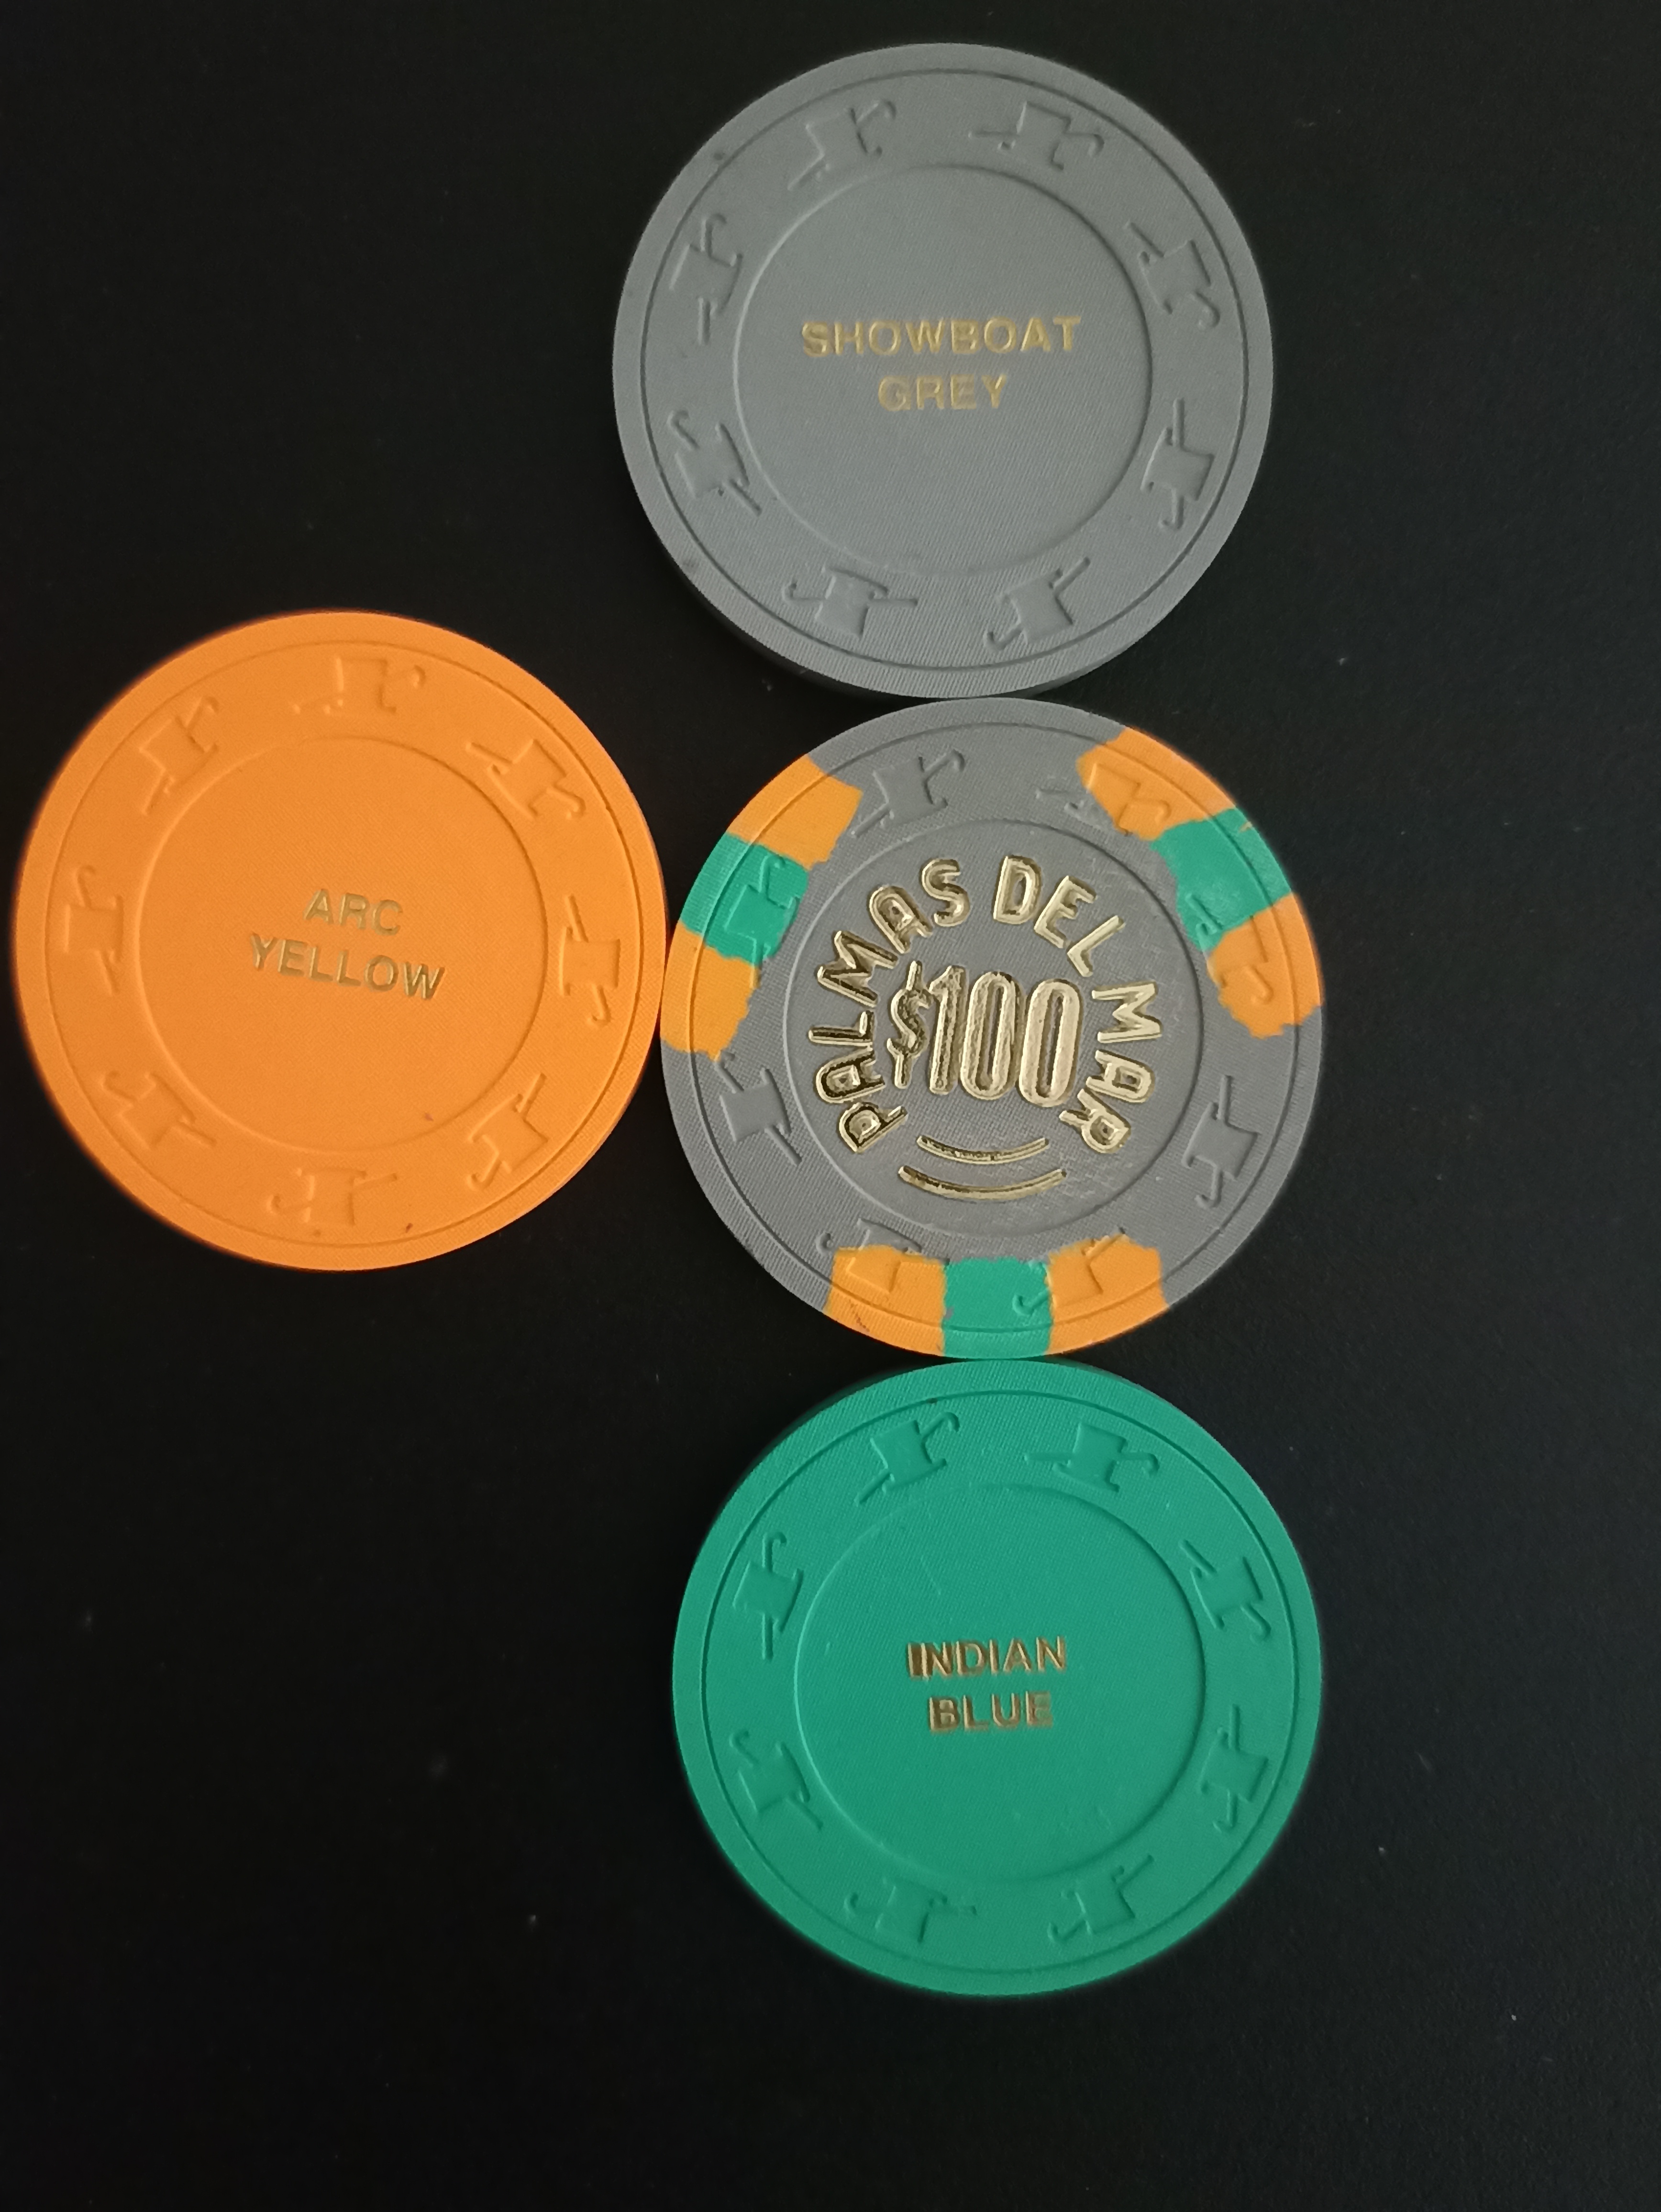
Here's an example of my 5 minute photoshot yesterday.
Equipment:
- I have a Canon EOS 6D dslr that I use with a sigma 150mm prime macro lens.
- homemade shufflepad that I've felted with speedcloth leftovers from my table build
-window + daylight
- something to put this on to get it next to the window (in my case a modified ikea steps that my 1 year old use to stand by the kitchen bench)
Took a photo of the set up, which was pretty ridiculous and simple, but it worked for a quick chip photo. The most important thing is to have good lighting and to isolate the subject.


Used the wifi connection and sent the pictures straight from camera to my phone and uploaded here. Zero editing in post.
I realize I'm probably cheating by having a dslr camera and macro lens, but I think if you have a decent phone or any proper camera you can get good results simply by using daylight + window. No need for fancy lighting.
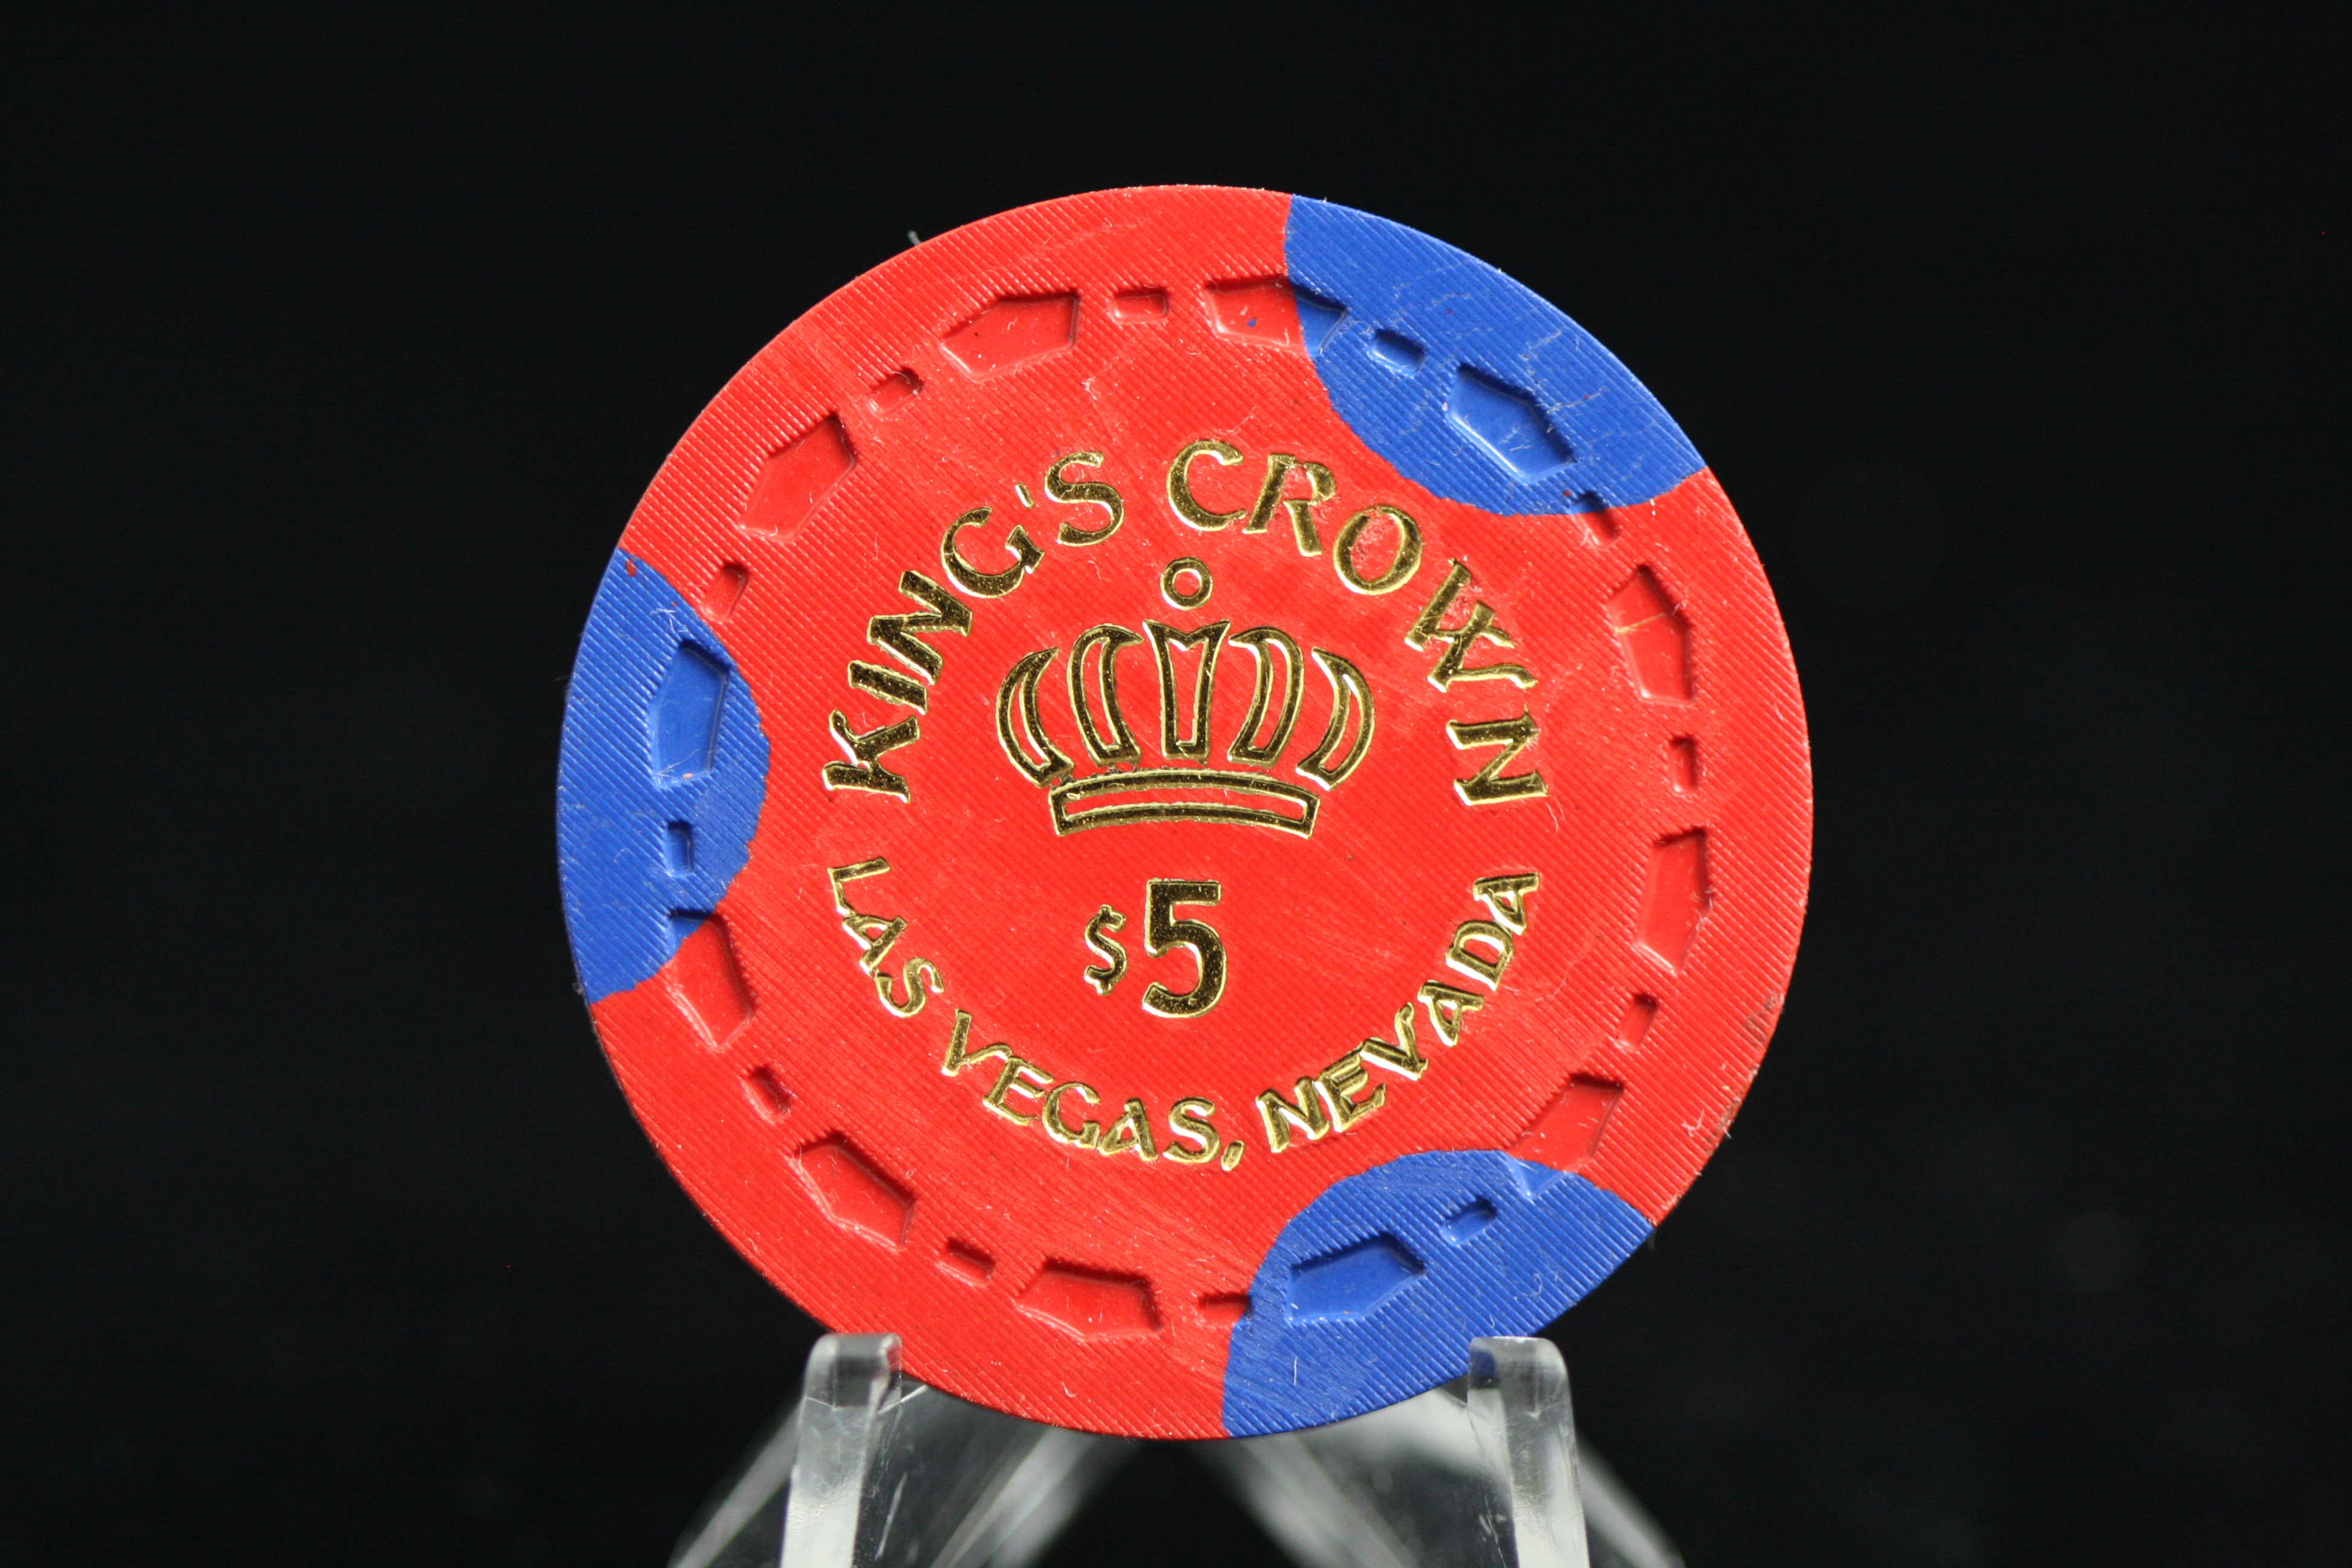
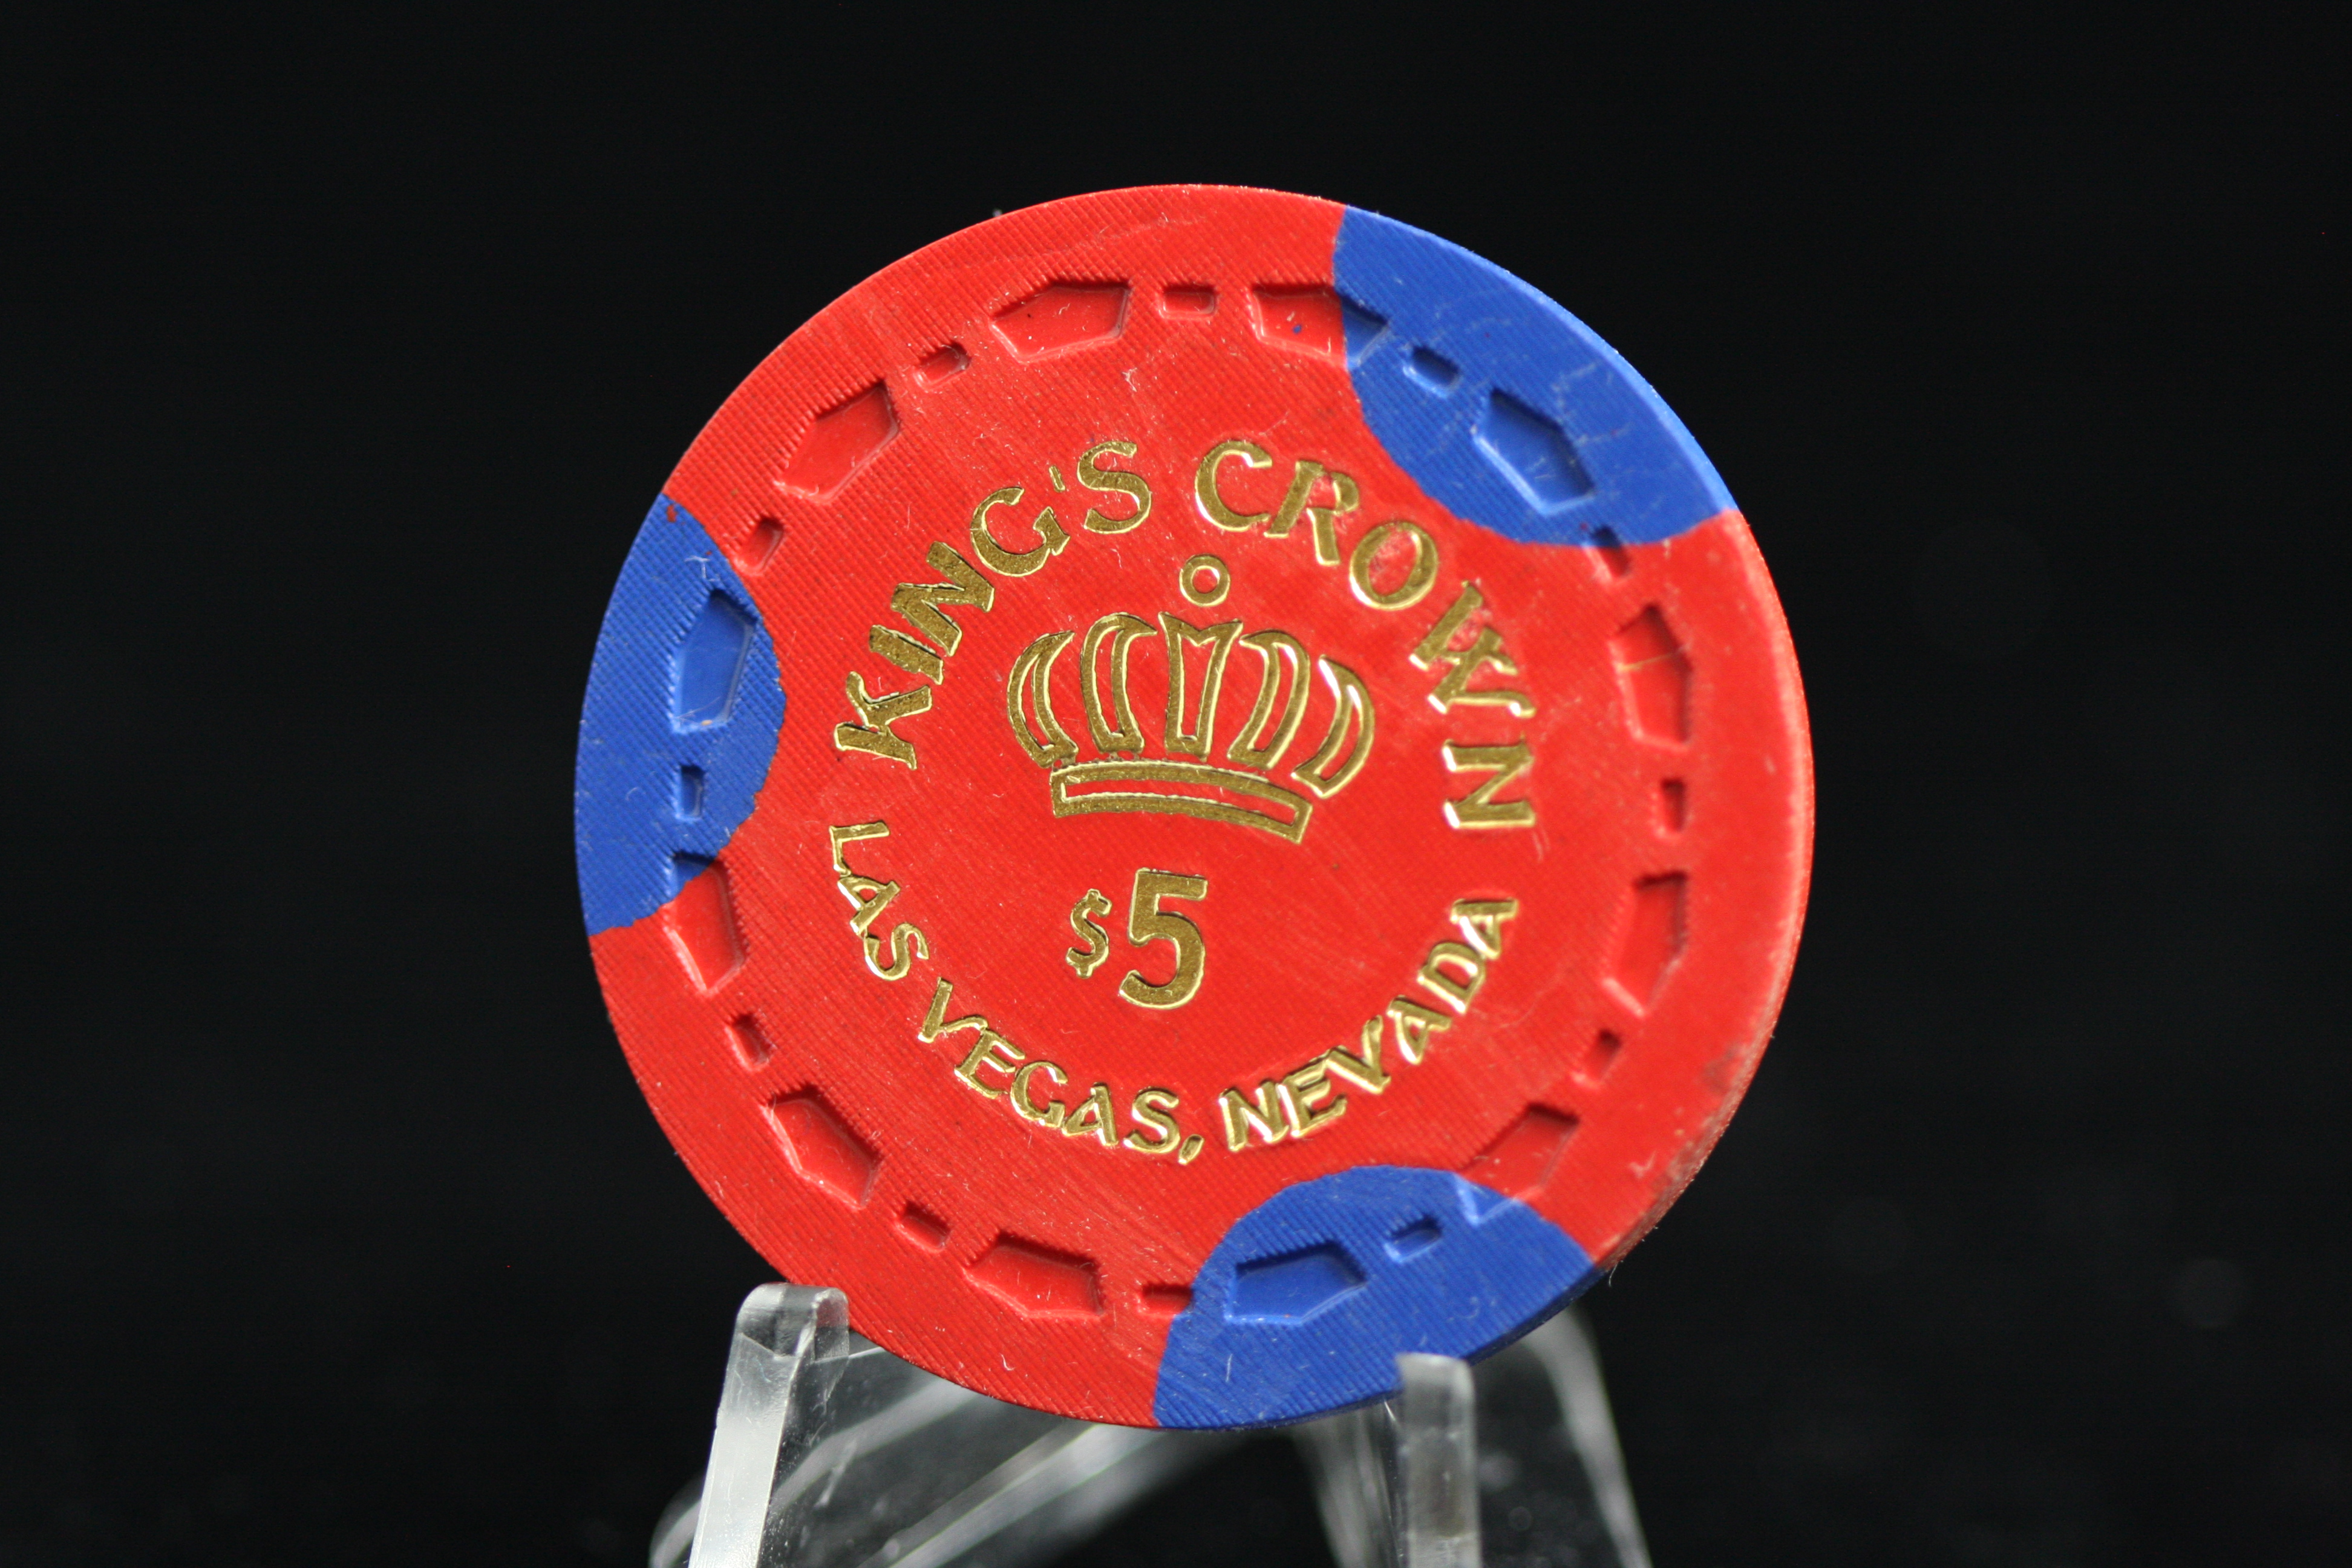
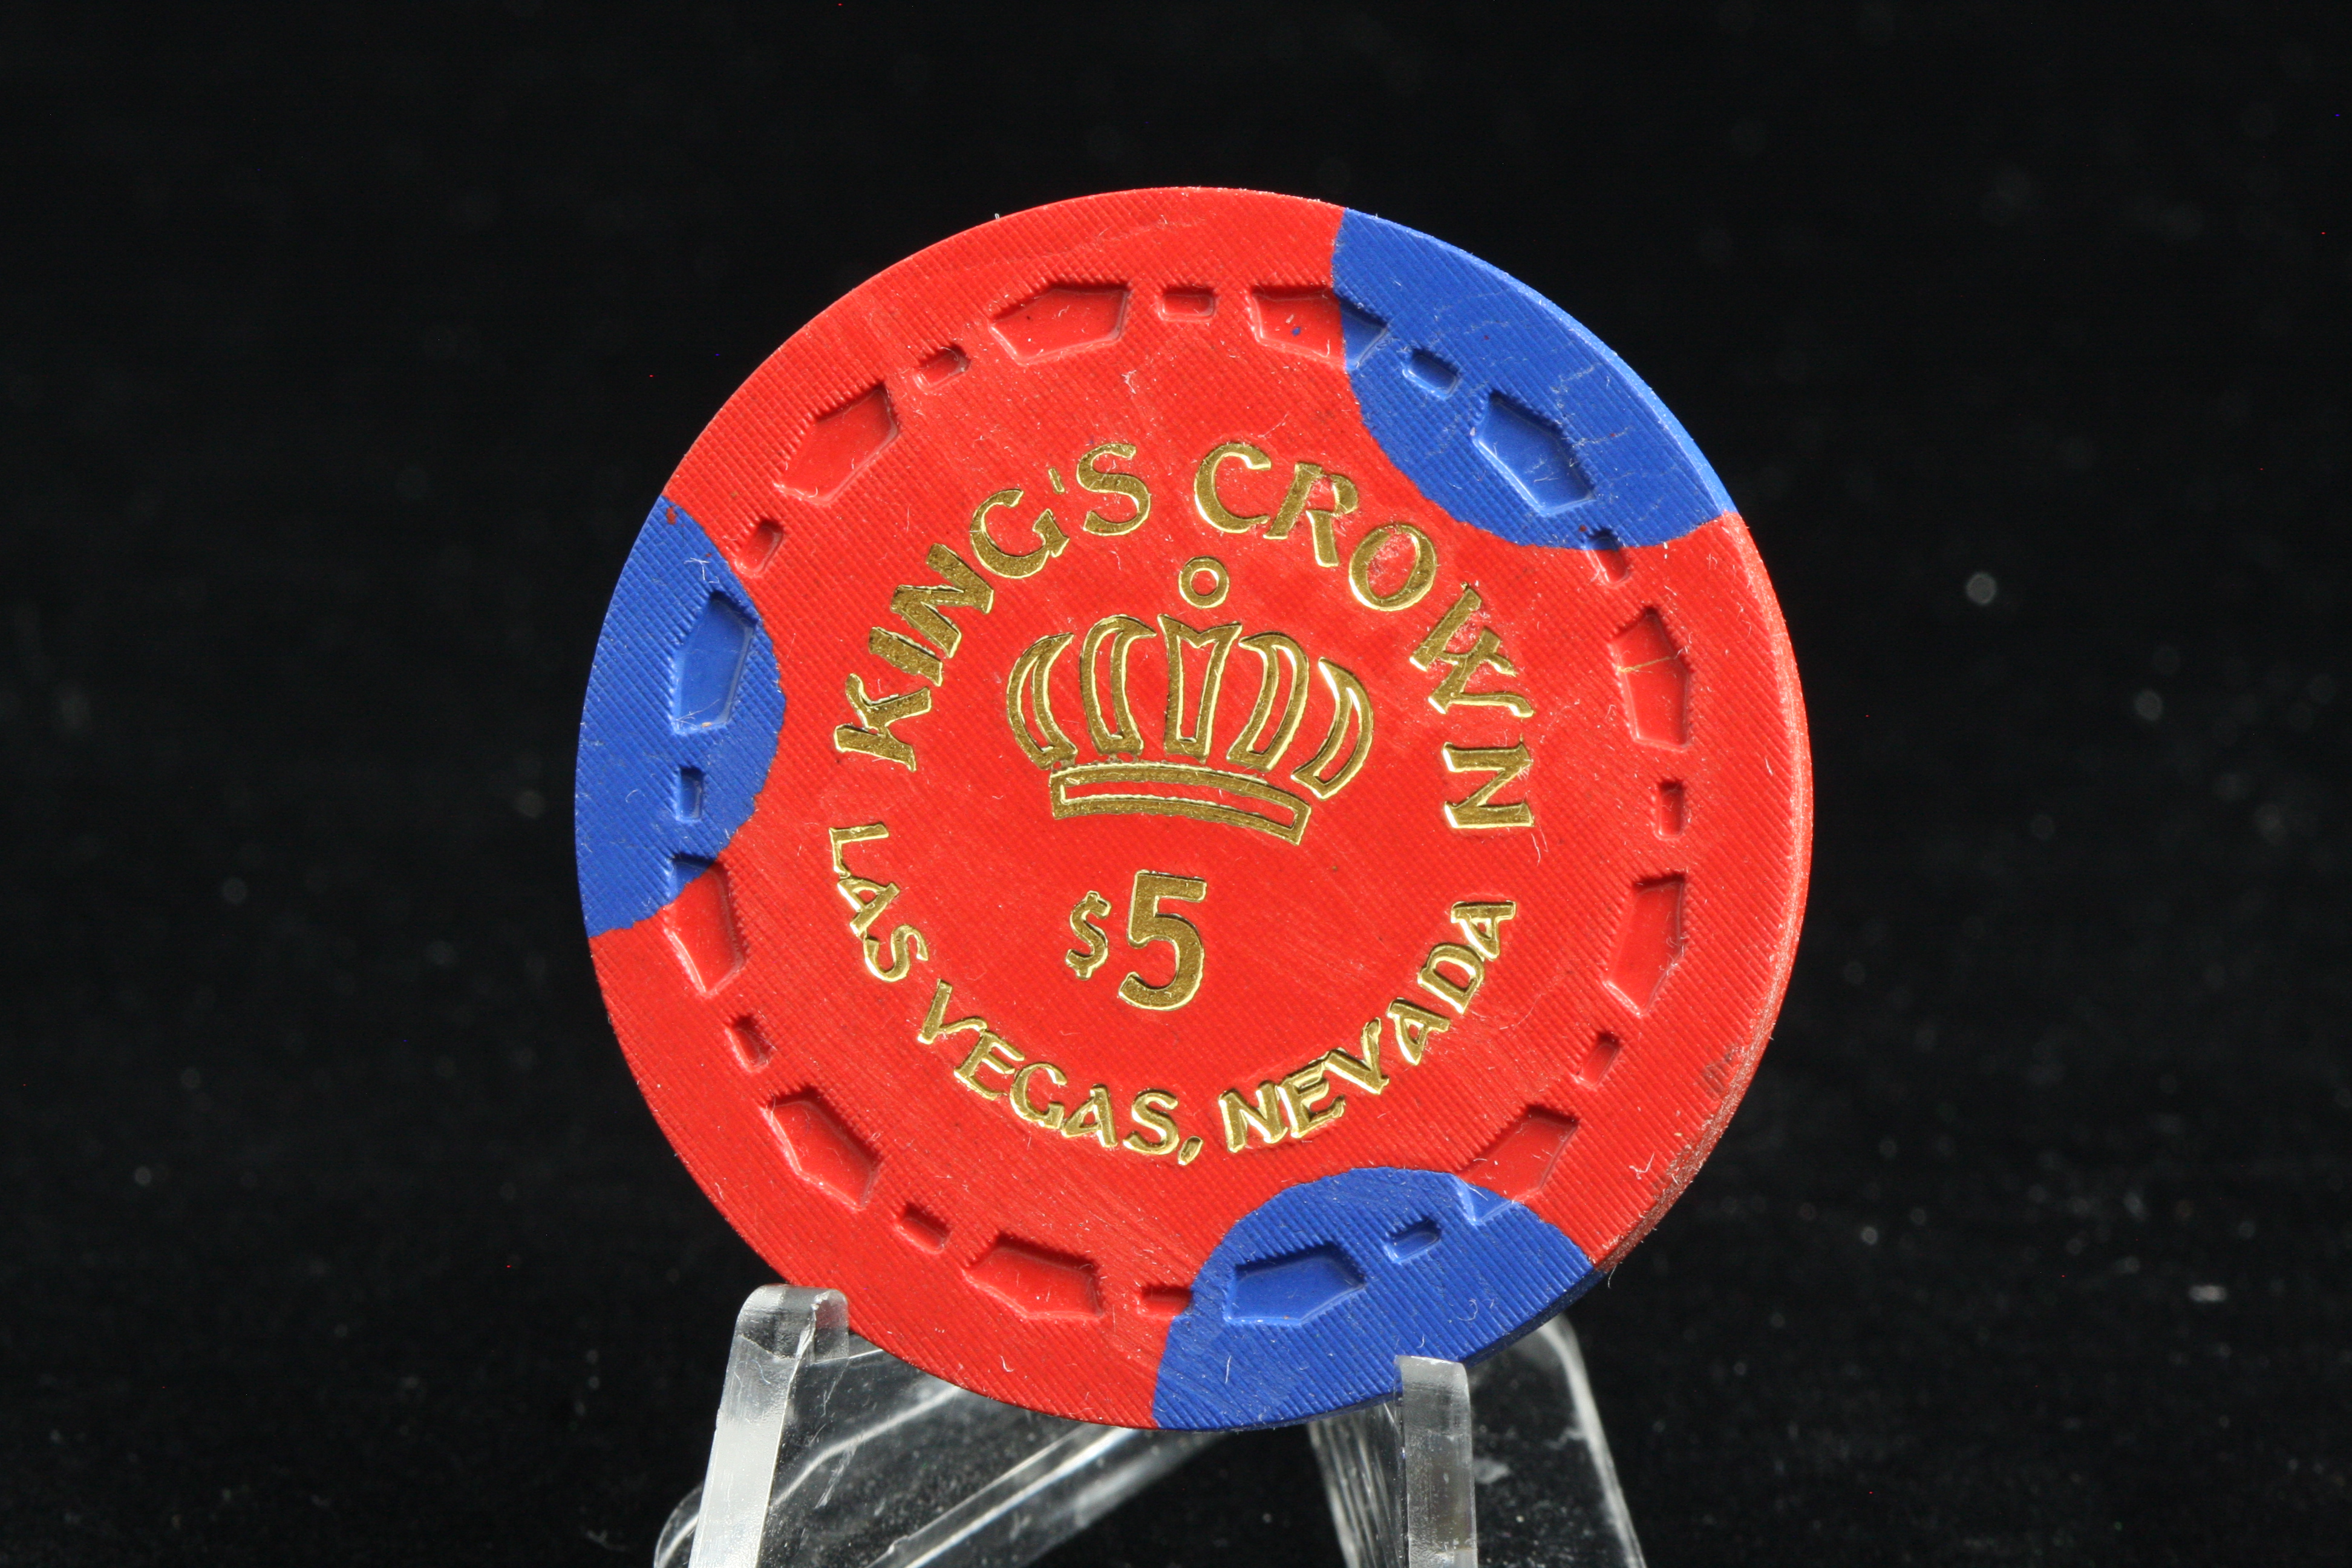
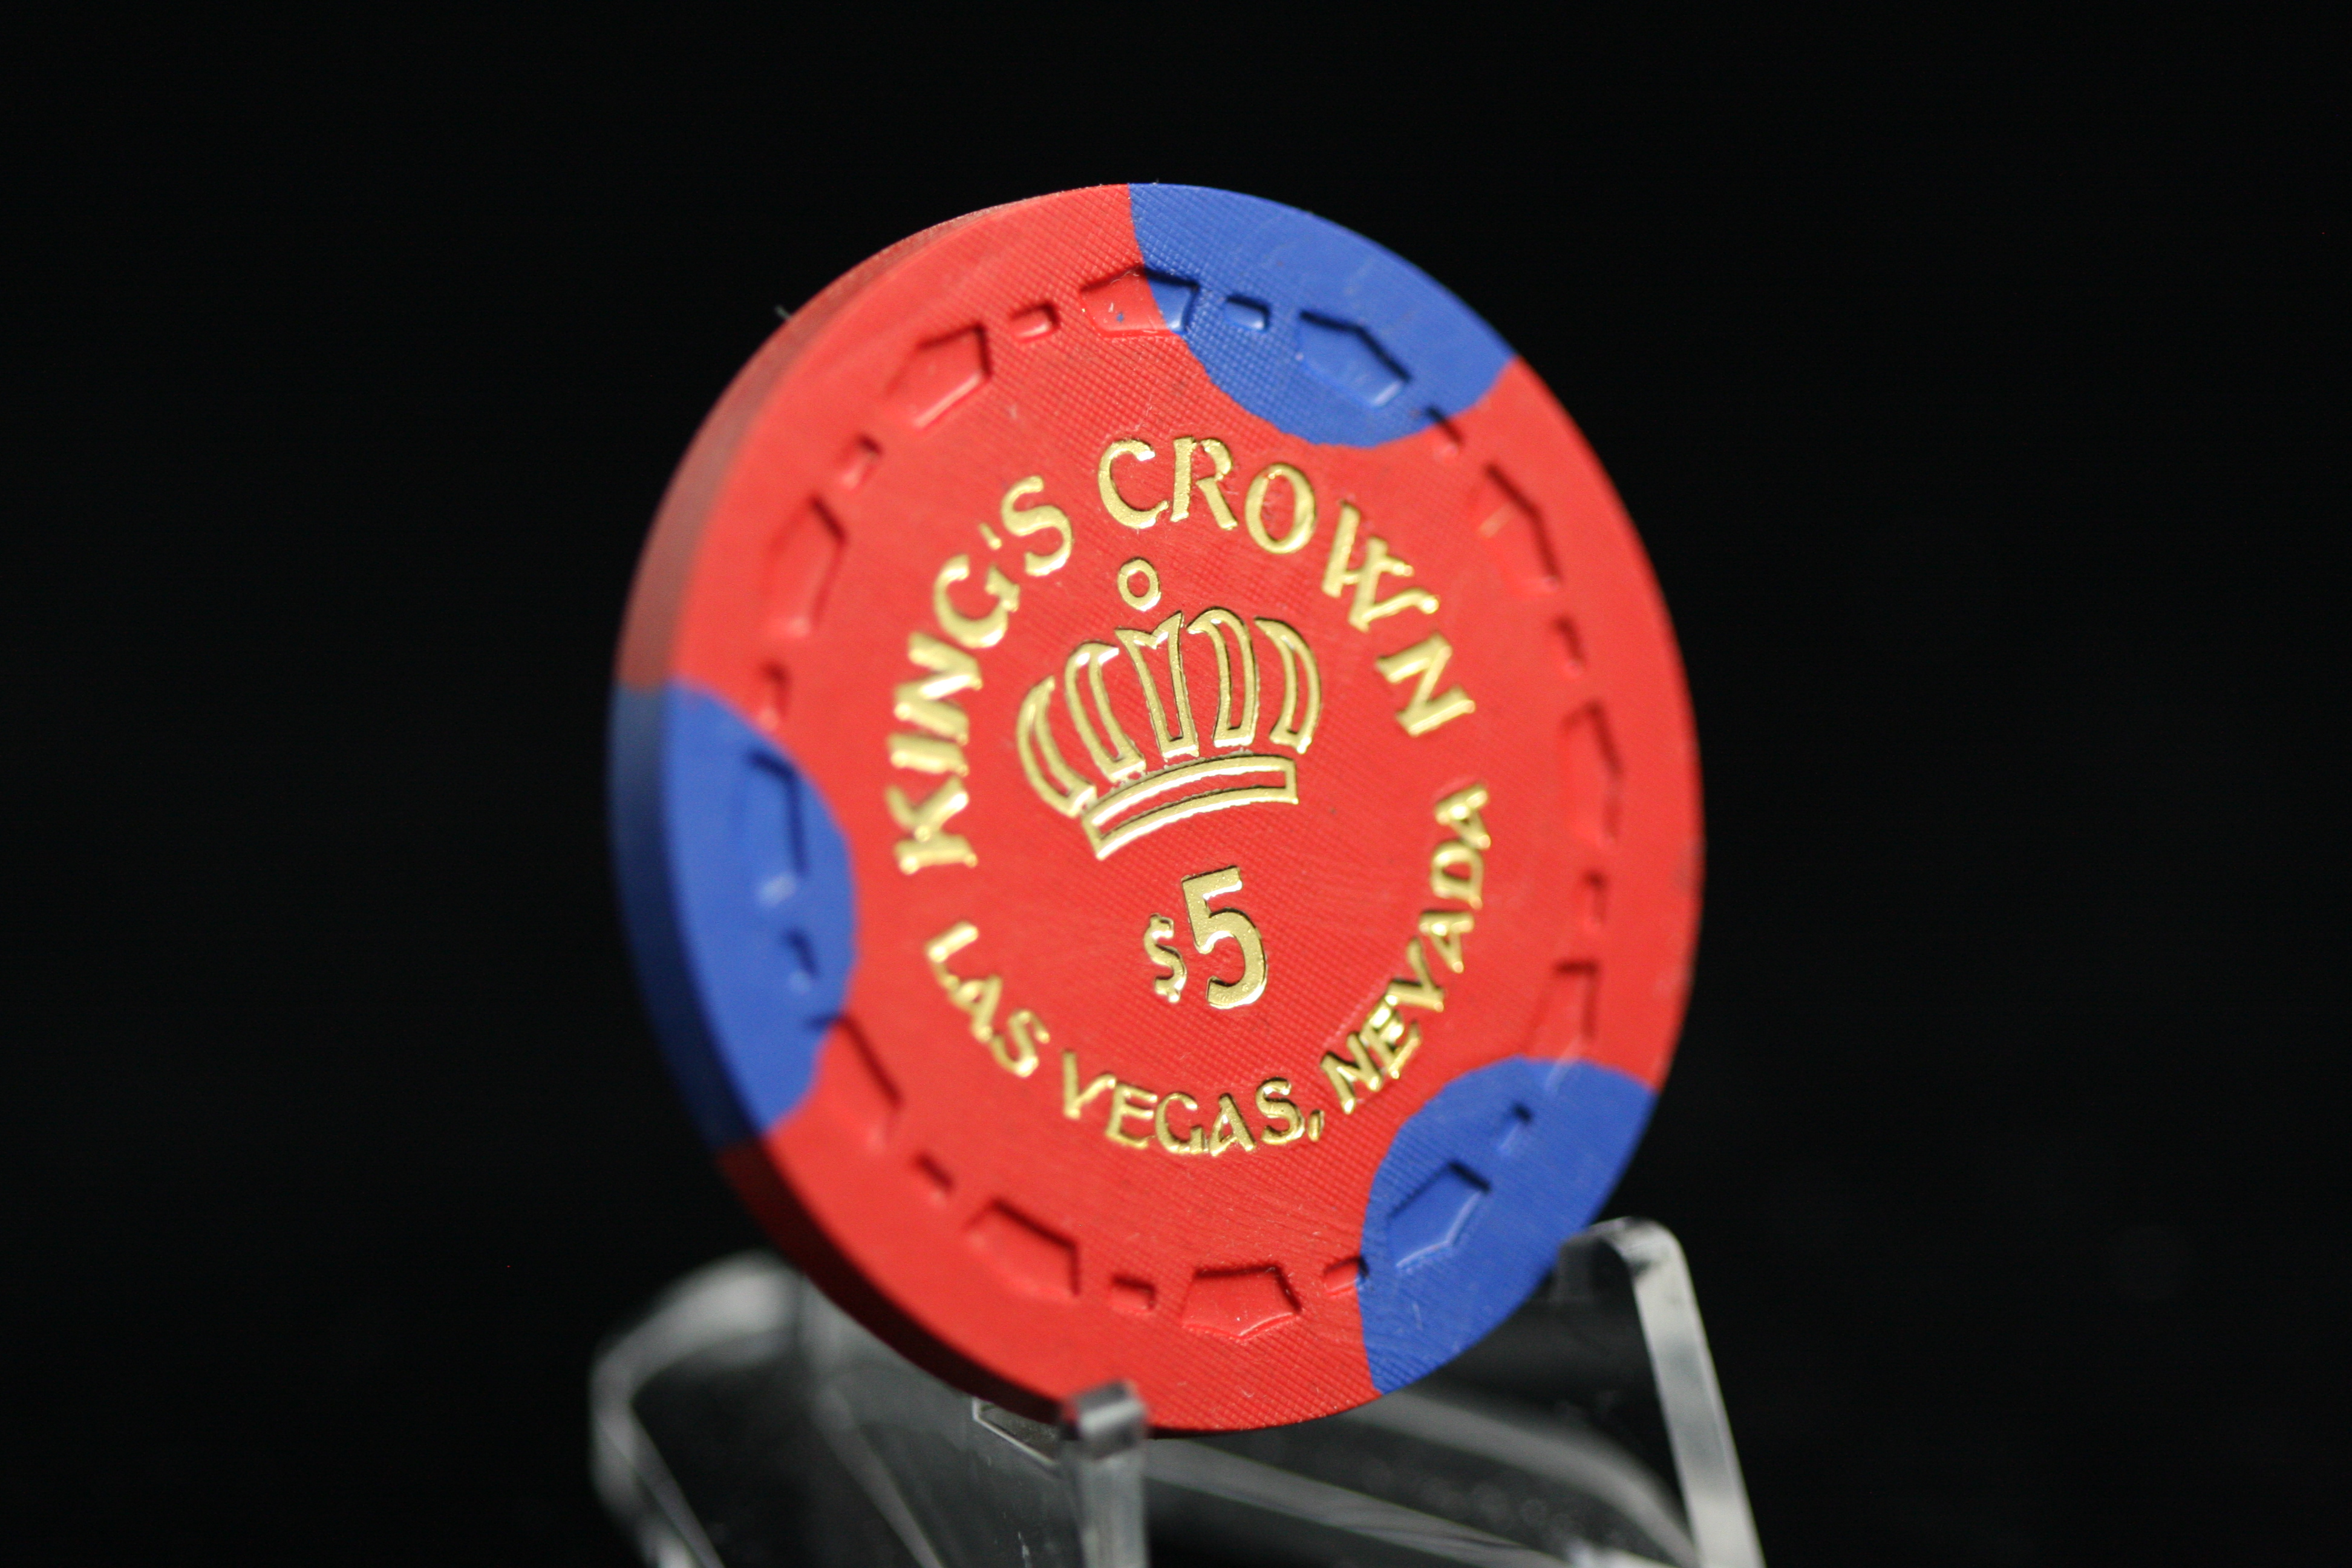
Here's a couple of the resulting photos


Equipment:
- I have a Canon EOS 6D dslr that I use with a sigma 150mm prime macro lens.
- homemade shufflepad that I've felted with speedcloth leftovers from my table build
-window + daylight
- something to put this on to get it next to the window (in my case a modified ikea steps that my 1 year old use to stand by the kitchen bench)
Took a photo of the set up, which was pretty ridiculous and simple, but it worked for a quick chip photo. The most important thing is to have good lighting and to isolate the subject.
Used the wifi connection and sent the pictures straight from camera to my phone and uploaded here. Zero editing in post.
I realize I'm probably cheating by having a dslr camera and macro lens, but I think if you have a decent phone or any proper camera you can get good results simply by using daylight + window. No need for fancy lighting.
Here's a couple of the resulting photos