OneGearManySpeeds
Flush
ATTENTION
This method works really well and has proven to be a great method of removing rust. Please NOTE: and continue with CAUTION! it was discussed deeper in this thread that an electric or battery powered spinning eraser would work. DO NOT attempt this powered and spinning method as it will damage chips. Stick to the manual method with eraser in hand and scrub. I would have edited the parts of this forum that mentioned powered erasers but, as you know in the FAQ, this forum has exceeded the time allowed to be able to go back and edit. The admins offered to post this message in place of editing. Thanks AdminsSo Manual hand eraser only. NO POWERED ERASERS as it may damages your chips. It's all explained deeper in the thread. -OneGearManySpeeds 4/4/24
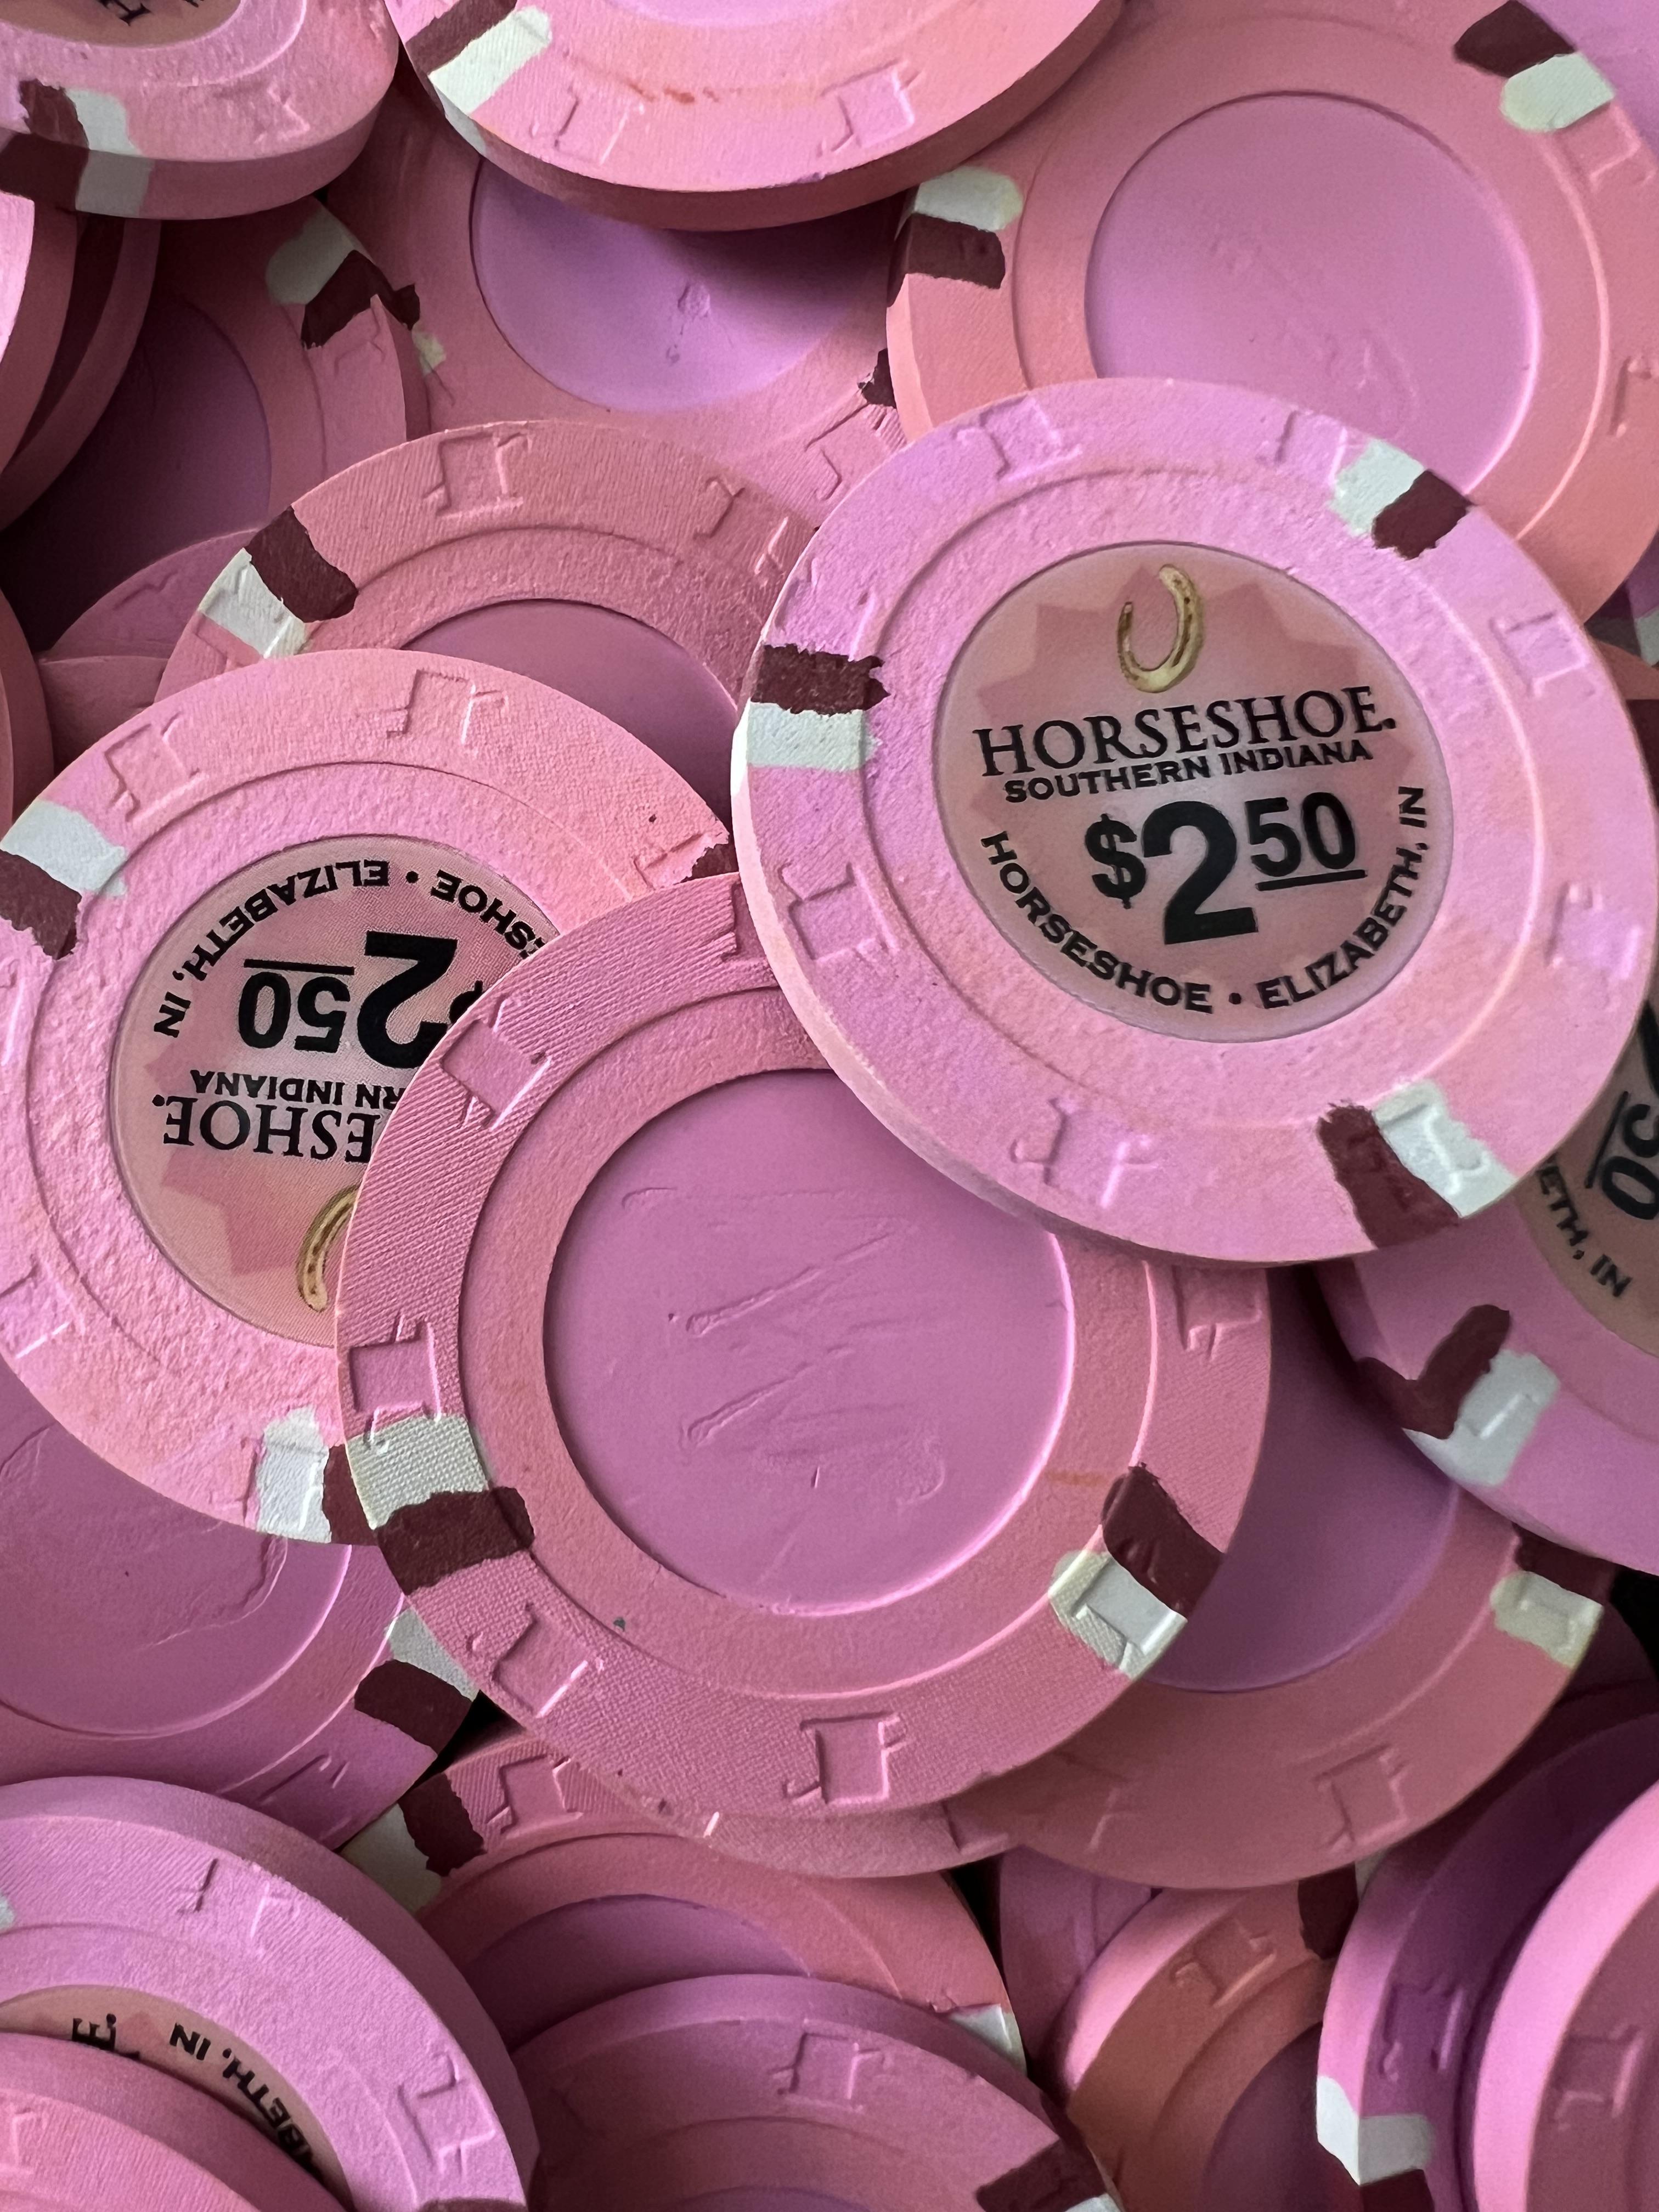
Thought I’d share a method I stumbled onto that cleans up the rust on "Light Pink spots like Paris 2, assuming it will work with AS dollar spots and HSI snappers as well but have not tested. Many chips suffer from Rust.
This method is 100% non abrasive and does not seem to remove the clay surface and does not round crisp edges or remove surface texture or hat detail. I thought I’d share since I’m super excited about actually being able to use the Paris 2 as fracs and the pink is gorgeous after this process. Test and try yourself and share results here.
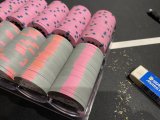
No water. No soap. No abrasion. No more rust! Money shot here. Left barrel is BEFORE and Right barrel is AFTER barrels are from the same identical rack. JD snappers for reference (note, thanks to @grantc54 the snappers don't actually match the Paris spots but I have them for reference cause it's the only pinkish chips I own). You can see that literally the sides of the MINT Paris chips still have all of the nice factory grain to them and they are not sanded smooth like with more abrasive solutions (Mr Clean Magic Sponge Erasers are abrasive and remove clay). I'm super excited about this method. Even tho I'm new to the forum I'm pretty good in the model shop and thought... there must be a better way to remove this film or whatever it is. And works like a charm.
Supplies needed.
Staedtler Erasers https://a.co/d/8AgCQZG
Staedtler Stick https://a.co/d/0zLgcCP
Staedtler Stick with Refills https://a.co/d/d5s1sPx
And a Brush to brush away all the rolled up little balls of rubber eraser
Magnifying Glass is super helpful for the faces to get that last 5% of rust out of the details.
*Note, I've not tried any other brands or any other erasers. But this works. you can test other brands but I've only tested Staedtler because that's what I had. Staedtler is the brand that has been around for years and is the brand we all used for drafting back in the day. I'm guessing other Mars plastic super soft white erasers would also work but it's not been tested.
Caution: Some users, myself included tried electric erasers that spin and they generate too much head and soften/melt the clay. Stay clear of electric solutions.
@casinochipper22 Thanks for the minty rack. This rack is gorgeous but you can see how much that rust bothered me lol.
Does anyone know if the rust comes back after cleaning? And what the rust is? Comment below.
Step by step, take you through the process below. Share your experiences.
Step 1. Pick up a pack of these from Amazon. Assuming other similar white drafting or art erasers will work. I also have a pen type holder with the same eraser that works.
Step 2. Rack them up in a Paulson rack and line up the spots. And erase. It’s easier to scrub along the barrel but the clay grain runs along the chip edge so I start by scrubbing along the length and then circular or sideways along each chip. Keeping them as a barrel saves any potential damage to the crisp edges. You can see I started erasing toward the bottom and only cleaned half the barrel in this pic. You can see all the rust coming off with the rubber eraser. These erasers are very soft and white and used in drafting to remove graphite from vellum and ink from drafting film. It's non abrasive, doesn't scratch anything even labels. It's designed not to destroy the surface of expensive papers and leaves the paper tooth intact. so on chips is the Boss.
Comparing the treated (right) with the untreated (left) a barrel can be fully treated in a few minutes. I was careful with the end chips and on the rest of the barrels I treated the centers and then split the barrel of 20 into two stacks of ten and put the end chips together and finished scrubbing.
Before and after shots, barrel to the left is uncleaned and barrel to the right has just been cleaned.
Rack before
Rack after (Note... the snappers and "light pink" Paris spots are different pinks but coordinate nicely)
Next step, the faces. You can scrub the faces similarly but this took some time. Additionally I turned a chunk of Delrin (plastic) on the metal lathe at the following dimensions and used it as a jig to hold the chip and protect the crisp edges. It’s perfectly flush and snug. If I made any more I think I'd add a little more material to the margins so there's more to hang onto. You can clean without this ring but I wanted to insure the crisp mint edges were untouched.
Next step just work both sides with the eraser. Doesn’t scratch and isn’t abrasive against the label with overlay. I have not tested this with over labels without the protective overlay layer. Pretty straight forward. In the two photos you can see the cleaned chip on the left and the uncleaned chip to the right.
The results. Treated chip on the (left) and untreated chip on the (right). You can really see the rust in this photo on the chip to the right.
Comparison Untreated on the (left) and treated on the (right). The Jack snappers and the Paris 2 are different Paulson colors according to @grantc54 but do coordinate nicely. Also the only other pink chips I have so using them as reference. The main point here is the Paris light pink spots no longer look like puke and actually resemble something in the pink family
 Ready to over label these and felt them. Can't wait. .
Full rack cleaned up.
Share your thoughts, concerns, results, etc!
Attachments
Last edited by a moderator:
")