Another update to the methods I've been trying mainly using the ultrasonic.
Did another round of cleaning and was trying several different things during this process to monitor differences.
1) The water I used this time was at 70 °C, which is 158 °F. Yes I know sounds like it's too much for the chips but I really didn't feel like it was. Considering the chips were probably originally molded at a higher temperature, I had a feeling that temperature wasn't going to harm them. I used just the TSP by itself without adding the Dawn dish soap at first. Ran a barrel in the US for 5 minutes and took them out. I'm pretty sure that it wasn't as effective as it was when I mixed in the Dawn. To confirm, I put in 2 TBSP of Dawn and did another round on the same barrel for 3 minutes. Took the barrel out and noticed it did a really good job. There were a couple that weren't as good as I wanted them to be so I kept those on the side as re-do's that would go in with the next barrel.
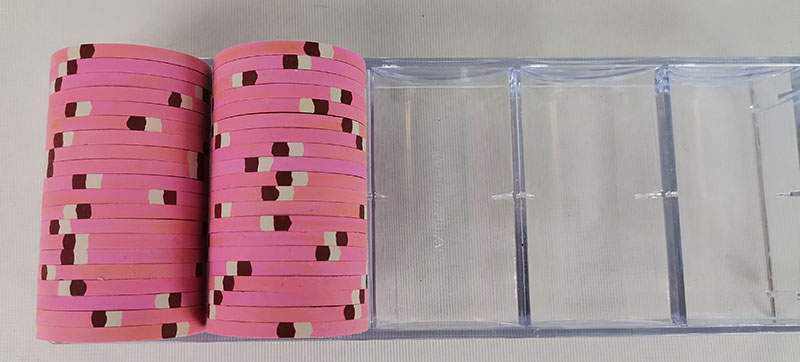
2) After trying out one barrel at a time, I thought it was time to experiment with doing a half barrel at a time. I wanted to try this to allow the cavitation bubbles to hit as much of the chip surface as possible. I did notice an improvement and less redo chips having to back in after each round.
Some notes after going through this process:
- I wouldn't go above 70 °C on the US. I felt like I was pushing the envelope at those temps but I tested with a couple at first prior to doing 20 at a time.
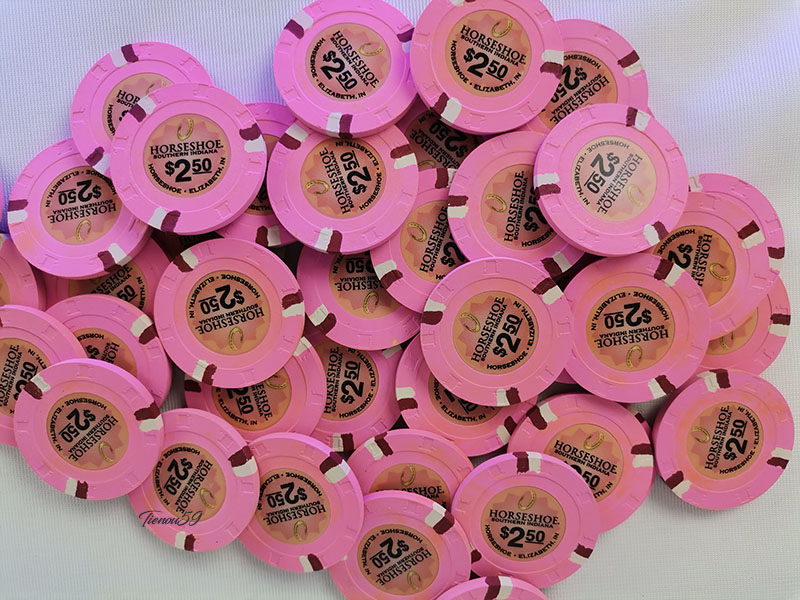
- Some chips still have very mild traces of the yellow film still on them but only ever so slightly and you have to look closer to see it. I removed the remaining traces to the best of my ability with magic erasers and some good elbow grease.
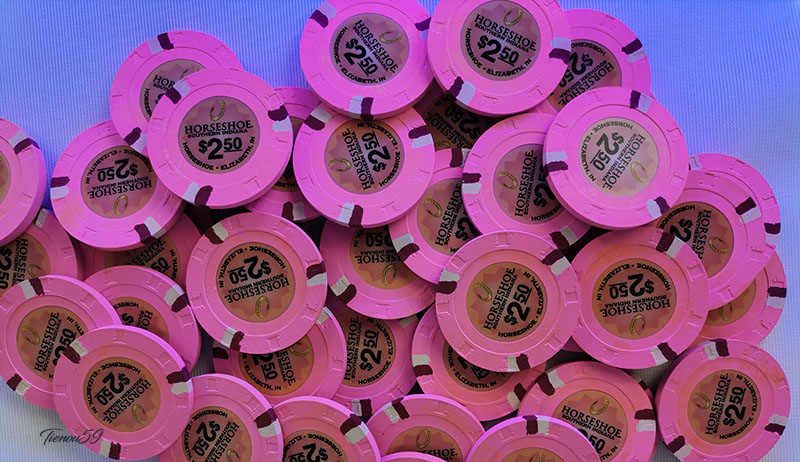
- The chips will be really dry to the touch and very grippy when stacked right after they completely dry from the ultrasonic and as a result of that, I highly recommend using mineral oil on them. Not only does the mineral oil help remedy the dryness while providing them with that luster they so desperately deserve, but I noticed the mineral oil also helps rub off any remaining yellow film that was missed by the ultrasonic.
- I was curious if the high water temp would help with the really badly warped chips. Was a bit skeptical since I thought pressure must be applied in order to flatten them. To my surprise, not only did it help but it was a significant improvement leaving very little flattening work to do afterwards. I was shocked.
They aren't in front of me as I'm writing this as I had to deal with a family emergency, but I'll post the before and after pics tomorrow for everyone to see.
")