lighted raised rail table // how to // PART 2 (1 Viewer)

meatboy

High Hand
Joined
Nov 9, 2014
Messages
70
Reaction score
106
Location
germany
due to the picture limitiation I have splitted the thread (i need that much pictures to describe my build ;) )


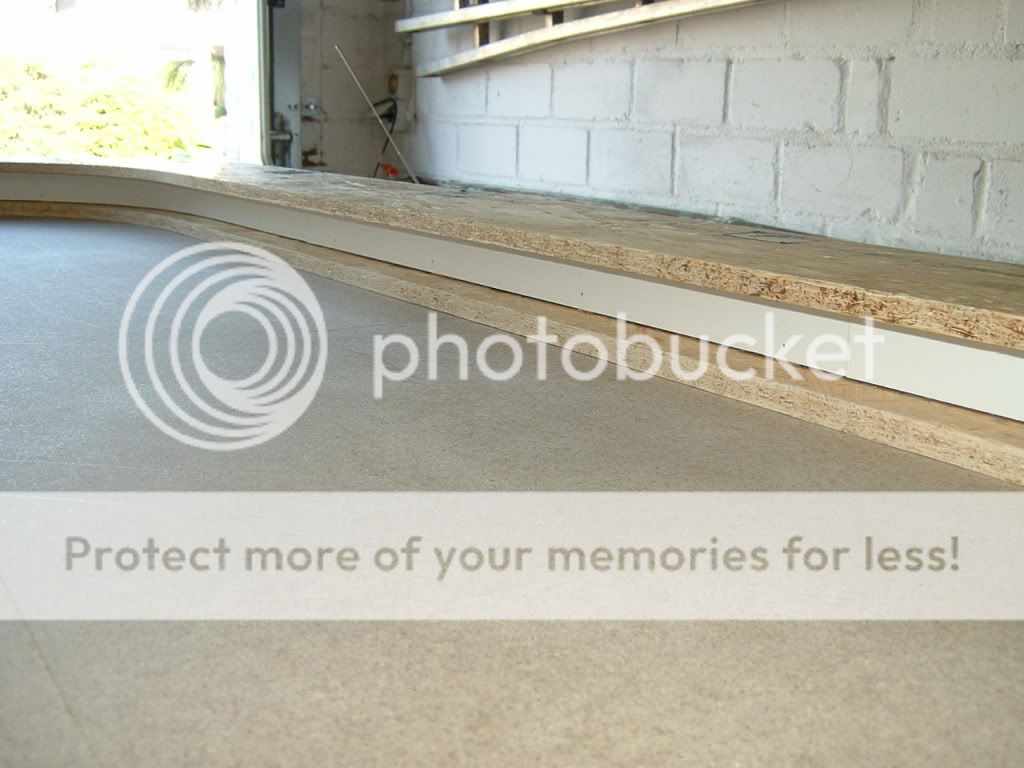
also hartboard to the outside of the rail


DSCF0149.jpg


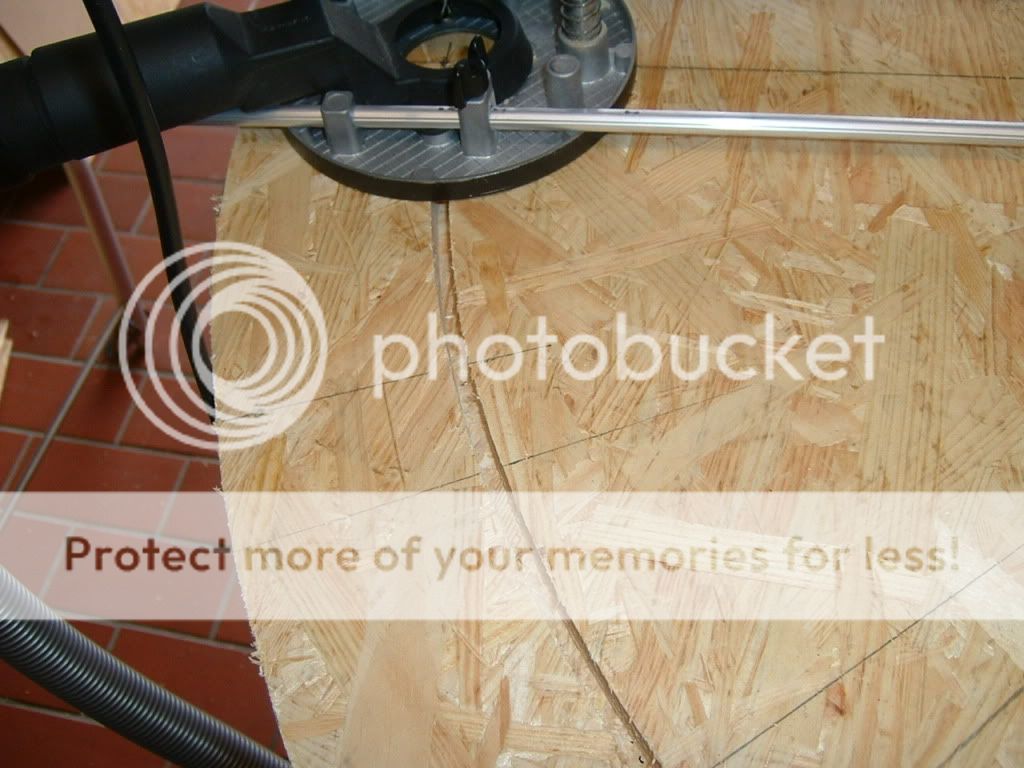
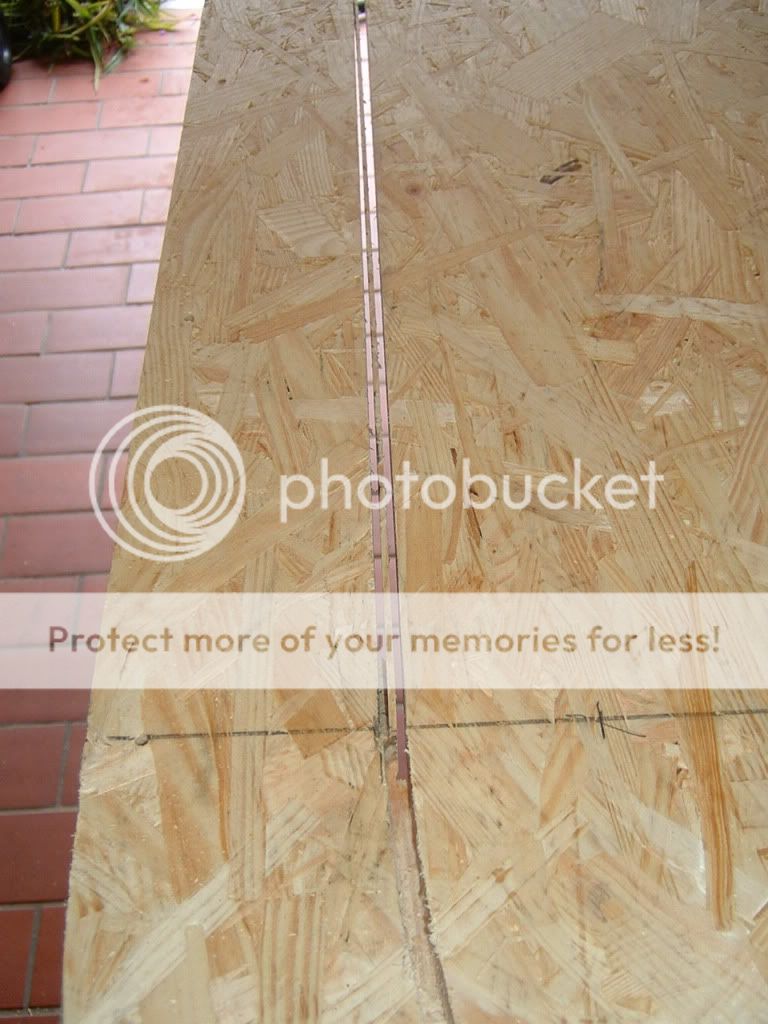
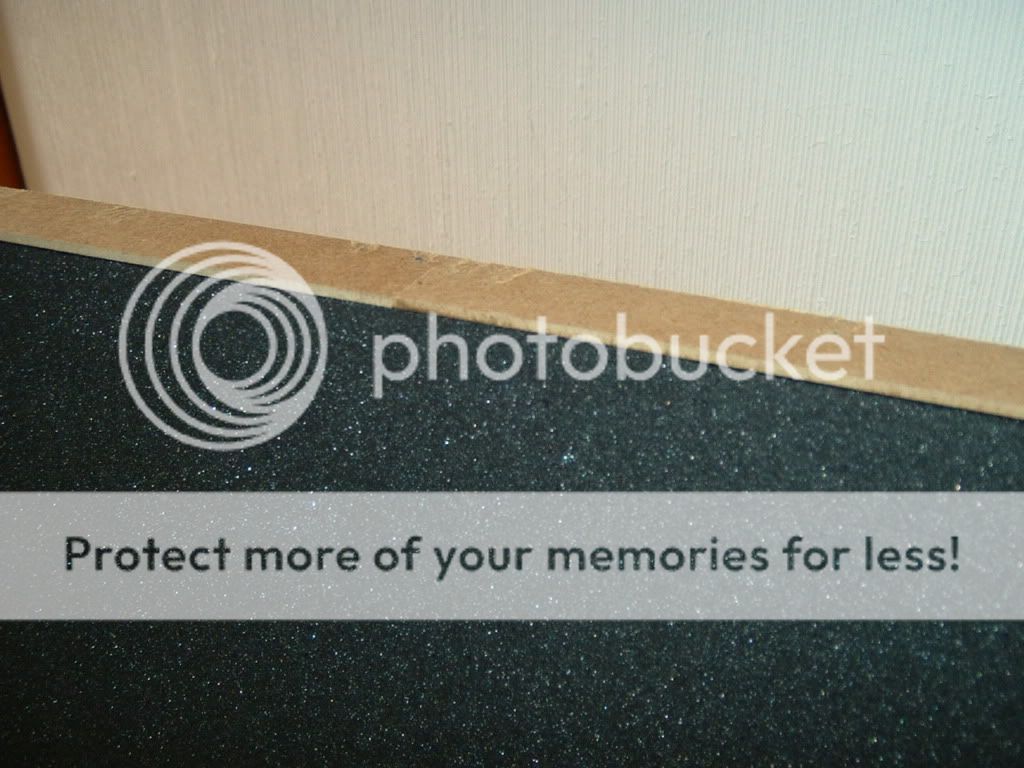
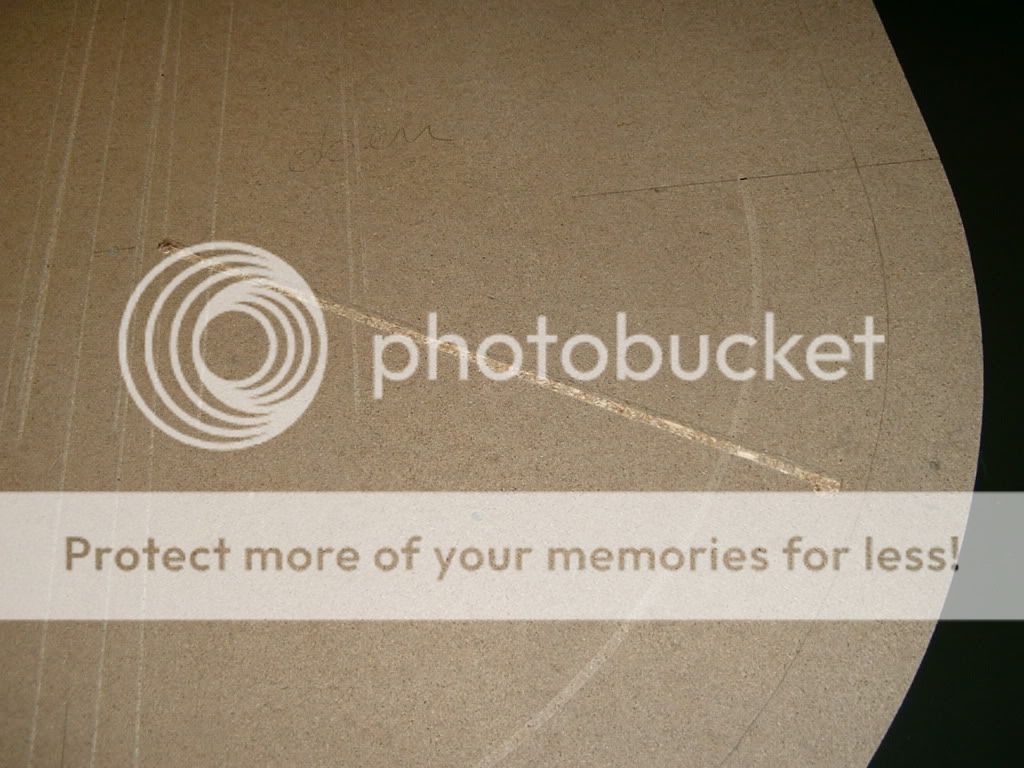
2nd cut into the playing surface board to get the lid where the plexiglass is going to screwed on and the playing surface itself.
Cut is 6mm to have enough space for the 3mm plexiglass and 2mm hartboard at the outside of the playing surface (more pics for that later)


DSCF0135.jpg


DSCF0137.jpg


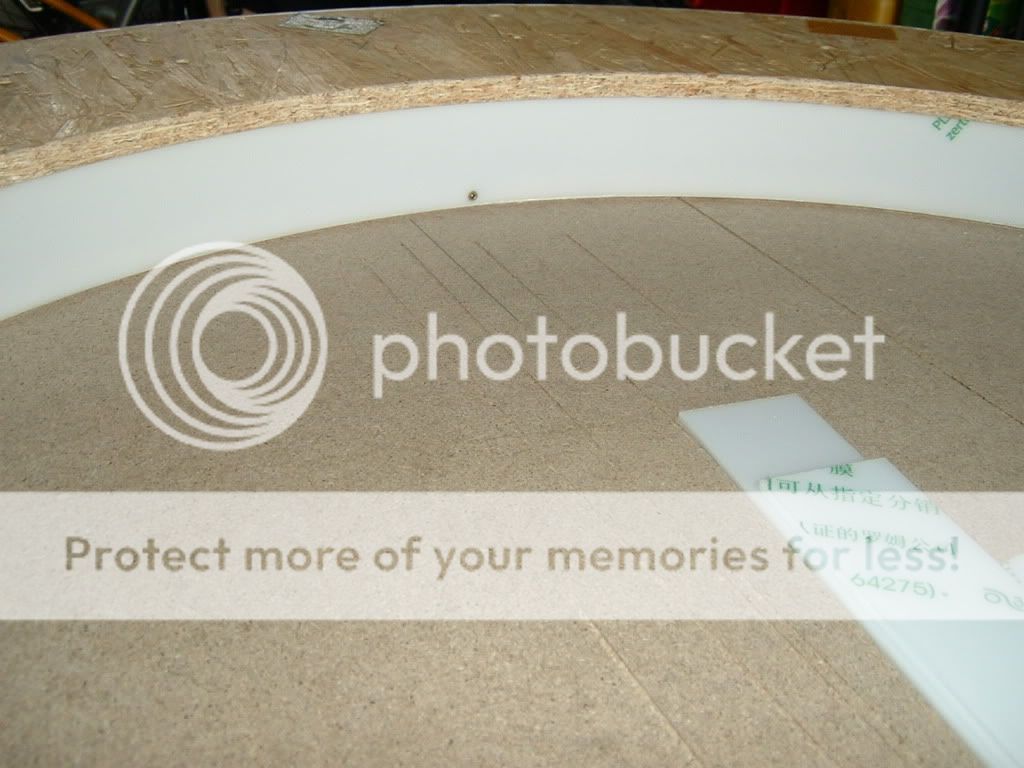
Rail attached on the base board, also the plexiglass lid


DSCF0145.jpg


Plexiglass srewed to the lid


DSCF0146.jpg


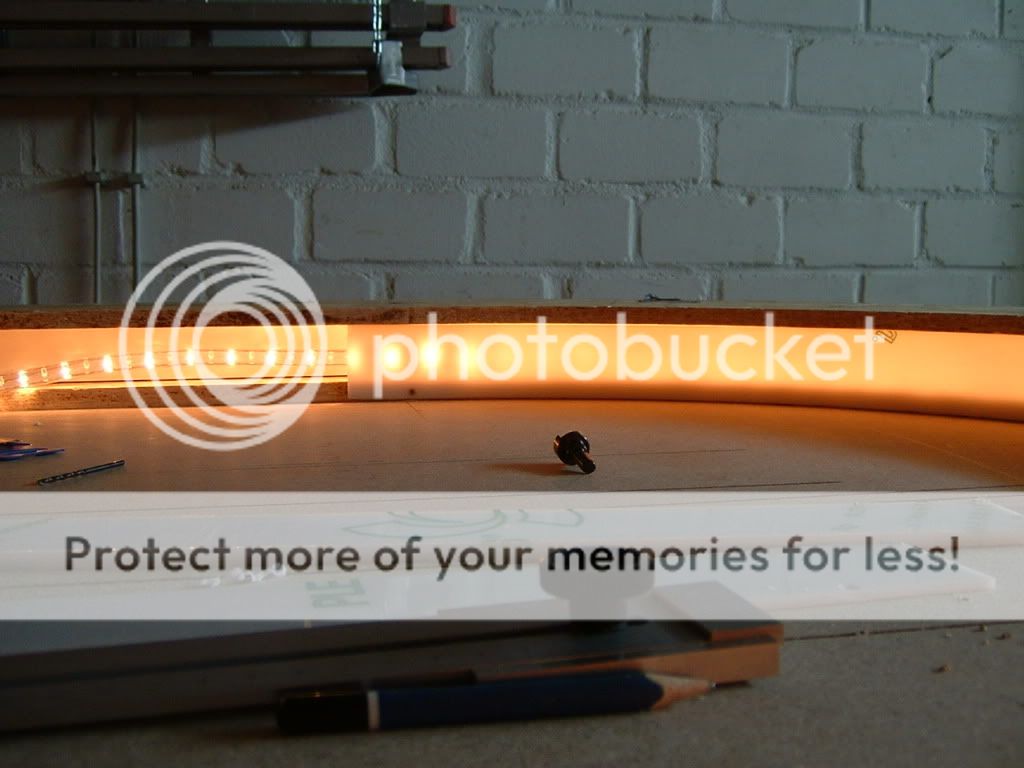
1st test using a rope light


DSCF0148.jpg


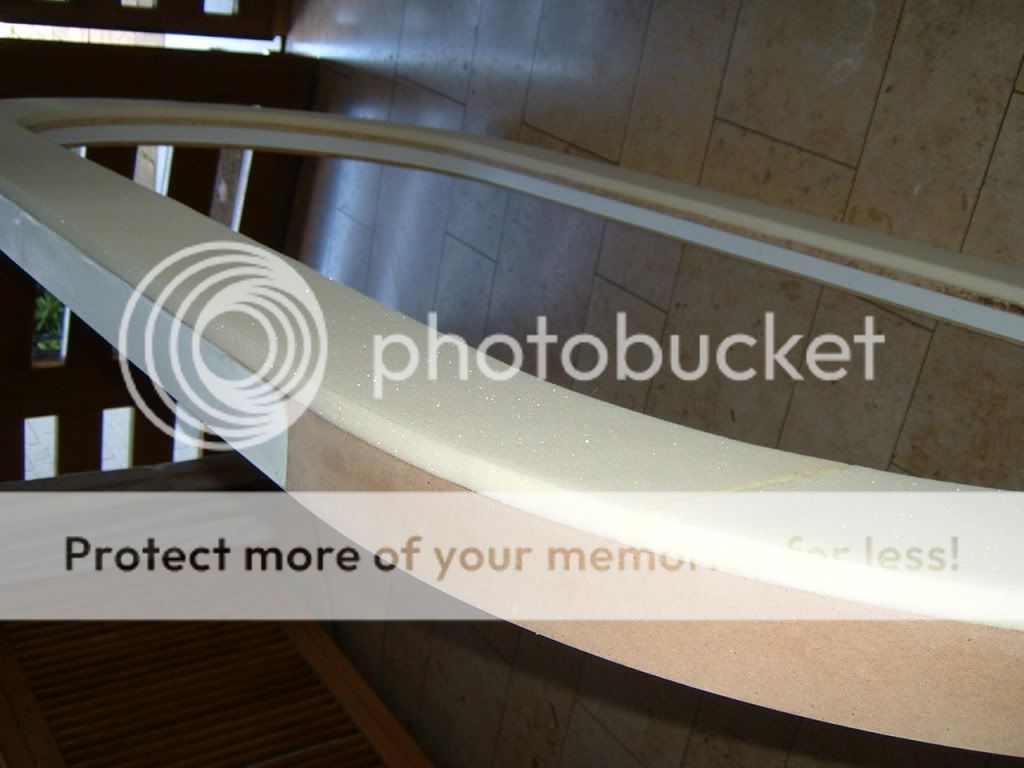
upholstering the rail (foam only to the top)


DSCF0151.jpg


DSCF0152.jpg


DSCF0153.jpg


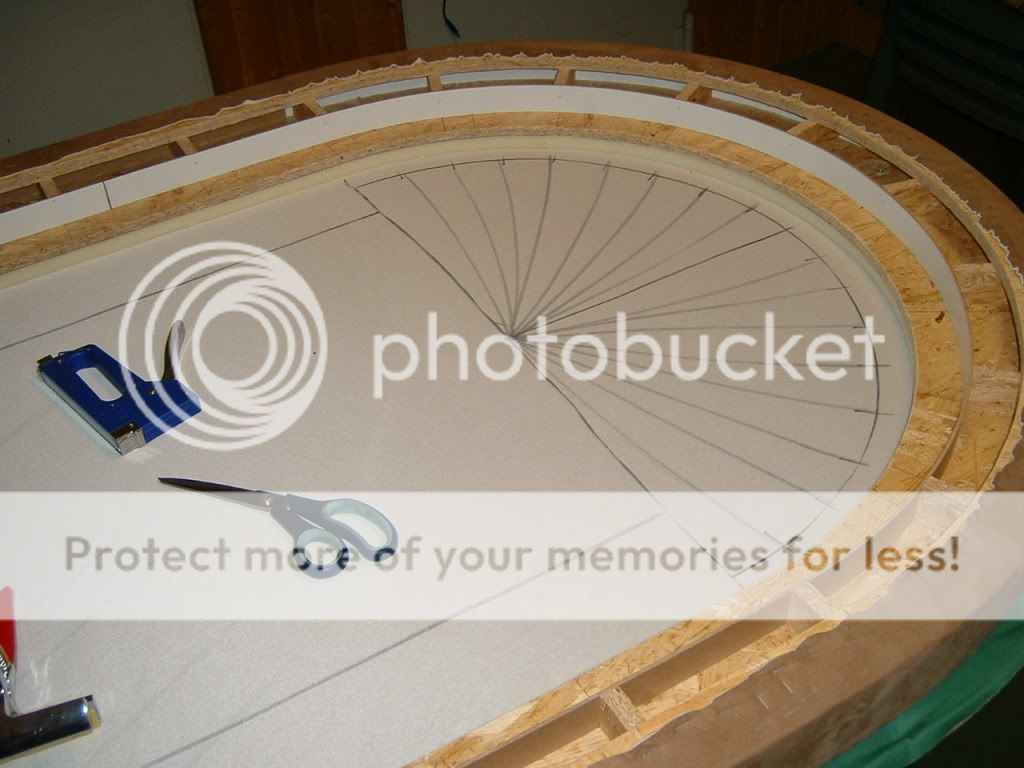
hartboard to the outside of the playing board (not to impress the foam on the edges)


DSCF0160.jpg


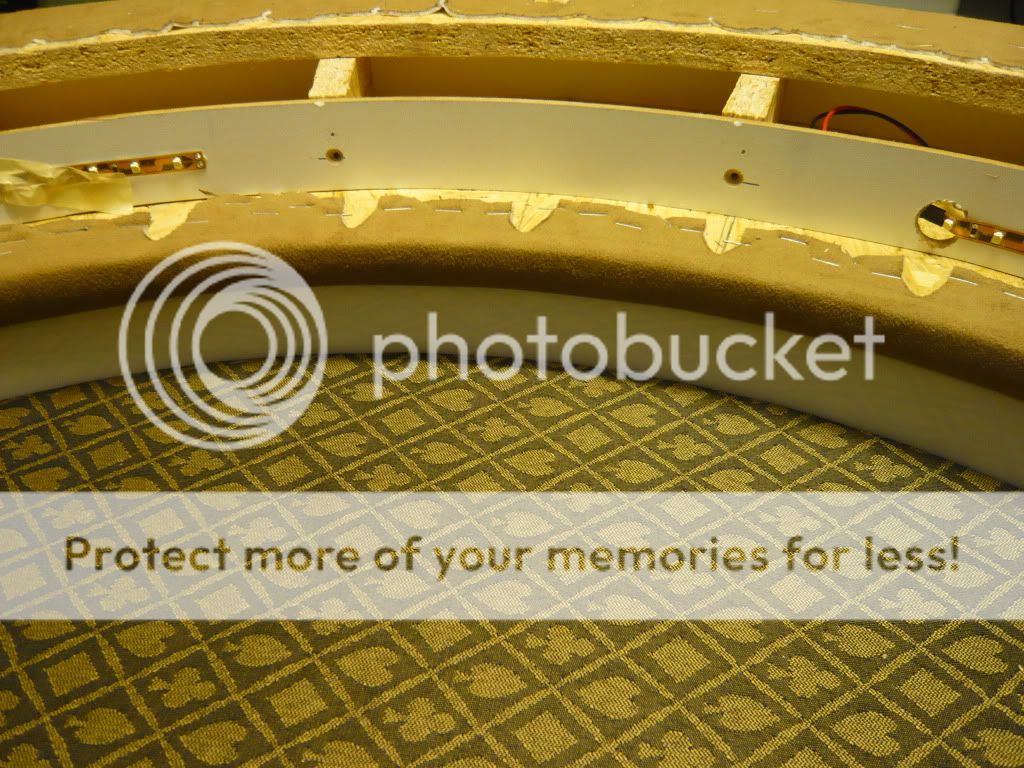
routing a channel for the LED power cord


DSCF0161.jpg


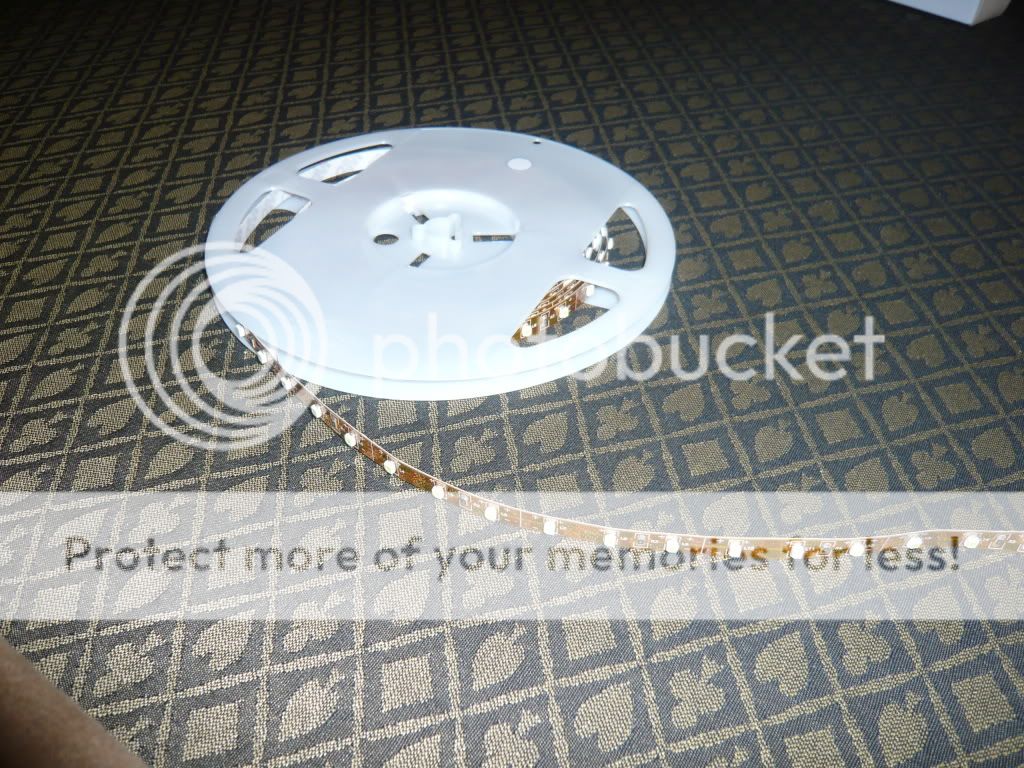
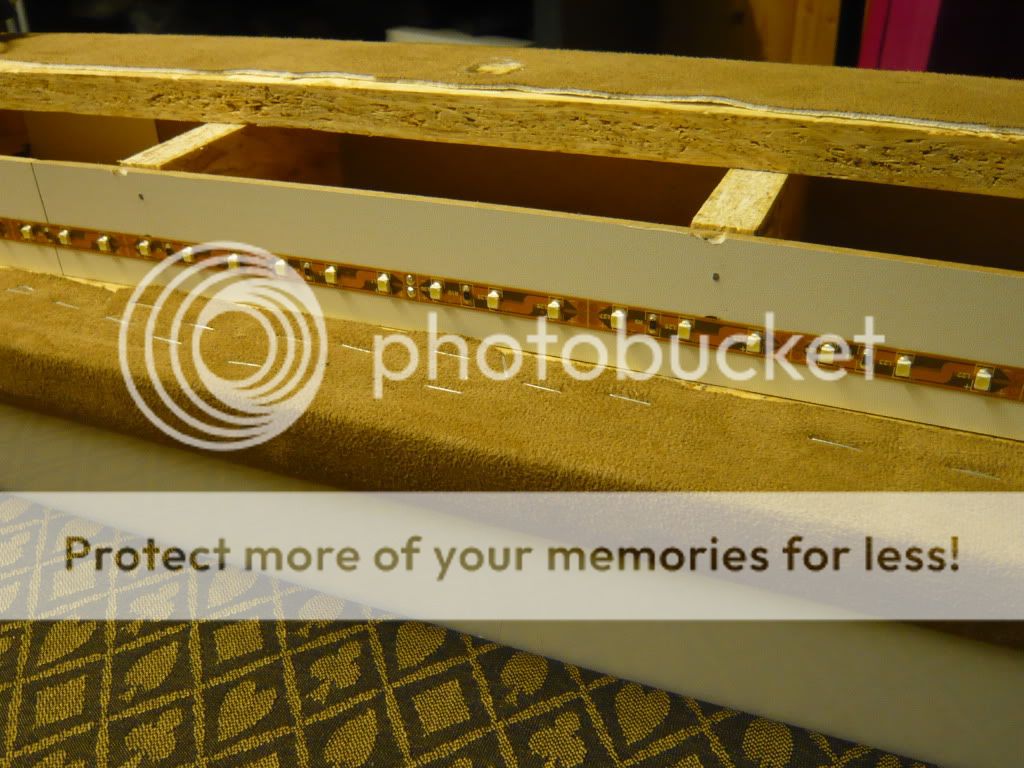
now the LED Strip is glued into the rail


P1030859.jpg


P1030862.jpg


P1030867.jpg


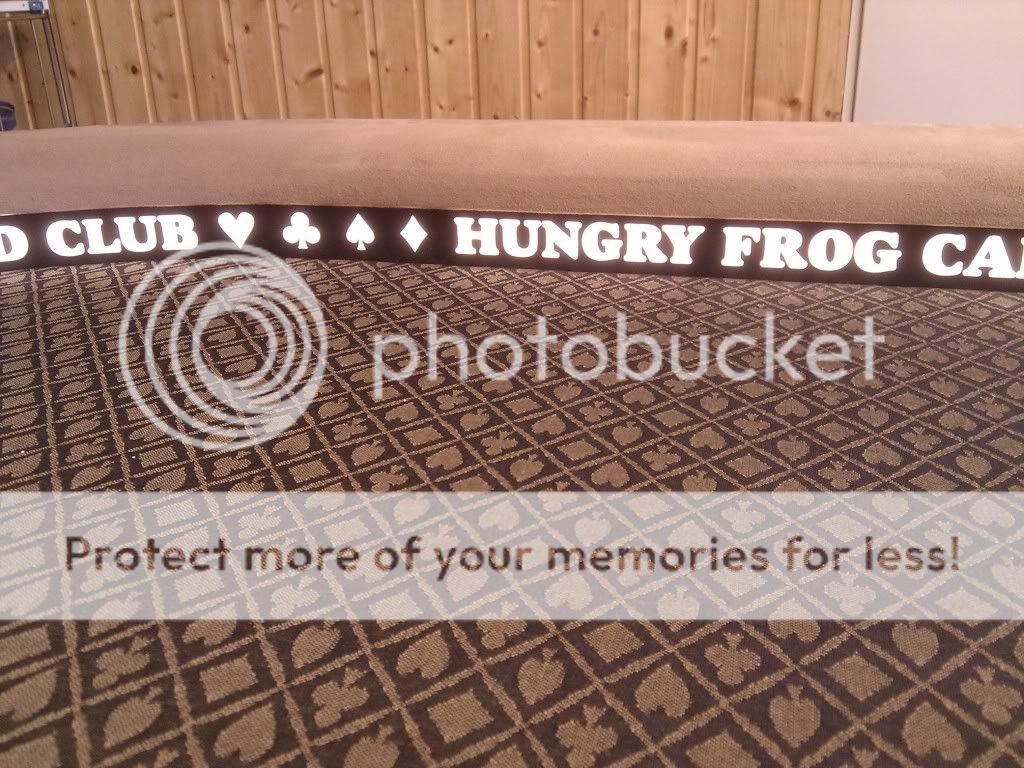
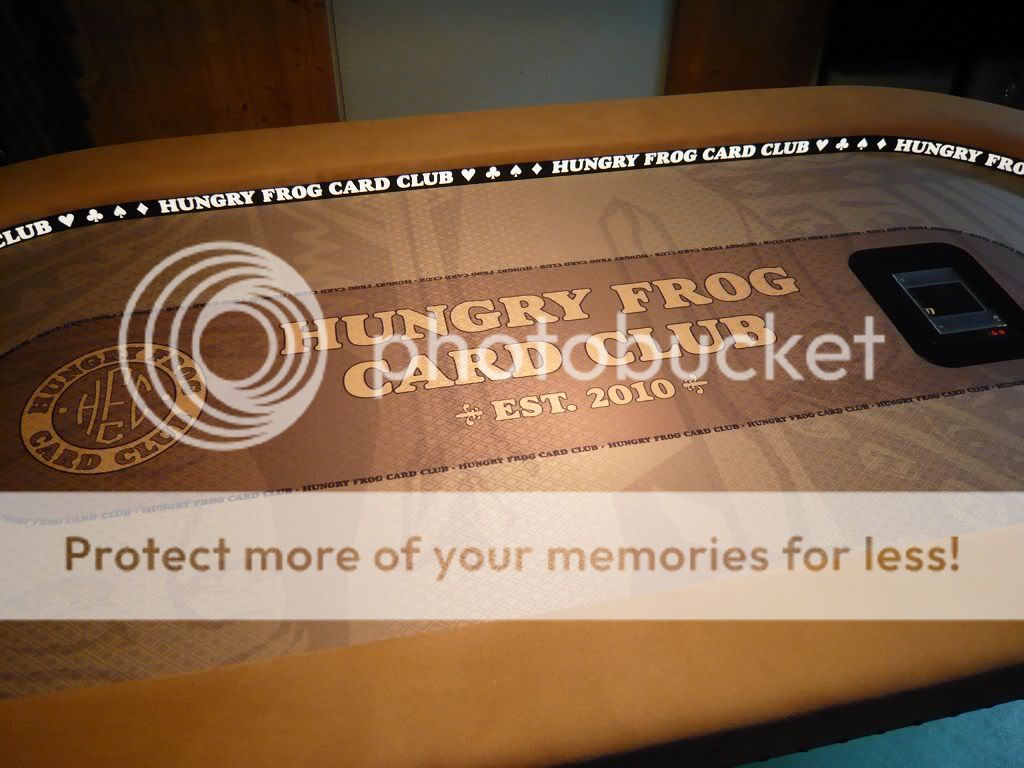
stickers attached to the plaxiglass


IMG_20110530_160738.jpg


and final assembling :)


k-P1040161.jpg
 
Beautiful table! If I didn't already have my octagon table I built, I'd consider building one just like this!
 
you never can have enough tables :)

But thanks a lot for your kind words!
 
Very nice! I'm still not sure where the hartboard is/for or where exactly it goes on the inside. Is it the backing for the light strip?
 
I really like it, I think our next table needs LED, nice to see how you did that part.(y) :thumbsup:
 
Meatboy, I've always admired your table... Very sharp!

I've finally gotten around to building my own, with raised rail, albeit not a lighted one. I'm at the upholstering phase and at a crossroads, trying to decide whether to use rail foam on all sides (outer, top, and inner lip), as typically done on pretty much all table builds or to go the route you took in using rail foam only on the top and upholstering it that way.

Using your method would allow me to achieve two things:

1) Chipstacks would sit flush along the inner wall of the rail and the inner riser.

2) I'd get the look that I'm looking for. Starting from the outside wall we get a flat look, then rounded look for top of rail, then go flat yet again on the inner lip of the rail....I guess in essence, trying to describe it would be sort of like a loaf of bread type look... Lol.

What I wonder however is by opting for foam only on top, is comfort sacrificed? For instance, when your forearm sits on the top of the rail while your wrist sits along the unfoamed inner wall, is not having foam there bothersome? I suppose the same concern applies to the outer unfoamed wall of the rail... sitting against the rail and foam missing, is comfort sacrificed in this manner? Or it's no issue whatsoever? Is any difference discerned?

I'm probably over-thinking it all, granted...but it's my first build and have no experience in anything table building and thus wanting clear these sort of things up. Thanks!
 
@Raf I personally like foam on all sides. I also advocate for rounding over the inner and outer edges of the top rail. It makes the upholstery easier, and if you don't, you will be able to feel the sharp edge through the foam.

I do know of some builders opting to forgo the foam on the inside rail, just seems like a shortcut, not as comfortable, and not my style. However, some could argue it might leave a cleaner edge? But I think that's more to do with skill of the person doing the upholstery.
 
  • Like
Reactions: Raf
@Trihonda, appreciate the feedback. Your table is hella nice also. I think I'll go ahead and heed your suggestion. It just makes sense that forgoing the foam on either inside or outside could jeopardize that comfort. Since its my first build, no need to chance it by going against the grain. It's best I just follow the resource of all you having shared with your builds and simply foam the rail as typically done.

Thank you, sir
 
@mashoo , I too have read many upon many reviews of shuffletechs giving problems and the manufacturer not standing behind their product at times. Complaints of constant jams were the main culprit in the reviews I've read
 
@Trihonda, appreciate the feedback. Your table is hella nice also. I think I'll go ahead and heed your suggestion. It just makes sense that forgoing the foam on either inside or outside could jeopardize that comfort. Since its my first build, no need to chance it by going against the grain. It's best I just follow the resource of all you having shared with your builds and simply foam the rail as typically done.

Thank you, sir

And I'd use plywood, NOT OSB or particle board. On some of my side tables, I did use scrap particle board for my rails, but play surface is always 100% ply. For a quality build, ply all around is the way to go. Plus, if you're cutting out the play surface, it leaves you with part of the rail anyway.
 

Create an account or login to comment

You must be a member in order to leave a comment

Create account

Create an account and join our community. It's easy!

Log in

Already have an account? Log in here.

Back
Top Bottom