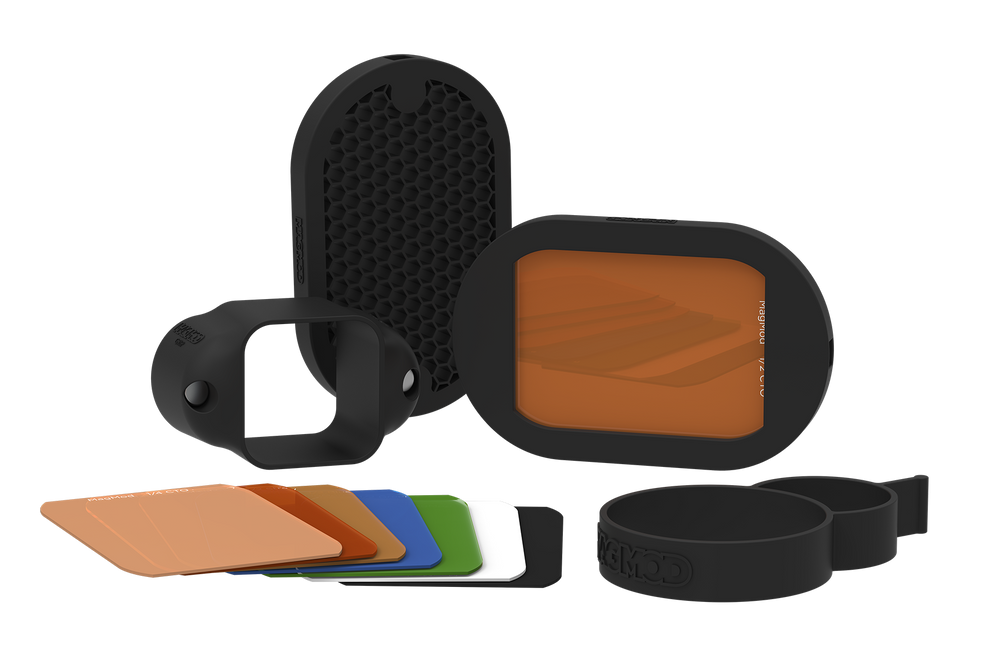
Configurable color temperature is not unique to static LED lighting though. You can simply gel a flash.
If you go with the chinese firecracker variant it doesn't even cost that much - only the "pro" grade variant (MagMod) is super overpriced.
Natural lighting, while cheap and often gorgeous, is hard to work with if you have a very clear vision how your photos should look. The light never stays the same, it is always changing. Hence you only really have one shot (pun intended) at creating the photo you want. A few minutes later the light has changed - more intense, less intense, color temperature went warmer or colder. Cloud passing by the sun? Have fun waiting. The only control you have over natural light is blocking or diffusing it, and changing the direction (reflectors). Won't help much to say "hey sun, could you please be a little brighter?"
If my subject doesn't move and I'd otherwise have all the time in the world to perfectly set up my shots, I want absolute control over the light as well. Else it's moving targets, and highly frustrating - even more so if you are still somewhat inexperienced and need some time to change all the camera settings. If the scene I was shooting was not perfectly reproducible anyway - like people outdoors, or events - then it wouldn't matter that much to me.