Table Showcase (pics) (2 Viewers)

@T_Chan good point about cards jamming under. I'm a KISS guy...I want the stuff on/part of the table to be functional. That point about the rail makes it functional.
 
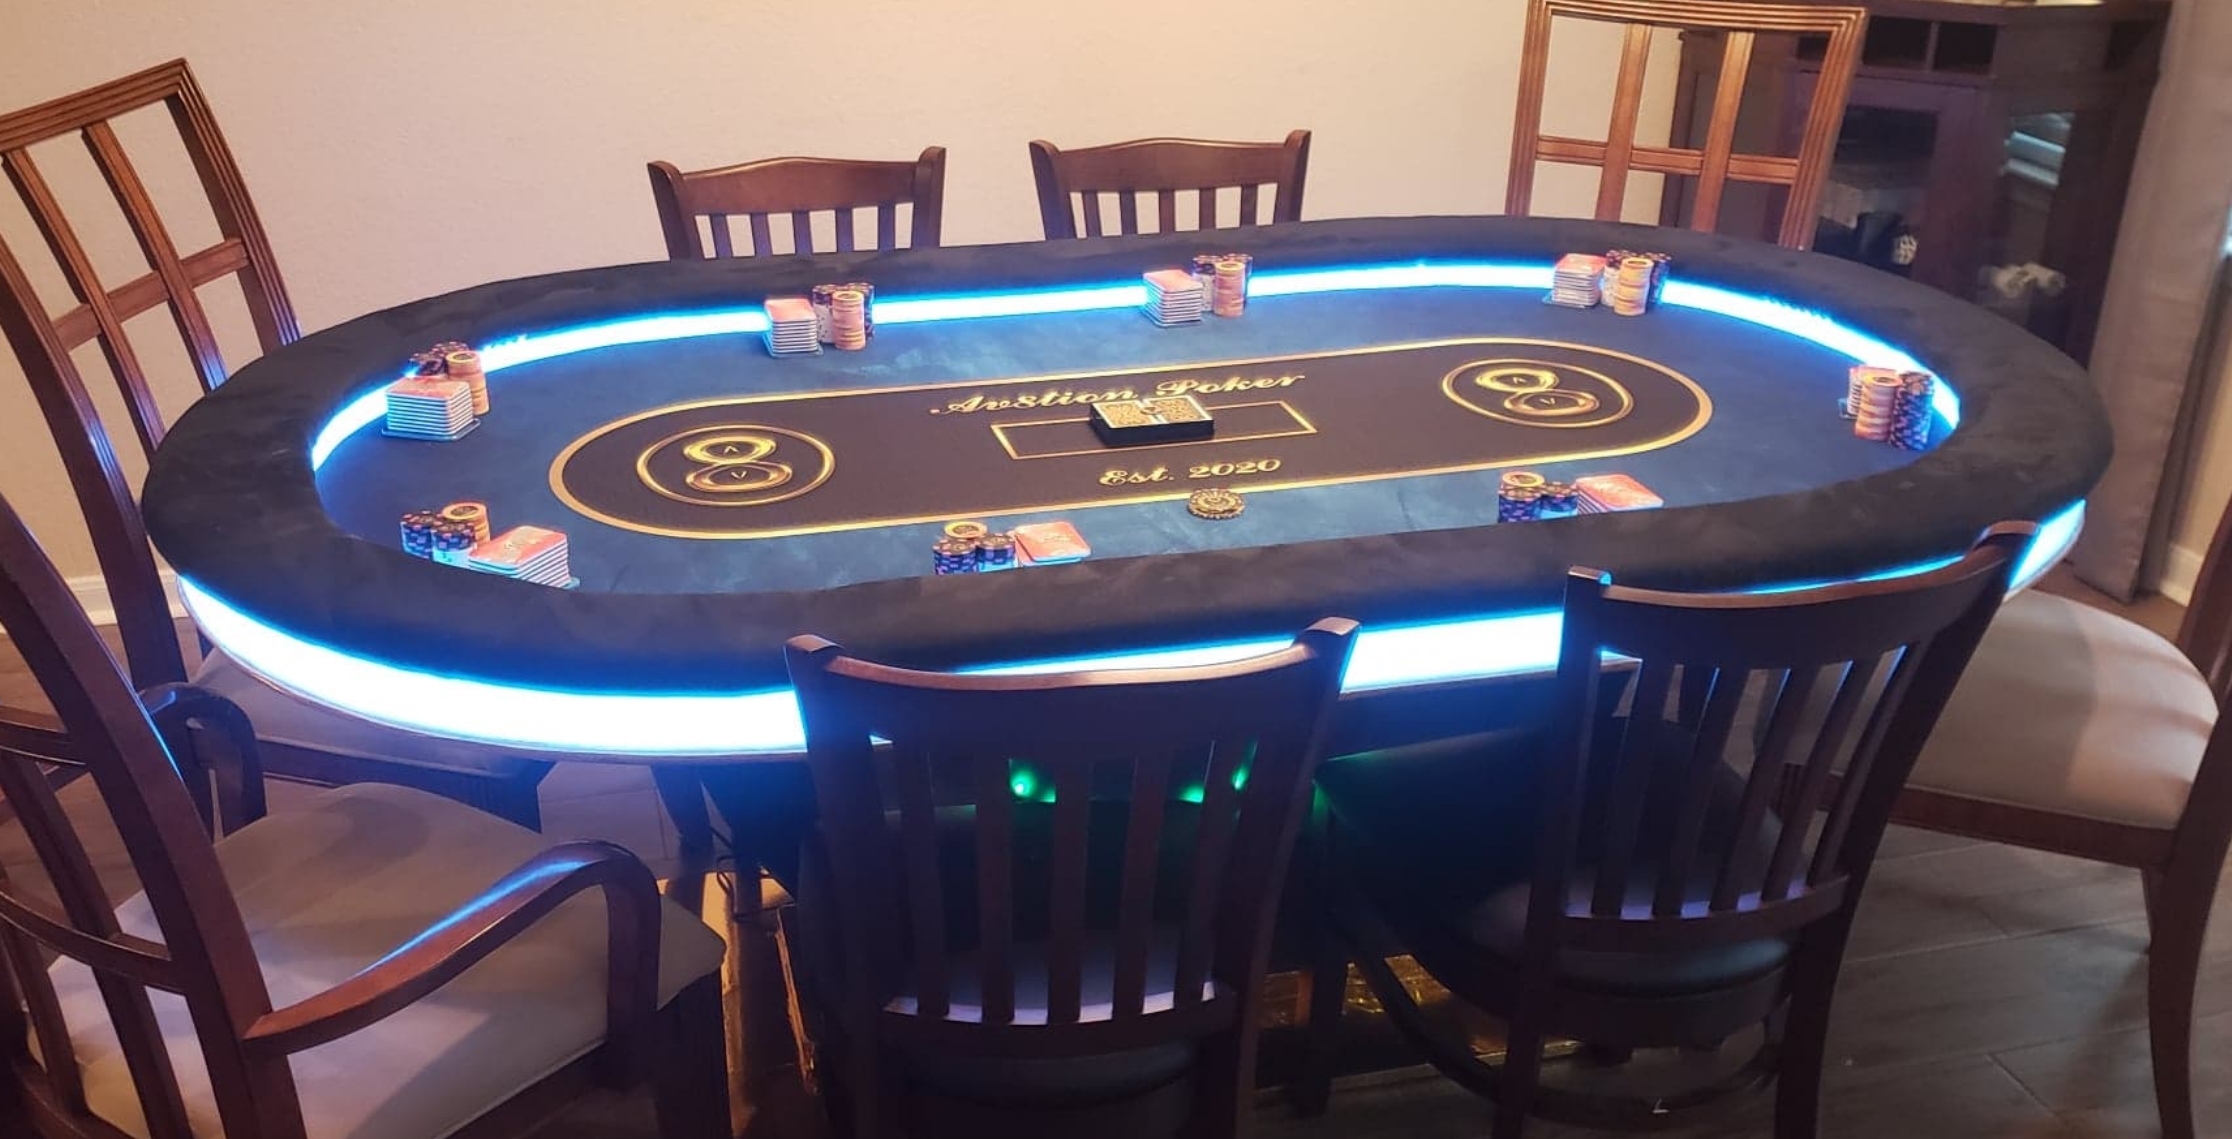
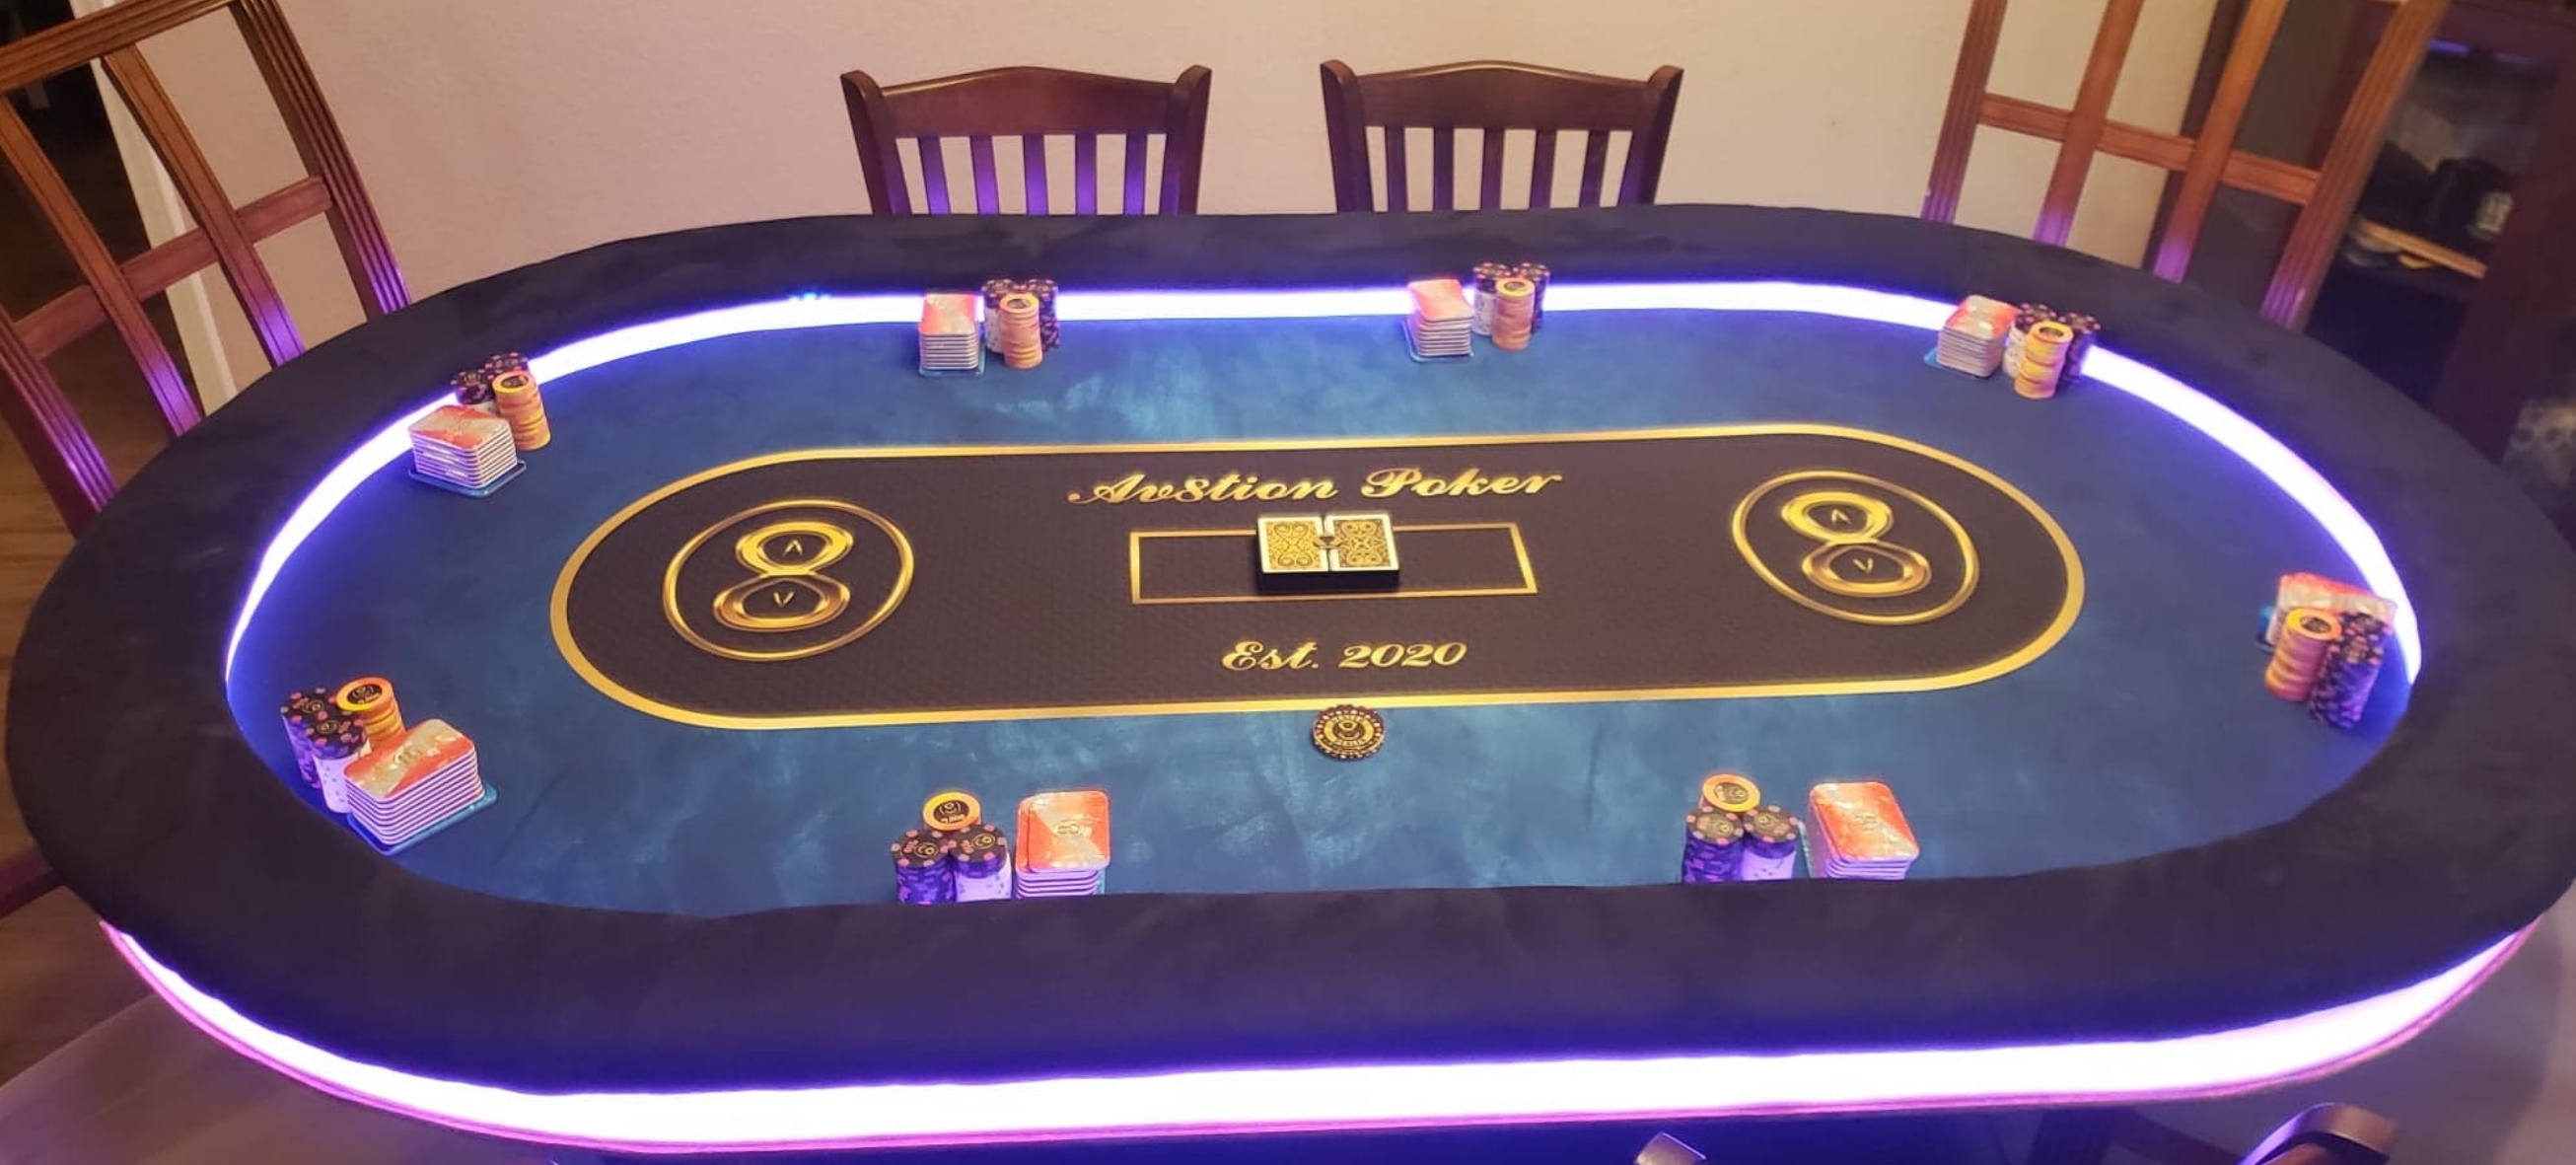
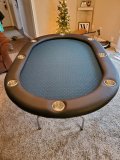
Some photos from a customer who just got their table assembled over the weekend. This one was a big boy, 9' long and the topper was a whopping 111" x 50".

image5 (1).jpeg


image4 (1).jpeg


image3 (1).jpeg


image2 (1).jpeg


image0 (4).jpeg


Resized_620353542.jpg


image1 (1).jpeg


image0 (5).jpeg
 
What is the smallest raised rail you can do and still get lights? 1/2 inch or 3/4?
 
I have always been reading 3/4" to 1" tops. I was forced by design to do 1 1/4" on mine, and I was really concerned it would be too high. But it's not, and to all Tony's points above, a raised rail is PERFECT for stacking chips, they look cool, and just adds a level of awesome as it feels like a "pit"...I am more than happy with my raised rail, and feel a plain table just wouldn't look as good or play as well as raised rail. I understand both sides of the argument. At the end of the day, no one sits for 6 hours with their arms on the table at all times, so not really buying the "it fatigues my arms to be up on top of the raised rail all night" argument.
IMG_4494.jpg
IMG_4944.jpg
IMG_4945.jpg
 
First of all, congratulations!:tup::)
About the lighting: I guess it helps visibility when peeping at one's hole cards.
But doesn't the light from the opposite side get into one's eyes?
That's why there's a diffuser... it's a calm glow instead of a bright light in your eyes... in my short experience with my table it doesn't seem to be too big a problem..
 
About the lighting: I guess it helps visibility when peeping at one's hole cards.
But doesn't the light from the opposite side get into one's eyes?

Not at all. Basically comes down to what @Av8tion and @T_Chan pointed out above on the diffuser, which makes a light glow and not like vehicle headlights. Pictures of lighted tables tend to give the latter impression.

I have script and graphics on the acrylic strip and can read them with no problem with the lights on while sitting at the table or standing regardless of color setting. Here a couple of shots at level table view of lights on to give you a good idea of reading the text with the lights on (Tony sent this to me after the strip was installed before it was crated and shipped):
2020-08-11 18.08.06_1024x512.jpg


2020-08-11 18.07.15_1024x512.jpg


EDIT TO ADD: Found this on my phone just now. Taken at night a few feet away from the table. You can make out what's on the acrylic strip. There's a glare here because of the camera, but it's a nice subtle glow in person.

IMG_5196.JPG
 
Last edited:
A bit hard to see from the photos, but the single leg at the front has an aluminum plate to keep it steady, and there's also an aluminum plate going across the two back legs for stability.

Four.jpg
One.jpg
2020-09-01 14.39.20_576x768.jpg
2020-09-01 14.39.26_576x768.jpg


The bar on the legs is just holding up the battery temporarily for the photo shoot.
2020-09-01 14.43.16_1024x768.jpg
 
A bit hard to see from the photos, but the single leg at the front has an aluminum plate to keep it steady, and there's also an aluminum plate going across the two back legs for stability.

View attachment 542802View attachment 542803View attachment 542804View attachment 542805

The bar on the legs is just holding up the battery temporarily for the photo shoot.
View attachment 542806
Awesome tables! They look amazing. Question regarding the LED rail with logos--are the logos able to be changed easily? Was thinking some of the players or local shops might like the idea of advertising at our home games...
 
Thanks!

The raised rail strips aren't a very DIY change. It would involve removing the rail, removing the strips and then replacing them. I usually make them extra long, then cut them to size during installation. If you're going to be using white acrylic though, you could always get vinyl decals and apply them to the front of the acrylic and peel them off to change without removing the entire piece of acrylic. Applying it straight on such a thin area would be a bit tricky, but totally do-able.
Thanks @T_Chan ! I love the idea of the vinyl decals!
 
Just delivered this table yesterday. Another 10' beast of a table. Very funky rail near the dealer area for this one. It has folding legs for now while he decides what kind of permanent base he wants to use.

It's also a unique design where the rail is a single layer of 3/4" plywood, and the outer raised rail is thicker. Usually the rail gets wrapped around the outside of the table but he wanted a really slim rail look.

2021-01-19 12.00.20.jpg
2021-01-19 12.00.23.jpg
2021-01-19 16.03.30.jpg
2021-01-19 16.03.35.jpg
 

Create an account or login to comment

You must be a member in order to leave a comment

Create account

Create an account and join our community. It's easy!

Log in

Already have an account? Log in here.

Back
Top Bottom