jamesjkim
Flush
I always wondered if it was possible to remove yellow (UV/sun damage?) discoloration from plastic chips (specifically Bud Jones) and also Paulson inlays, and I'm happy to report that I found a successful solution for the prior. (Still trying to figure out if it works for Paulson inlays and will update if any success).
While researching, I came across a process called Retrobrite. It involves 12% hydrogen peroxide (also referred to as 40 volume creme) and is most commonly sold as a hair treatment product. After seeing success on restoring, as the name implies, retro game consoles (think Nintendo or older) that have discolored over time, I wanted to try them on my yellowed chips that were originally white. I previously saw other threads here that mention the use of more standard 3% hydrogen peroxide but was hit/miss and didn't seem to be very effective although at the time I was trying to remove yellow stains on Paulson inlays.
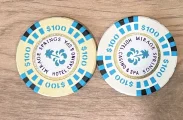
Here are the results of the original test: The chip on the right was used for comparison and untreated. Much to my surprise, the treated chip is a touch whiter than the untreated chip.
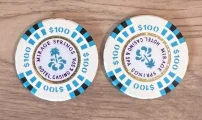
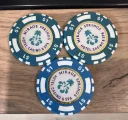
Next, I had what I believed to originally be blue $1 chips that had varying degrees of a green tint. The results were equally surprising, if not more. Top two chips were treated, bottom was used for comparison with what I thought was the original blue.
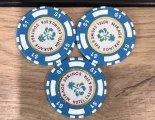
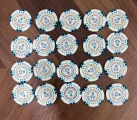
So, I decided to do an entire barrel of the whites and results are consistent and repeatable. I'll provide the steps I followed but there are YouTube videos that go through variations of the process and similar products (e.g. diluted with water in a bath).
I hope this helps others bring otherwise discolored, ugly chips back to their original glory!
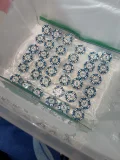
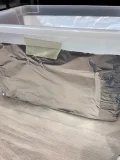
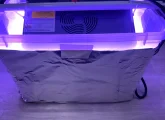
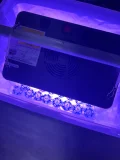
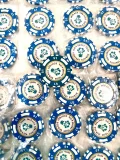
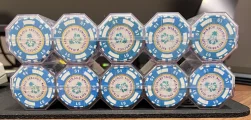
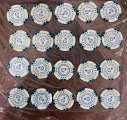
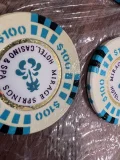
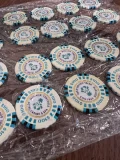
Some process pics:
While researching, I came across a process called Retrobrite. It involves 12% hydrogen peroxide (also referred to as 40 volume creme) and is most commonly sold as a hair treatment product. After seeing success on restoring, as the name implies, retro game consoles (think Nintendo or older) that have discolored over time, I wanted to try them on my yellowed chips that were originally white. I previously saw other threads here that mention the use of more standard 3% hydrogen peroxide but was hit/miss and didn't seem to be very effective although at the time I was trying to remove yellow stains on Paulson inlays.
Here are the results of the original test: The chip on the right was used for comparison and untreated. Much to my surprise, the treated chip is a touch whiter than the untreated chip.


Next, I had what I believed to originally be blue $1 chips that had varying degrees of a green tint. The results were equally surprising, if not more. Top two chips were treated, bottom was used for comparison with what I thought was the original blue.


So, I decided to do an entire barrel of the whites and results are consistent and repeatable. I'll provide the steps I followed but there are YouTube videos that go through variations of the process and similar products (e.g. diluted with water in a bath).
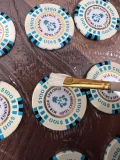
- Use a small paint brush to apply a thin layer of the creme product to damaged areas. I was originally worried about spillage over the inlay but found it to be a non-issue, although I wouldn't avoid it if possible. Apply to both sides. Use gloves to protect your fingers from prolonged exposure.
- Wrap the chip(s) in cling/saran wrap. This is done to prevent the creme from drying out quickly.
- Place into Ziploc bag and place into a sunny area outside. The sun activates the hydrogen peroxide but heat also aids in speeding up the process.
- Leave the bag in the sun for 1-2 hours rotating as needed for proper sun coverage.
- Flip the bag so the other side can receive treatment and again, leave for 1-2 hours.
- Take the chips out and rinse in water (you could use soap if you wish but I didn't think it was necessary).
I hope this helps others bring otherwise discolored, ugly chips back to their original glory!
Some process pics:


Last edited:


