Has anyone attempted or know how to fix hot stamps on chips?
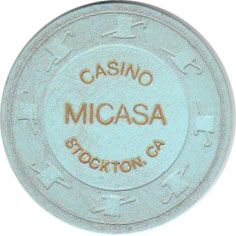
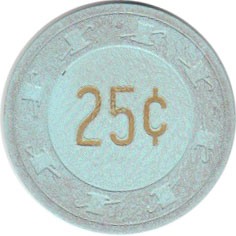
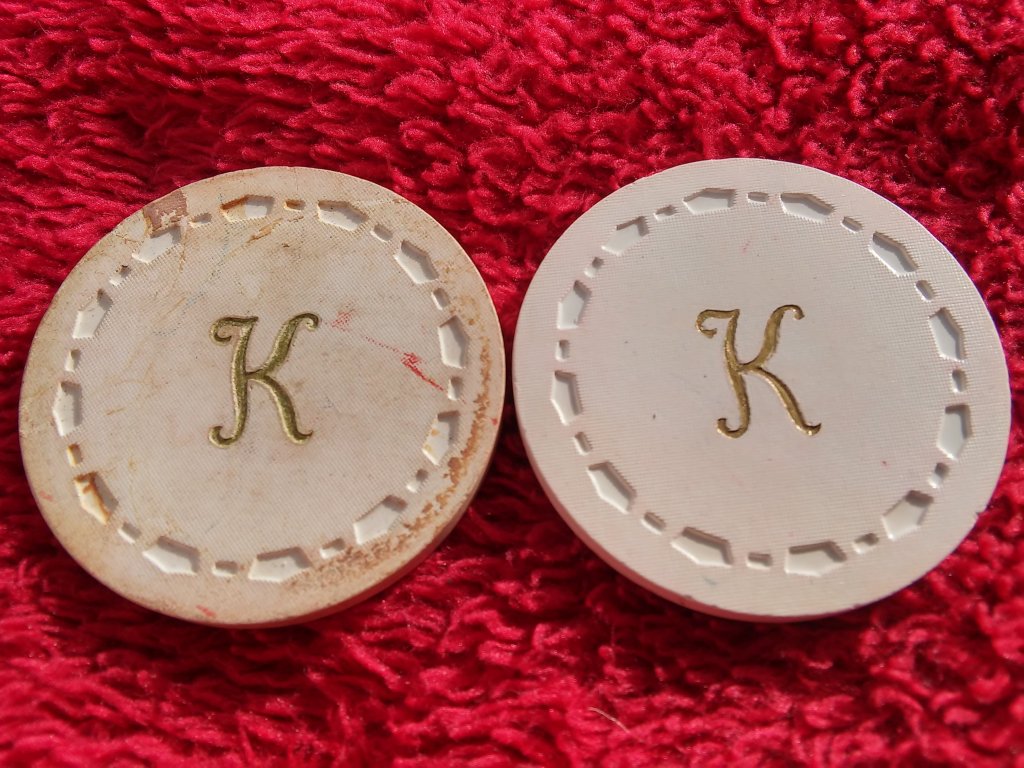
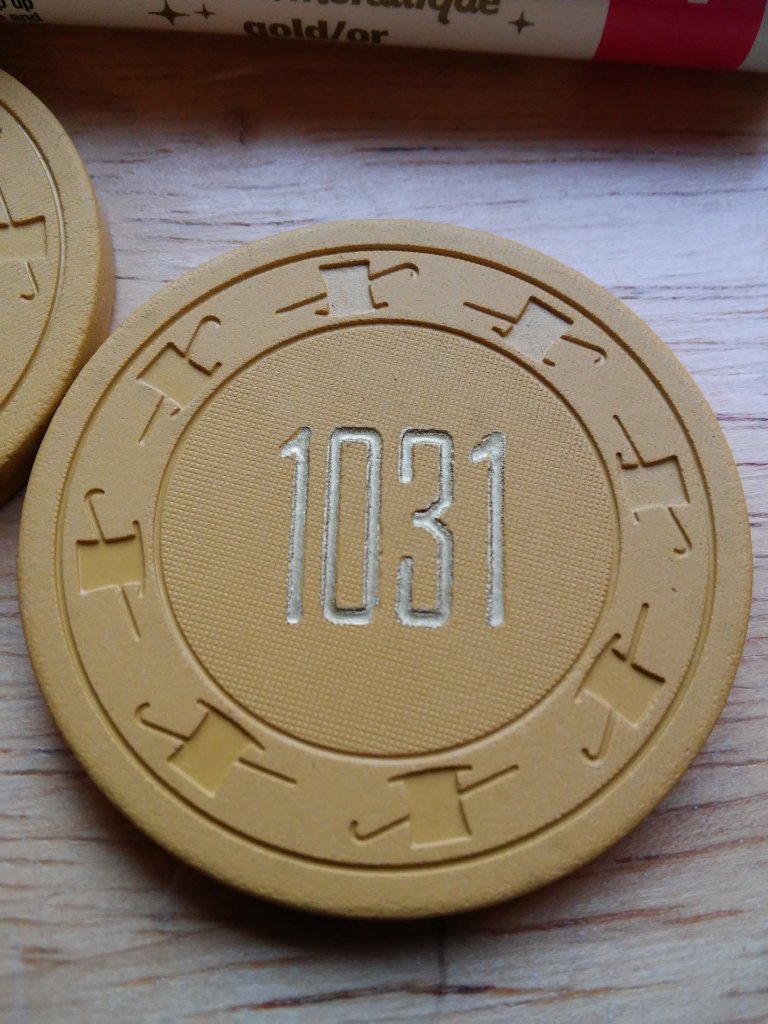
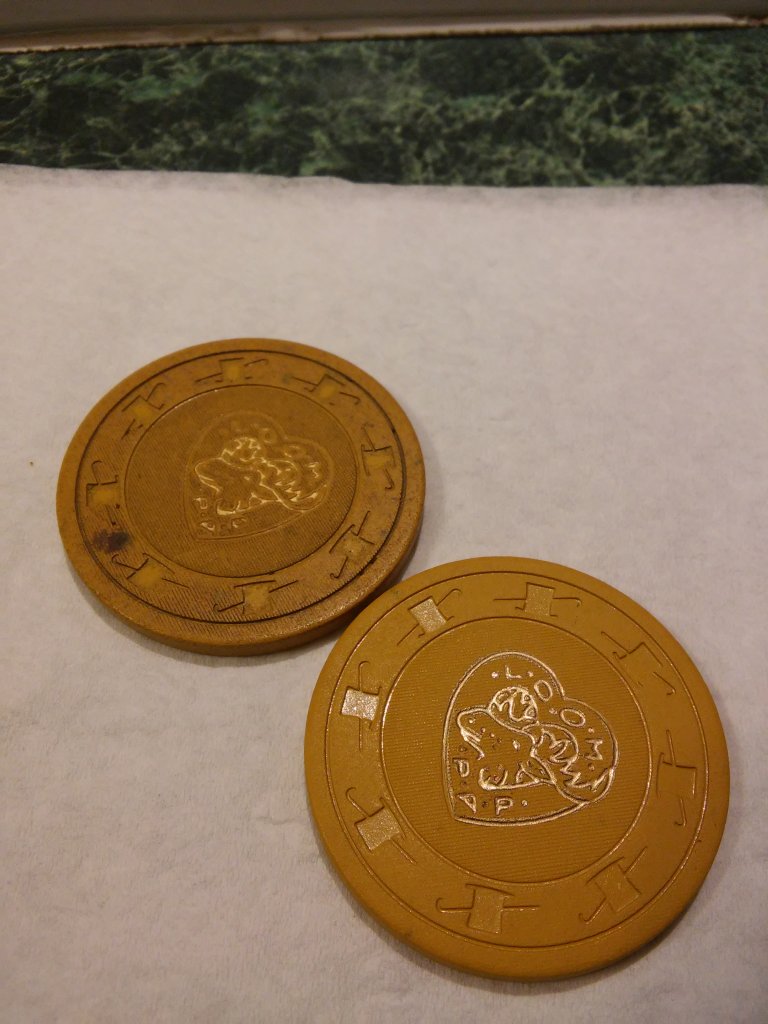
Seems like there are some interesting hot stamp chips out there where the foil is either partially faded, severely damaged, or completely gone. Instead of milling these chips, I was wondering if anyone has some experience working with or fixing hot stamped chips - and if it's worth trying to re-foiling them. Would be great to recondition some of these gems.
(I've already used the Search option here and tried researching some possible ways to fix hot stamps - but there doesn't seem to be any info out there that's helpful. If I missed an old thread that was posted here, please let me know.)
Thanks.

 So, science....