Ben
Full House
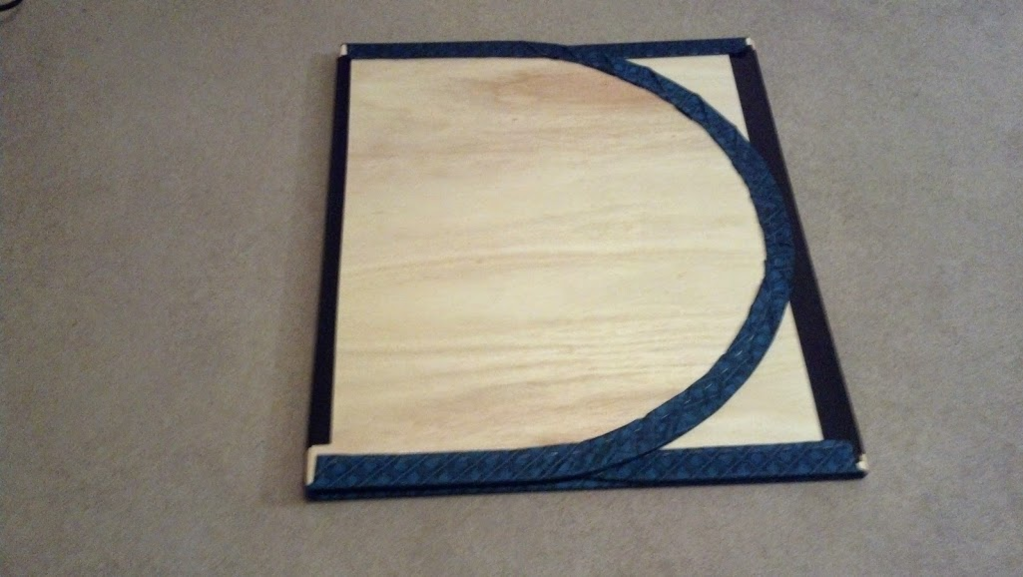
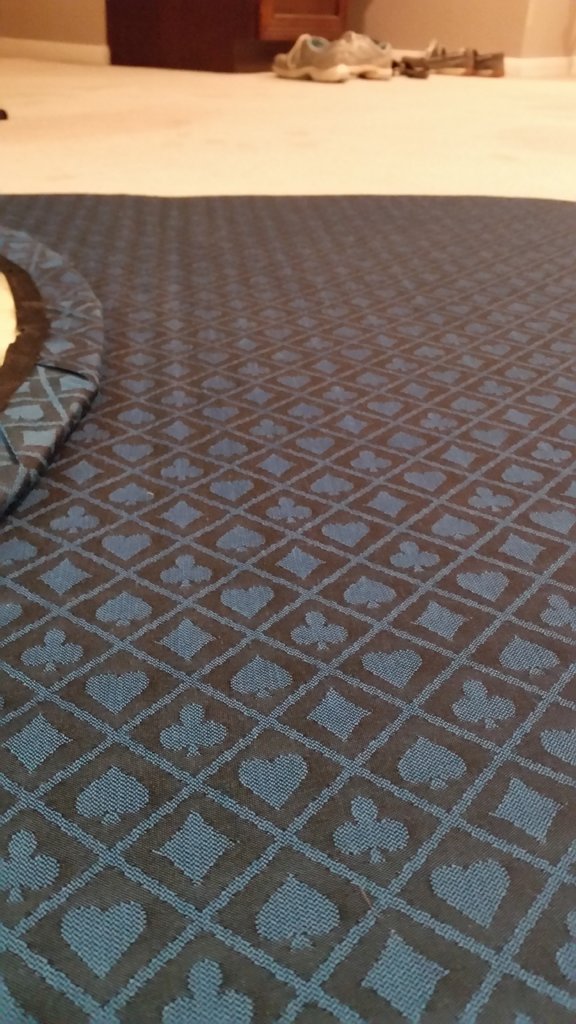
So, I'm hosting a tourney this weekend and my tables could use some new cloth; the old stuff is looking fairly dingy. I already picked up new cloth from YAT, but unfortunately my buddy who builds tables semi-professionally is on vacation this week. So, I was going to take a shot at replacing it myself.
I can't seem to find much specific info on this at all - some questions I have here, anyone have experience with this?
-Should I remove the old cloth, or just apply the new cloth over it? That's going to be A LOT of staples to remove to get it off...
-Spray adhesive was applied to the cloth and padding when it was built. Not so much that it will be difficult to get it off, but if I do remove it, would the old adhesive create a problem for the new application and have to be cleaned off? If I DON'T remove the old cloth, how important is using the adhesive? Would it be worth going out and finding some just for this?
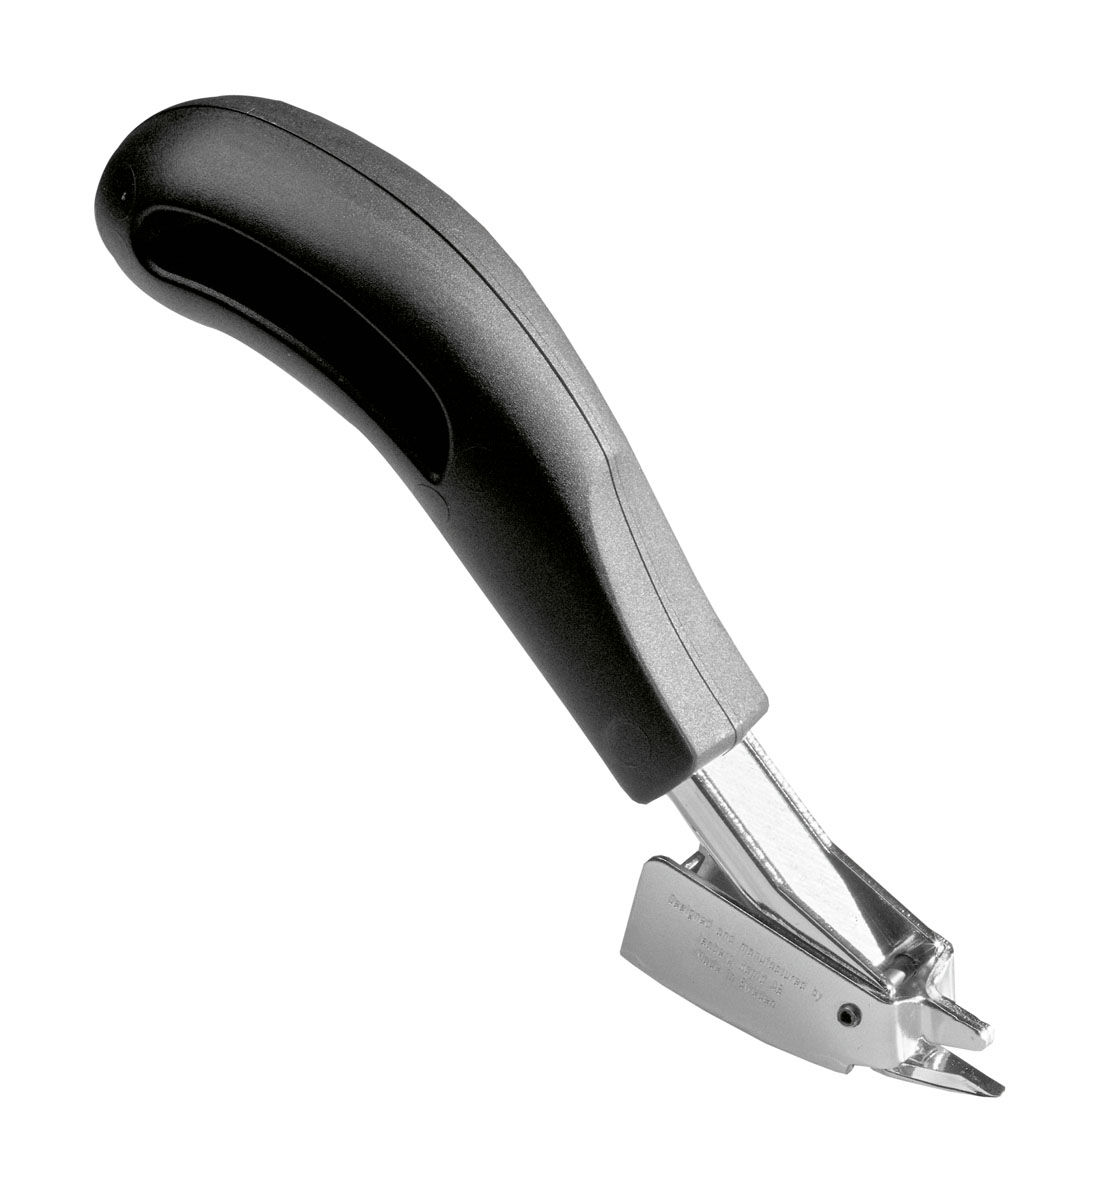
-I have a cheapo plastic staple gun (well actually the wife does, for sewing purposes.) Will this do the job, or do I need something heavier-duty?
-Any other helpful tips?
Thanks for any help you can provide.
I can't seem to find much specific info on this at all - some questions I have here, anyone have experience with this?
-Should I remove the old cloth, or just apply the new cloth over it? That's going to be A LOT of staples to remove to get it off...
-Spray adhesive was applied to the cloth and padding when it was built. Not so much that it will be difficult to get it off, but if I do remove it, would the old adhesive create a problem for the new application and have to be cleaned off? If I DON'T remove the old cloth, how important is using the adhesive? Would it be worth going out and finding some just for this?
-I have a cheapo plastic staple gun (well actually the wife does, for sewing purposes.) Will this do the job, or do I need something heavier-duty?
-Any other helpful tips?
Thanks for any help you can provide.