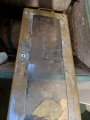
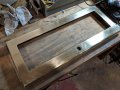
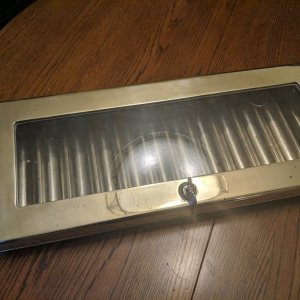
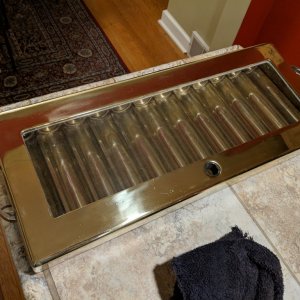
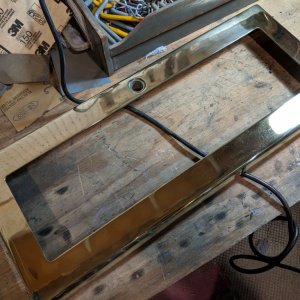
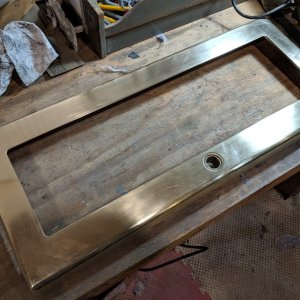
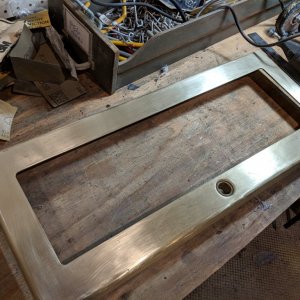
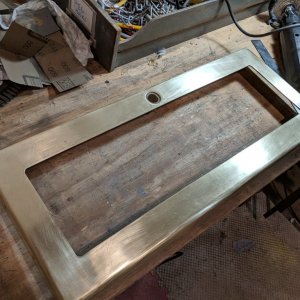
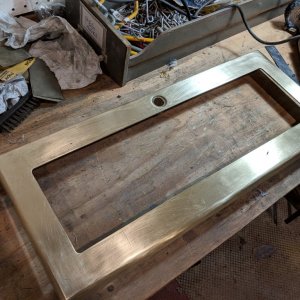
I recently procured a set of Paulson chips that were in, by far, the worst shape I have ever owned. They arrived in a brass Paulson case that had also seen better days. The chips were sent from a suburb just north of Houston, I’m guessing they were victims of hurricane Harvey.


I lightly cleaned them with mild detergent and a magic eraser. Just to the point they wouldn’t turn my fingers black anymore. I don’t mind chips that look like they have seen the felt. Here they are after cleaning, a mixture of both THC and RHC.


I’d say about 10-20% of the chips were warped to some extent, and rather than try to figure out exactly which ones needed flattening, I would just do them all. This worked better than I had hoped, although, I feel as if I had blank ceramics it would have been a lot better. I used some dead flat paranoids, but they also tend to soften a little in the heat, so rather than completely flatten the paulsons, I think it was more a process of averaging them out. They are about 95% of the way flat, which I’m content with.
With so many chips to flatten, I was frustrated with how long it took to load the clamps. I think I have come up with a better way, which may be helpful to others. I use some brand new pencils as alignment aids. These work to keep the chips completely straight on with each other. I then tighten the clamps until the chips can not be easily pushed out of alignment. The pencil eraser compresses, while the chips do not, so you can pull the pencils out while the chips remain perfect. I am able to load around 80 chips per clamp with this method, if I’m willing to do three rows, or 54 with two rows.


I attempted to build a heating contraption using a light bulb and a heating pad. I think this may have worked if I could have found a single incandescent bulb in my house, as it was, I could never get it higher than 102 degrees. So it was into the oven.

After the flattening:

I lightly cleaned them with mild detergent and a magic eraser. Just to the point they wouldn’t turn my fingers black anymore. I don’t mind chips that look like they have seen the felt. Here they are after cleaning, a mixture of both THC and RHC.
I’d say about 10-20% of the chips were warped to some extent, and rather than try to figure out exactly which ones needed flattening, I would just do them all. This worked better than I had hoped, although, I feel as if I had blank ceramics it would have been a lot better. I used some dead flat paranoids, but they also tend to soften a little in the heat, so rather than completely flatten the paulsons, I think it was more a process of averaging them out. They are about 95% of the way flat, which I’m content with.
With so many chips to flatten, I was frustrated with how long it took to load the clamps. I think I have come up with a better way, which may be helpful to others. I use some brand new pencils as alignment aids. These work to keep the chips completely straight on with each other. I then tighten the clamps until the chips can not be easily pushed out of alignment. The pencil eraser compresses, while the chips do not, so you can pull the pencils out while the chips remain perfect. I am able to load around 80 chips per clamp with this method, if I’m willing to do three rows, or 54 with two rows.
I attempted to build a heating contraption using a light bulb and a heating pad. I think this may have worked if I could have found a single incandescent bulb in my house, as it was, I could never get it higher than 102 degrees. So it was into the oven.
After the flattening:


Last edited: