Best Light Boxes for Chip Pr0n (1 Viewer)

ReallyGoodUsername

Royal Flush
Site Vendor
Joined
Aug 2, 2018
Messages
19,854
Reaction score
43,098
Location
Boston
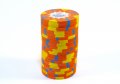
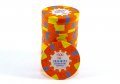
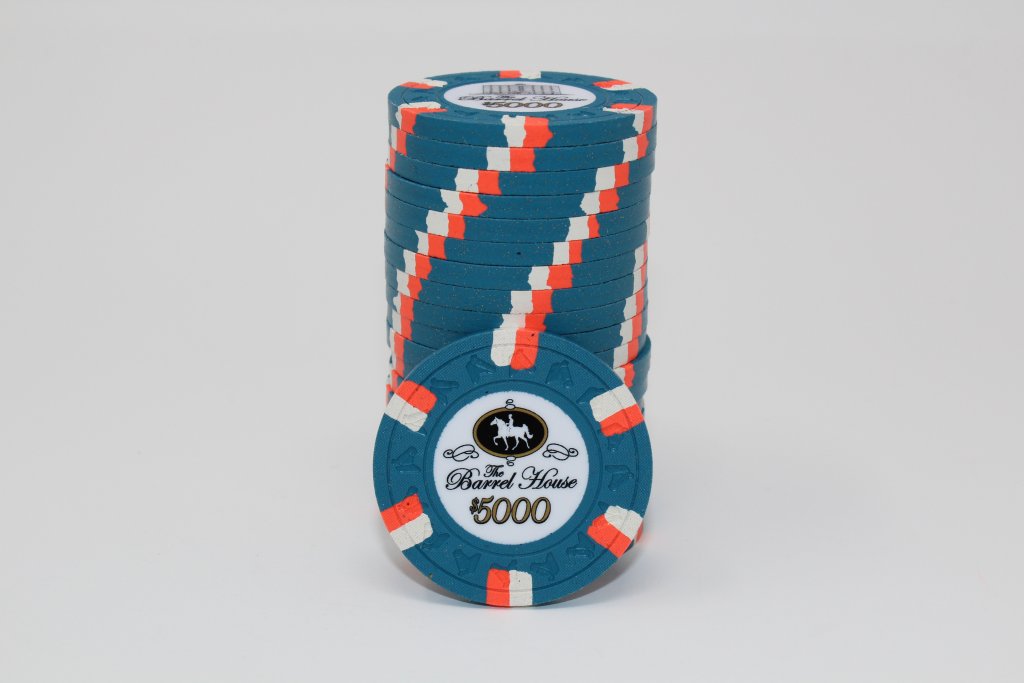
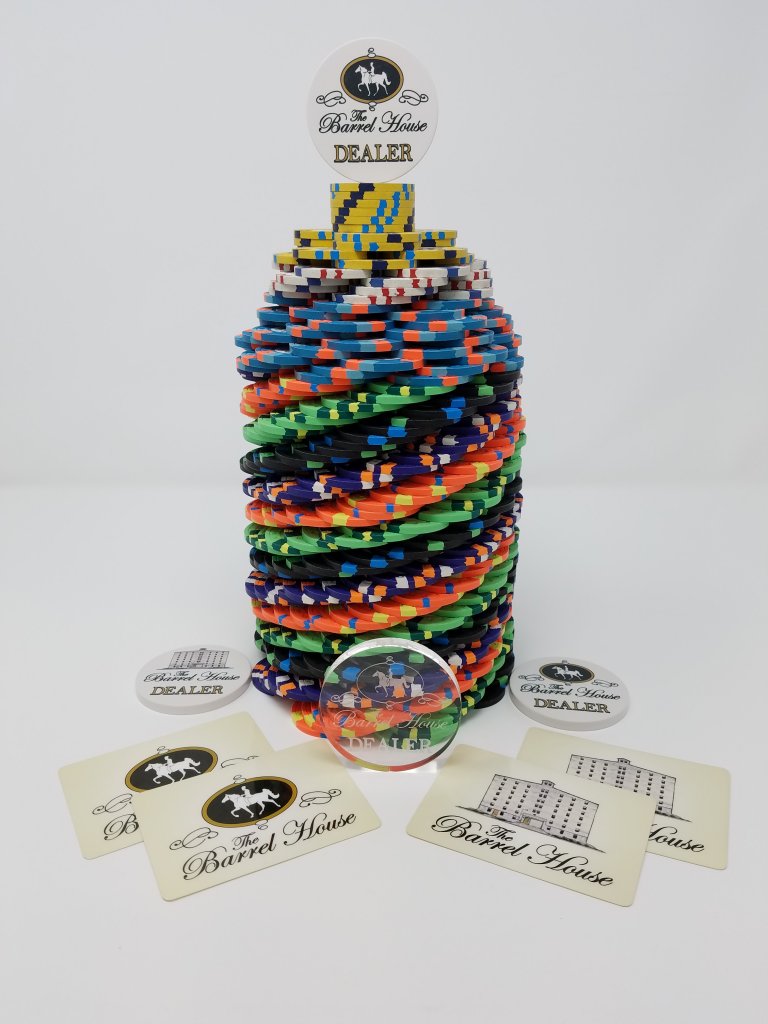
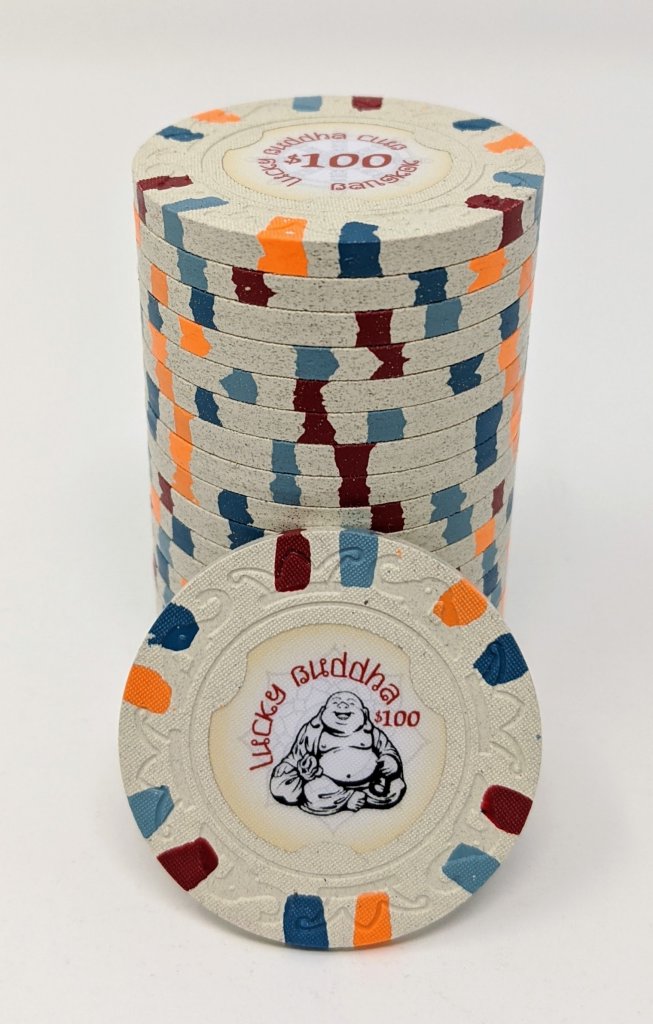
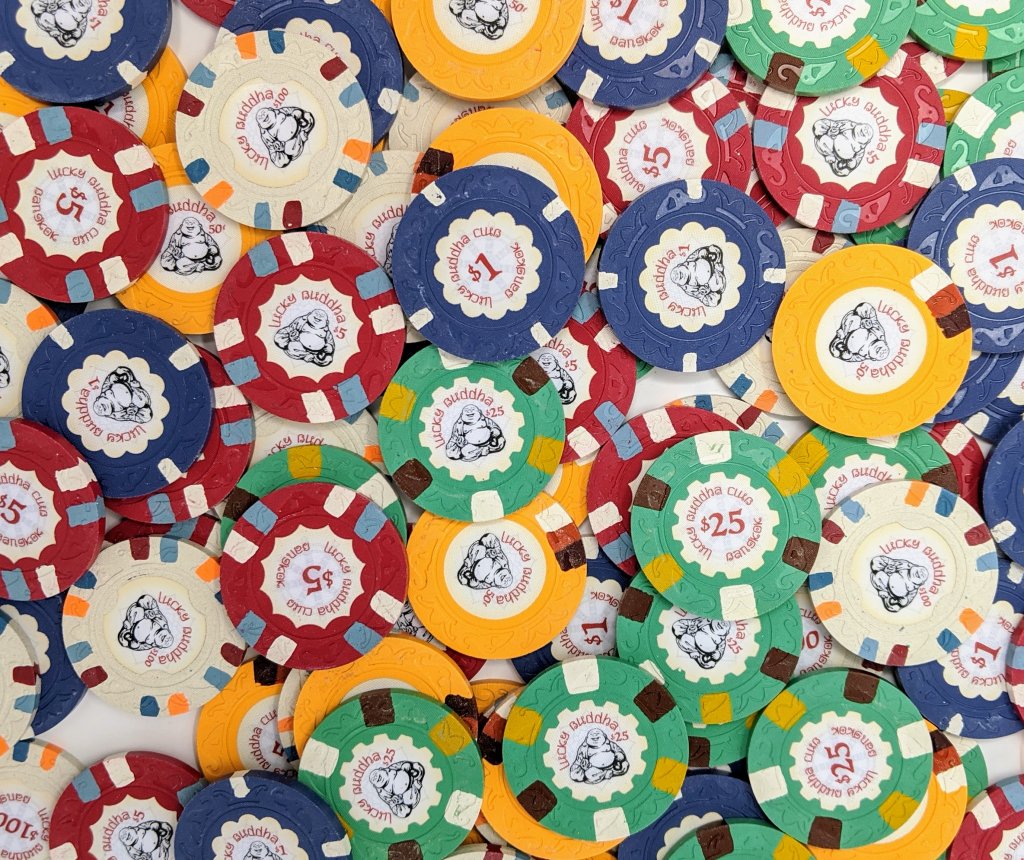
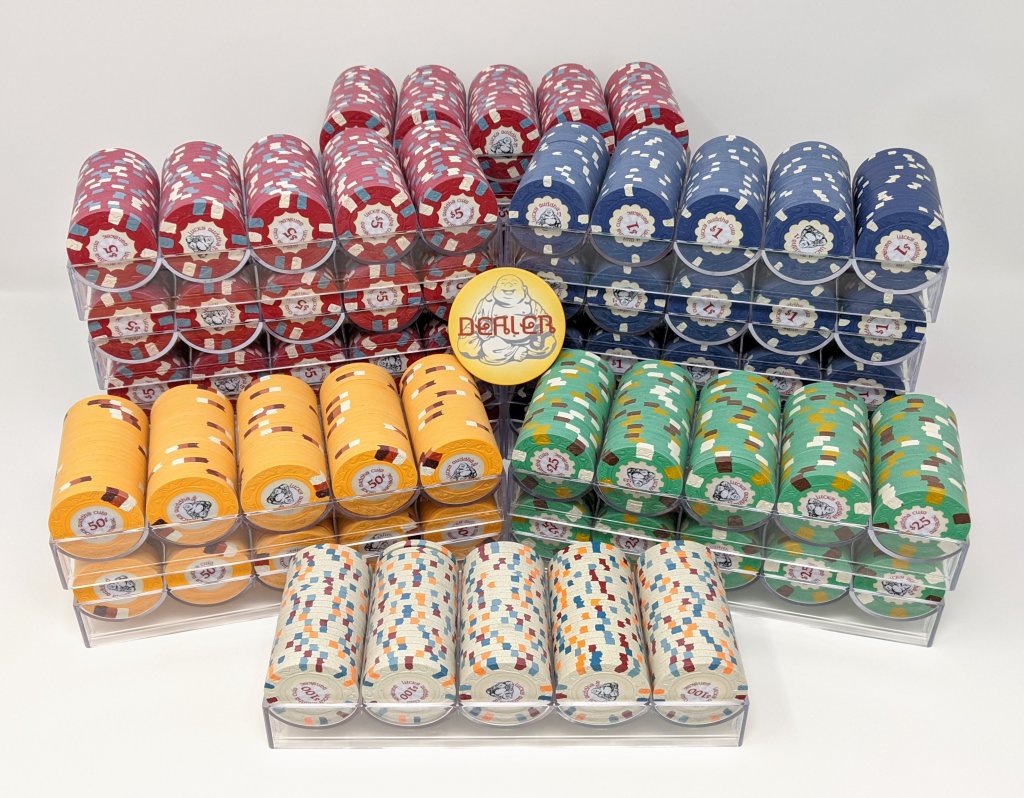
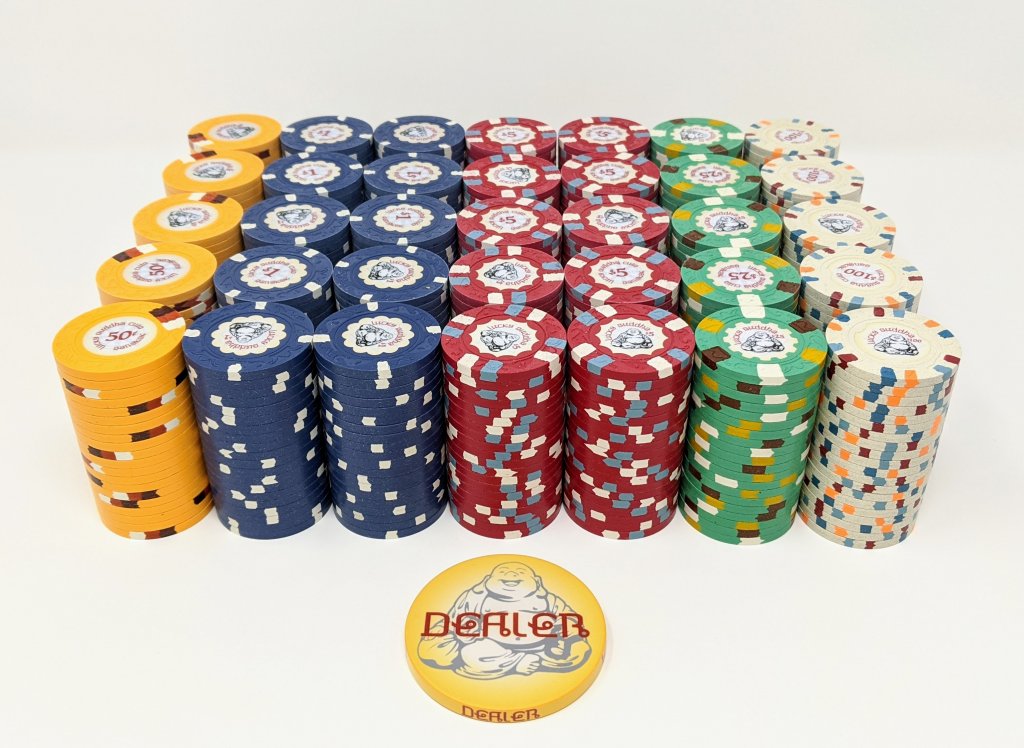
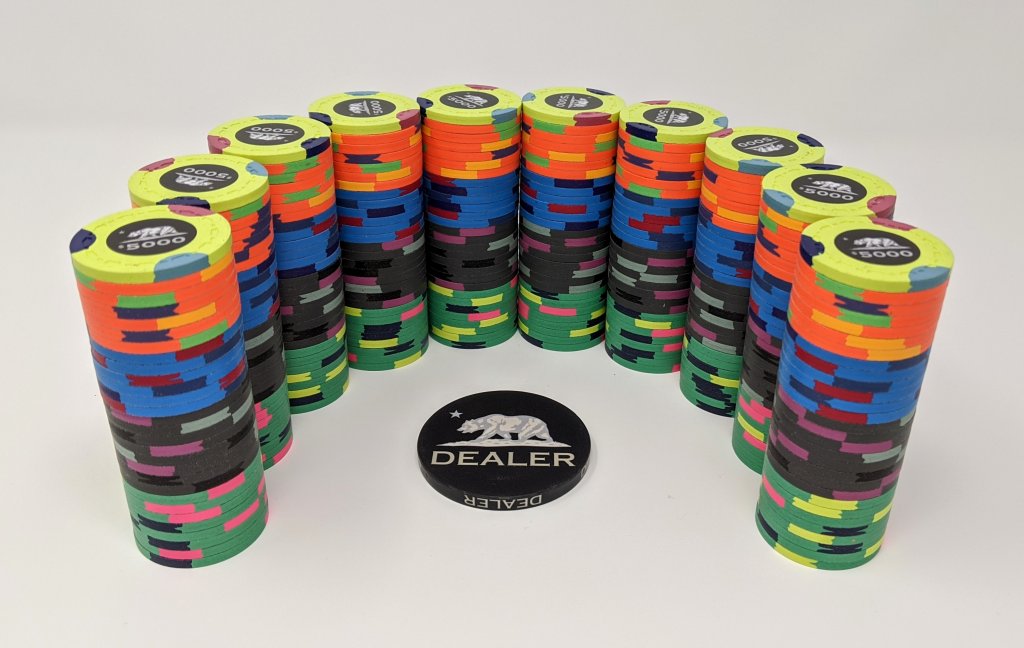
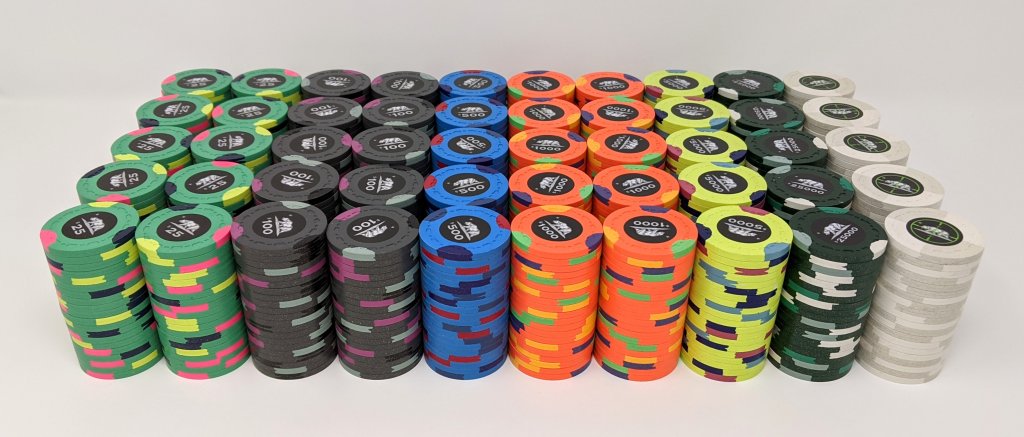
Question: What is the best light box for taking pr0n of your chips?

Personally, I'm looking for a light box that:

1) provides sufficient lighting - doesn't have to be studio quality but enough to get good+ photos
2) is easy to set up and breakdown - I don't have a dedicated location for it so it will need to be setup and broken down the same day
3) large enough to fit a minimum of 300 poker chips at a time
4) a big bonus would be for one that has both a white and black background option
5) price is somewhat a consideration as I know they range in price a lot

A few Amazon finds so far with back stats:
1) $29 - 16 x 14 x 14 https://www.amazon.com/dp/B07922MDPG/ref=psdc_3444581_t2_B01GIL6EU4#customerReviews
2) $69 - 20 x 20 x 20 https://www.amazon.com/dp/B07DDGGZNT/ref=psdc_3444581_t1_B01GIL6EU4?th=1
3) $96 - 32 x 32 x 32 https://www.amazon.com/dp/B07MTG257V/ref=psdc_3444581_t3_B01GIL6EU4
4) $135 - 25 x 30 x 25 https://www.amazon.com/gp/product/B...title_o00_s00?ie=UTF8&tag=pokchifor0d-20&th=1

This has been touched upon partially in a few different places but I figured a dedicated thread would help.
 
I picked up the light box you've got listed under #4 about a year ago from others who recommended it here on PCF and like it a lot. It collapses to a relatively small size so it's easy to store, is very portable, easy to set up and a good size for chipping.

Two minor digs - it could be a little brighter for the size, and the white backdrop is vinyl so it creases a bit when folded up - the combination of those two means you don't quite get that infinity affect in wider shots at certain angles.

You can't see the crease here (zoomed in):

But you can make it out very faintly here (wider shot):

But for ~$120 bucks I think it serves it's purpose. I have a bunch of pics using this with a basic Canon Rebel T3i here:

https://www.pokerchipforum.com/threads/the-barrel-house-custom-cpc-hhr-tourney-pron.41944/

Note this one doesn't come with a black background, but it would be pretty easy to add one, the background clips to the inside of the box so it can be modified or replaced.
 
I have #4 and use it for all my Etsy photos. Works really well and packs up quickly and easily.

you can get rid of the back fold if it really bugs you in editing
 
I also have #4. Works great for me! I use a Google pixel 3 phone for the camera. I rarely bust out the DSLR for chip pics. Cell phone does a nice enough job. Especially if you have the pixel. All these pics were taken in that #4 tent.


Thanks for the responses!

I also have #4. Works great for me! I use a Google pixel 3 phone for the camera. I rarely bust out the DSLR for chip pics. Cell phone does a nice enough job. Especially if you have the pixel. All these pics were taken in that #4 tent.
Were the black ones from the same light box? How'd you get the black backdrop?
 
@72o also recently underwent a light box project
Ha you’re right...the ghetto photo box. 24”x20” cardboard box with 4 sides cut out. 3 sides get a diffusing fabric (JoAnns) and one side is left open. The backdrop is just a white piece of thin poster board that sits inside so you can obviously just grab whatever color you want. 2 or 3 cheapo work lights and boom. I need to grab some real photo bulbs next. I threw this together in about an hour and it’s not perfect by any means but better than nothing.

E47563C2-108C-43E4-A153-5AF6C64A8152.jpeg


Panned out to show the poster board draped for the backdrop and the floor.
47C12988-6790-4FB8-858E-B07DC45B0E28.jpeg

F17F5454-0418-4E57-96BD-8B767C73DFF0.jpeg
 
Hey @72o do you think if you cut out a hole in top, that just the 2 lights on the sides would illuminate enough to get a good pic of the tops of the racks?

What type of bulbs should I order?

Thanks for sharing. I'm gonna build one.
I need some quality pics asap.
 
  • Like
Reactions: 72o
Forgot about this thread already lol I bought a 3 of them and decided to stay with the Amazon one. Per the pros/cons below you can see that I needed something that was primarily easy to setup and put away.

Pros:
- It's very easy to setup and collapse

Cons:
- Just about everything else lol
- Lighting hue isn't as good as others
- Stock backdrop folds for storage so theirs a crease in the background (yes can be edited out but not ideal)
- Lighting doesn't have a dimmer which can cause the lighting to be too bright (? feel like that's it) causing issues in capturing the true color of the chips
- Price - $40 more than anything else comparable
 
I also have #4.

I echo post #2 on the pro's and con's.

Biggest pro is the size. You can fit putting in a big set of chips in there.

Biggest cons are the creases in the backdrop and the relatively dim lighting. I think it needs a lot more light for cell phone photos. But if you have a DSLR then you don't have to worry about lighting because you can just add 1 or 2 stops of exposure. Also, the lighting is only on one side of the big light box, hung overhead. This means when you have objects (chips) in the middle you will have shadows in one direction.
 
Hey @72o do you think if you cut out a hole in top, that just the 2 lights on the sides would illuminate enough to get a good pic of the tops of the racks?

What type of bulbs should I order?

Thanks for sharing. I'm gonna build one.
I need some quality pics asap.
Hey man. I’m certainly no expert (what’s below a beginner haha) but the overhead light isn’t necessary as long as you have enough light coming through on the sides I believe. No need to even cut the hole if not using a light there. You don’t want any “outside” light leaking in and throwing things off.

others like @justsomedude will be able to help with the bulb types to use.
 
Here's an example of fitting a really big set inside the #4 lightbox, using a cell phone. Notice the white backdrop is quite dim/dark. The subject (chips) is pretty nice though. This might also be because of the way iPhone (XS Max in my case) processes an image though.


And here's an example of the same set using a DSLR, compensating the dim lighting with some extra exposure. Notice though, the downside of this is colors get a lot more washed out and look less natural. Basically everything is brighter, but the colors have less saturation. I'm sure colors can be fixed in post processing but I couldn't bother with that.

 
So I went the DIY route like @72o
Built the box using 5 white foamcore panels ($1.50ea) from the dollar store, tissue paper ($1), 2 poster board backdrops (2 for $1) and white duck tape ($7).
So the box itself was only $16.50.
It's 30" wide, 20" deep and 20" high.

The 3 clamp lights with reflectors I bought were the real expense @ $20ea. (Don't have the top one in these photos yet).

20200206_183424.jpg
20200206_183511.jpg
20200206_183518.jpg
 
So I went the DIY route like @72o
Built the box using 5 white foamcore panels ($1.50ea) from the dollar store, tissue paper ($1), 2 poster board backdrops (2 for $1) and white duck tape ($7).
So the box itself was only $16.50.
It's 30" wide, 20" deep and 20" high.

The 3 clamp lights with reflectors I bought were the real expense @ $20ea. (Don't have the top one in these photos yet).

View attachment 403584View attachment 403585View attachment 403586
Nice job. Pics. look great.
I see you found some weights too. :);)
 
So I went the DIY route like @72o
Built the box using 5 white foamcore panels ($1.50ea) from the dollar store, tissue paper ($1), 2 poster board backdrops (2 for $1) and white duck tape ($7).
So the box itself was only $16.50.
It's 30" wide, 20" deep and 20" high.

The 3 clamp lights with reflectors I bought were the real expense @ $20ea. (Don't have the top one in these photos yet).

View attachment 403584View attachment 403585View attachment 403586
This is fantastic. Will be building one as soon as I can!
 
Another update - mostly finished off my setup last night. Really happy with how these turned out.

0A102965-B5B4-4E83-801C-1C06BE40810A.jpeg
 

Attachments

  • IMG_3321.jpg
    IMG_3321.jpg
    467 KB · Views: 144
  • IMG_3324.jpg
    IMG_3324.jpg
    435.6 KB · Views: 162
  • IMG_3325.jpg
    IMG_3325.jpg
    439.3 KB · Views: 115
  • IMG_3334.jpg
    IMG_3334.jpg
    419.3 KB · Views: 105
  • IMG_3336.jpg
    IMG_3336.jpg
    413.3 KB · Views: 162
  • IMG_3340.jpg
    IMG_3340.jpg
    276.4 KB · Views: 137
  • IMG_3341.jpg
    IMG_3341.jpg
    341.6 KB · Views: 119
  • IMG_3343.jpg
    IMG_3343.jpg
    441.3 KB · Views: 154
  • IMG_3342.jpg
    IMG_3342.jpg
    437.5 KB · Views: 126
  • IMG_3344.jpg
    IMG_3344.jpg
    303.1 KB · Views: 117
  • IMG_3345.jpg
    IMG_3345.jpg
    382 KB · Views: 116
  • IMG_3346.jpg
    IMG_3346.jpg
    355.4 KB · Views: 131
  • IMG_3347.jpg
    IMG_3347.jpg
    340.9 KB · Views: 118

Create an account or login to comment

You must be a member in order to leave a comment

Create account

Create an account and join our community. It's easy!

Log in

Already have an account? Log in here.

Back
Top Bottom